
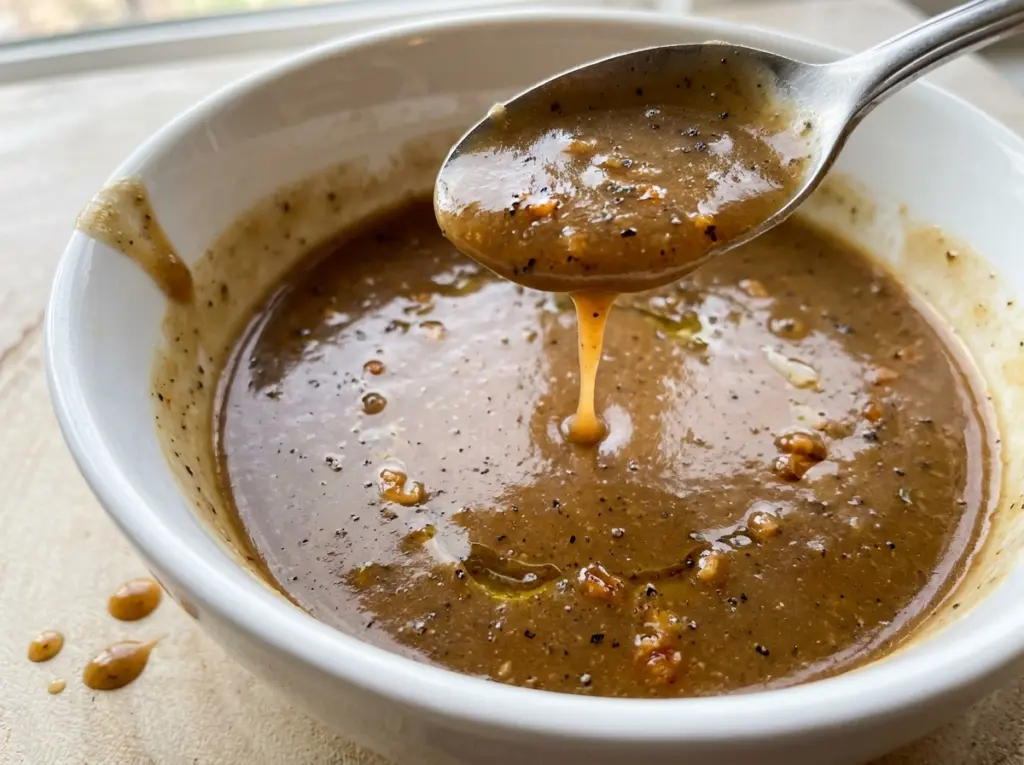
Turkey drippings are never identical from one bird to the next. One pan leaves plenty of clear fat; another has mostly dark juices, and pouring everything together makes it hard to know how much roux to build. I separate and measure the drippings before anything hits the saucepan, so this homemade Thanksgiving turkey gravy starts from a dependable base instead of guesswork. It still tastes like the roast turkey, not a carton.
The balance comes from counting the defatted juices as part of the liquid, then using low-sodium turkey broth to bring the total to the right amount. I whisk the flour into the measured fat until the roux is smooth and pale golden, then gradually whisk in the liquid. After a gentle simmer, the gravy turns thick enough to coat a spoon, ready to pour over turkey or mashed potatoes.
Kitchen Note
Give the strained drippings the full five minutes in the fat separator before measuring. That short pause lets the fat and juices settle into clear layers, so you can adjust the fat with butter instead of guessing at the roux.
Save this Thanksgiving turkey gravy for a silky, spoon-coating finish built from the pan drippings.
Why the Roux Needs Four Cups of Liquid to Stay Silky
Gravy thickness depends on the relationship between the roux and the liquid, not just on how long you keep the pan over the heat. Here, the measured fat and flour begin in equal amounts, which gives the roux enough body to thicken the finished gravy without turning it into a paste. The liquid total is just as deliberate: the defatted turkey juices count toward it, and broth fills in whatever is needed.
That matters because drippings vary. If you treat the pan juices as extra and add a full measure of broth on top, the balance changes; if you use too little liquid, the gravy can turn heavy and cling in a lump rather than pour. Bringing the total liquid to the amount used for this batch makes the result predictable even when the roast gives you a different mix of fat and juices. The gentle simmer finishes the thickening, so there’s no need to force it by cooking the roux dark.
What the Drippings, Butter, Flour, and Broth Each Bring

- Turkey drippings — These carry the roasted-turkey character that broth alone can’t reproduce. Straining them keeps the finished gravy smooth, while separating fat from juices lets you use both parts where they belong.
- Unsalted butter — Butter fills in the fat when the drippings don’t provide enough for the roux. Unsalted is the useful choice here because the drippings and broth already contribute seasoning; salted butter makes the final salt level harder to control.
- All-purpose flour — Flour gives this gravy its classic, gently thickened texture. It’s worth measuring carefully rather than estimating, since the fat and flour need to form a smooth roux before the liquid goes in. A starch thickener would behave differently and isn’t a direct swap in this method.
- Low-sodium turkey broth — The broth supplies the liquid while keeping turkey flavor in the foreground. Low-sodium broth gives you room to season at the end, and a basic store-brand carton works well; an especially salty broth can leave less room for adjustment.
- Kosher salt and black pepper — Salt is added after the gravy has simmered, when you can taste the drippings and broth together. Black pepper brings a mild savory bite without covering the roasted flavor.
Build the Roux, Then Bring the Gravy to a Spoon-Coating Simmer
Separate the Drippings and Set the Liquid Total
Pour the drippings through a fine-mesh strainer into a fat separator and let it stand for five minutes. Measure the fat, then add unsalted butter as needed to reach the total fat amount. Combine the defatted juices with enough low-sodium turkey broth to make the full liquid amount. Measuring these components before heating leaves you ready to whisk without stopping midway through the roux.
Cook a Smooth, Pale-Golden Roux
Melt the measured fat in a 3-quart saucepan over medium heat. Whisk in the flour right away, working around the bottom and corners so no dry pockets remain. Keep whisking for two to three minutes, until the roux looks smooth and pale golden. Don’t let it turn dark brown; this roux is meant to stay light and keep the turkey flavor clear.
Whisk in the Liquid Gradually
Pour in the measured liquid a little at a time while whisking, then continue until it’s all incorporated. Adding it gradually helps the roux loosen evenly; if you dump it in all at once, floury lumps are harder to work out. Bring the gravy to a gentle simmer over medium heat, whisking often. Keep the heat moderate rather than letting the saucepan boil hard.
Simmer Until It Coats a Spoon
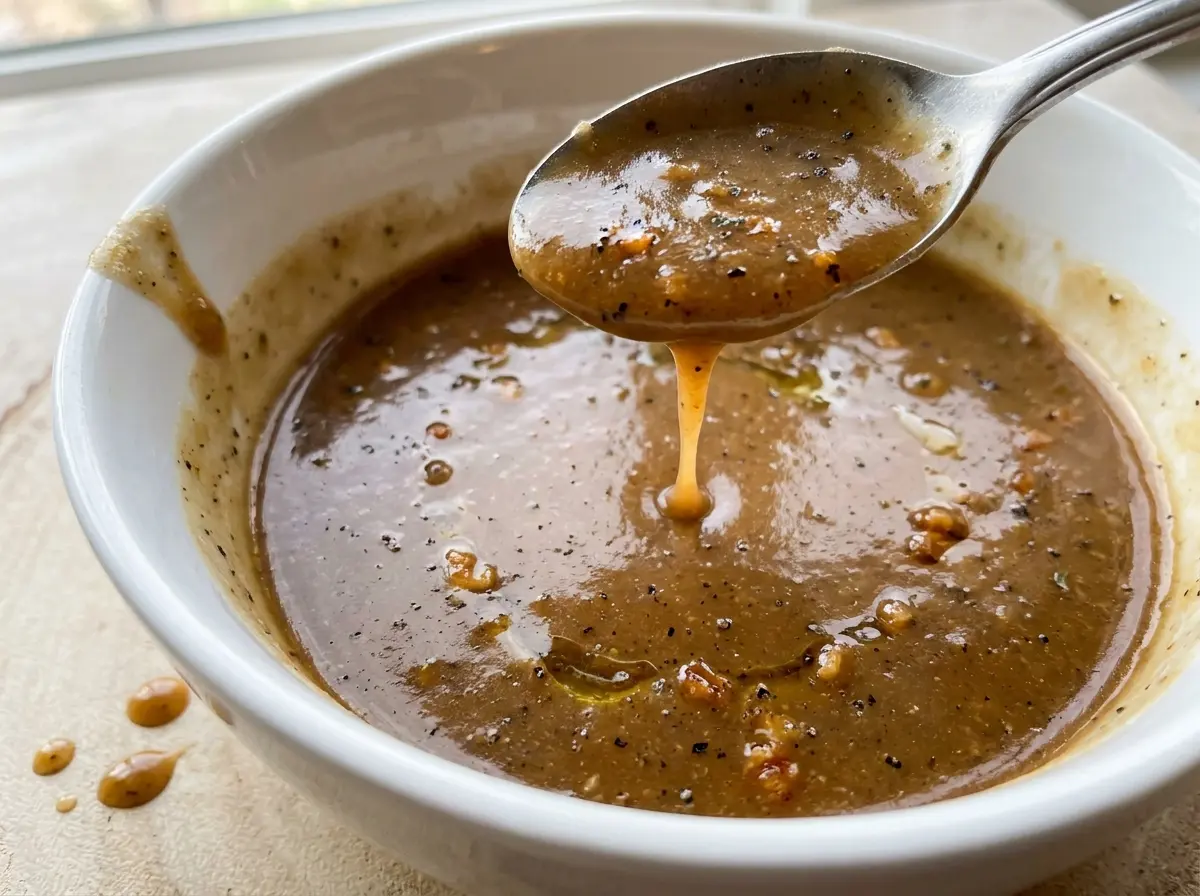
Let the gravy simmer for five to eight minutes, whisking often, until it thickens enough to coat the back of a spoon. It should cling in a thin, even layer rather than run straight off. Whisk in the kosher salt and black pepper, taste, and add more salt only if it needs it. The gravy is ready when it pours smoothly but still leaves a light coating on the spoon.
Two Useful Ways to Adapt This Turkey Gravy
Make a half batch for a smaller table
Scale every ingredient by half: use half a cup of strained drippings, butter as needed to make a quarter cup total fat, a quarter cup flour, and enough low-sodium turkey broth with the defatted juices to make two cups total liquid. Use an eighth teaspoon each of kosher salt and black pepper, then add salt to taste. The smaller batch keeps the same roux-to-liquid balance and makes about four servings.
Make a broth-based version without drippings
When you don’t have usable turkey drippings, use unsalted butter for the full fat amount, then follow the same roux and simmer method with the full amount of low-sodium turkey broth. Keep the flour and liquid amounts in the same proportions and season at the end. The gravy will still thicken smoothly, though it won’t have the same roasted-pan flavor as the drippings version.
Storage and Reheating
- Refrigerator: Refrigerate within two hours and keep covered for three to four days. The gravy will thicken as it chills.
- Freezer: Freeze in an airtight container for up to three months. Thaw overnight in the refrigerator; the texture may look separated when cold.
- Reheating: Warm gently in a saucepan, whisking until smooth. If it’s too thick, whisk in a little low-sodium turkey broth, and heat leftovers to 165°F. Avoid a hard boil, which can reduce the gravy further.
Questions That Come Up While Making Turkey Gravy
Homemade Thanksgiving Turkey Gravy from Drippings
Ingredients
Equipment
Method
- Pour the drippings through a fine-mesh strainer into a fat separator.
- Let the drippings stand for 5 minutes.
- Measure the fat, adding butter to make 1/2 cup total fat.
- Combine the defatted juices with enough broth to make 4 cups total liquid.
- Melt the fat in a 3-quart saucepan over medium heat.
- Whisk in the flour.
- Cook for 2 to 3 minutes, whisking constantly, until the roux is smooth and pale golden.
- Gradually whisk in the 4 cups liquid and bring to a gentle simmer over medium heat, whisking often.
- Simmer for 5 to 8 minutes, until the gravy thickens enough to coat the back of a spoon.
- Whisk in the salt and pepper.
- Taste the gravy and add more salt if needed.