
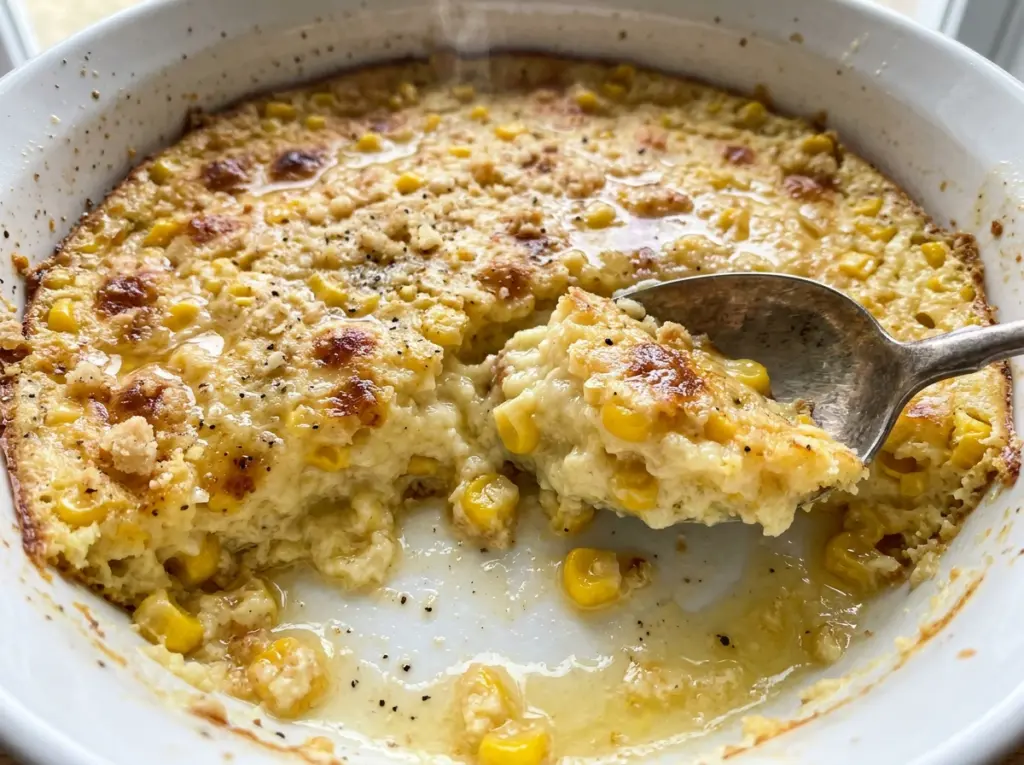
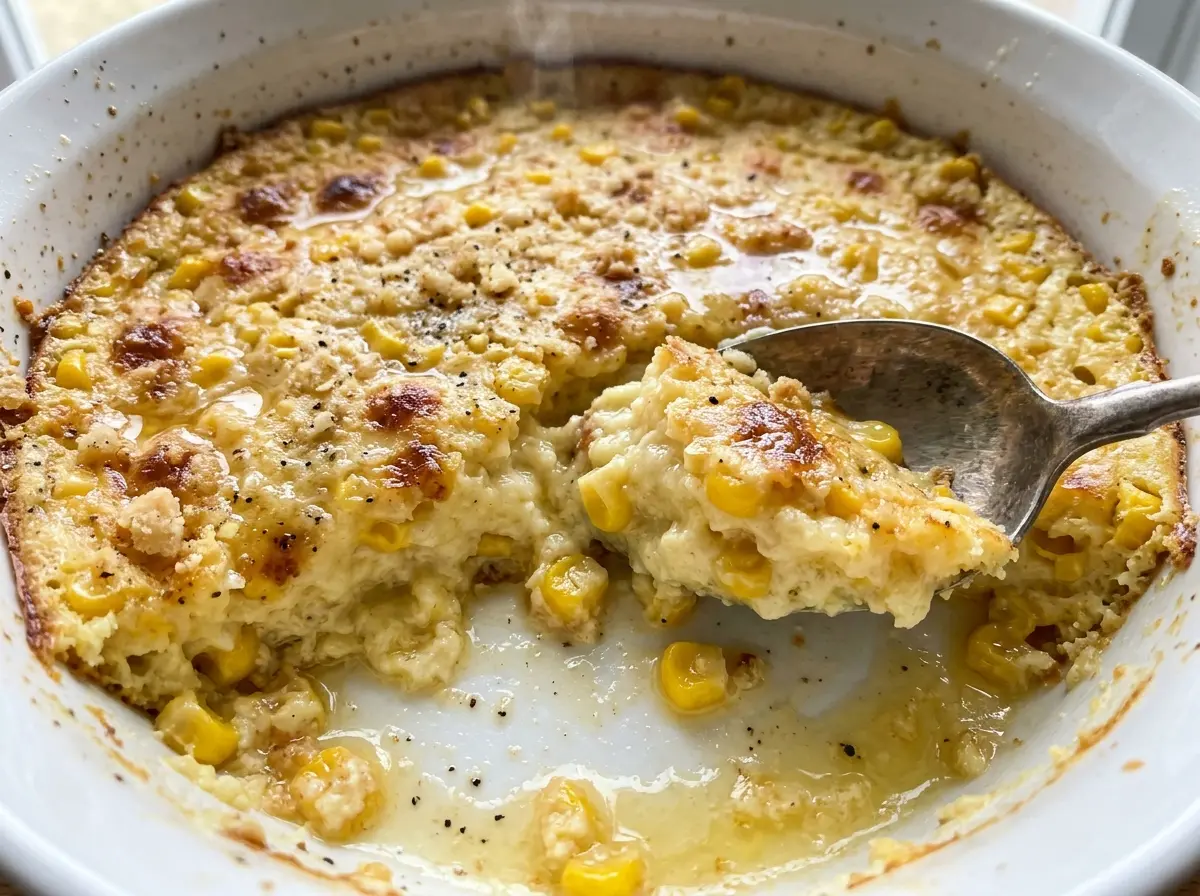
The edges puff first in the oven, while the middle takes a little longer to become tender and set. That contrast is exactly what I want from Grandma’s Old Fashioned Corn Pudding: a soft, spoonable center with whole kernels tucked through every bite. It isn’t meant to slice like cornbread, and it doesn’t need a browned, firm top to be ready.
I stir two kinds of canned corn together, then fold in a simple egg-and-milk mixture. Cream-style corn gives the pudding its smooth base; whole kernels keep the texture from becoming uniform. Letting the melted butter cool slightly before it meets the eggs keeps the mixture smooth, and a short rest after baking gives the center time to settle into a creamy, cohesive pudding.
Kitchen Note
Let the melted butter cool slightly before you whisk it into the eggs. If it’s piping hot, it can start cooking the eggs in the bowl and leave you with little bits instead of a smooth mixture.
Save Grandma’s Old Fashioned Corn Pudding for a tender, creamy side with sweet corn in every spoonful.
Why Corn Pudding Should Stay Soft, Not Slice Like Cornbread
This bake sits in a different spot from cornbread: it’s meant to be moist and spoonable, not dry enough to cut into neat squares. The eggs and flour give the mixture enough structure to hold together, but the corn brings plenty of softness. If you keep baking until the whole surface looks firm, the edges can turn dry before the middle has a chance to settle.
Think of it as a savory-sweet custard with kernels running through it. The center should be set, but the finished pudding still has a tender texture; a little softness isn’t a sign that it needs to be baked until stiff. After it comes out of the oven, resting gives the custard time to firm up without losing its creamy feel. That balance is what makes each scoop hold together while staying soft on the plate.
Why These Two Cans of Corn Belong in the Same Dish

- Whole kernel corn — Draining it matters; extra canning liquid thins the mixture. A standard canned brand works well here, so there’s no need to hunt for specialty corn.
- Cream-style corn — This is more than another portion of corn: its soft, saucy texture helps bind the bake into a pudding. Replacing it with whole kernels alone leaves out that creamy base.
- Eggs and whole milk — Together they make the custardy part of the dish. Whole milk gives it a fuller texture than skim milk; 2% milk works if that’s what you have, though the pudding will be a little less rich.
- Unsalted butter — It adds richness without making the salt level harder to control. A good everyday butter is all you need; the more important detail is melting it and letting it cool slightly before mixing.
- Flour, sugar, and baking powder — Flour helps the custard hold its shape, while the small amount of sugar rounds out the corn’s sweetness. Baking powder gives the pudding a little lift rather than turning it into a dense, flat bake.
Mixing and Baking the Pudding Without Losing Its Tender Center
Grease the Dish and Cool the Butter
Heat the oven to 350°F and grease a 2-quart baking dish with 1 tablespoon of butter. Melt the remaining 7 tablespoons and set them aside to cool slightly while you gather the other ingredients. This gives you time to stir the corn and whisk the egg mixture without pouring hot butter straight into the eggs.
Combine the Corn and Egg Mixture
Stir the drained whole kernel corn and cream-style corn together in a large bowl. In a separate medium bowl, whisk the eggs and milk, then whisk in the melted butter, flour, sugar, baking powder, and salt. Fold that mixture into the corn until it’s evenly combined; folding keeps the kernels distributed without beating the batter more than it needs.
Bake Until the Center Sets, Then Rest
Pour the mixture into the prepared dish and bake for 45–55 minutes, until the center is set and reaches 160°F. The center is the part to check, since the edges firm up first; use a thermometer there rather than judging by color alone. When it’s ready, let the pudding rest for 10 minutes before serving so the center can settle into a spoonable texture.
Two Simple Ways to Adapt Grandma’s Corn Pudding
Make It Gluten-Free
Replace the all-purpose flour with the same amount of a gluten-free 1-to-1 baking flour blend. Choose a blend intended for baking, not a single-ingredient starch; the pudding may have a slightly softer texture, but it will still set into a scoopable side.
Add a Savory Herb Note
Fold chopped fresh chives and a little black pepper into the corn mixture for a more savory finish. The chives bring a mild onion flavor that cuts through the creamy corn without changing the pudding’s soft texture.
Storage and Reheating
- Refrigerator: Store covered for 3–4 days. The chilled pudding firms up and will be less creamy straight from the refrigerator.
- Freezer: It freezes, though the custard may turn a little softer after thawing. Wrap portions tightly and freeze for up to 2 months for best quality; thaw in the refrigerator.
- Reheating: Cover a portion and warm it gently in the microwave, or cover the baking dish and reheat it in the oven until hot throughout. Uncovered reheating can dry the edges before the center warms.
Questions That Come Up Before the Corn Pudding Goes in the Oven
Grandma's Old Fashioned Corn Pudding
Ingredients
Equipment
Method
- Preheat the oven to 350°F.
- Grease a 2-quart baking dish with 1 tablespoon of the butter.
- Melt the remaining 7 tablespoons of butter and let cool slightly.
- Stir the drained whole kernel corn and cream-style corn together in a large bowl.
- In a medium bowl, whisk the eggs and milk.
- Whisk in the melted butter, flour, sugar, baking powder, and salt.
- Fold the egg mixture into the corn.
- Pour the mixture into the prepared dish.
- Bake for 45–55 minutes, until the center is set and reaches 160°F.
- Let the pudding rest for 10 minutes before serving.