
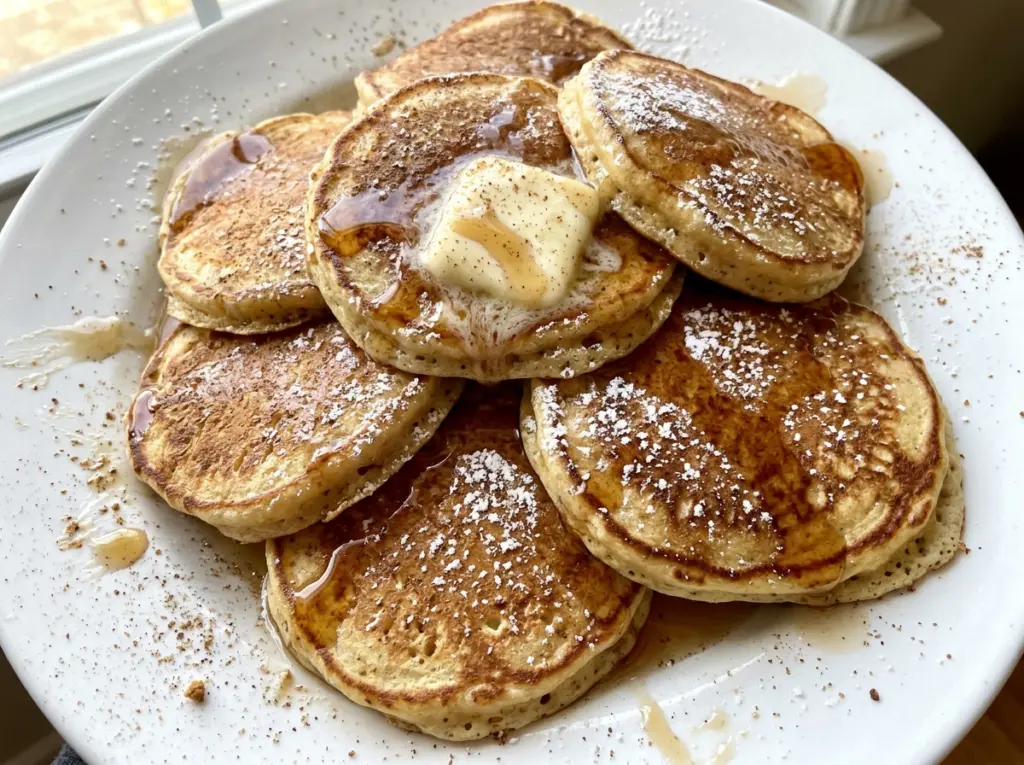
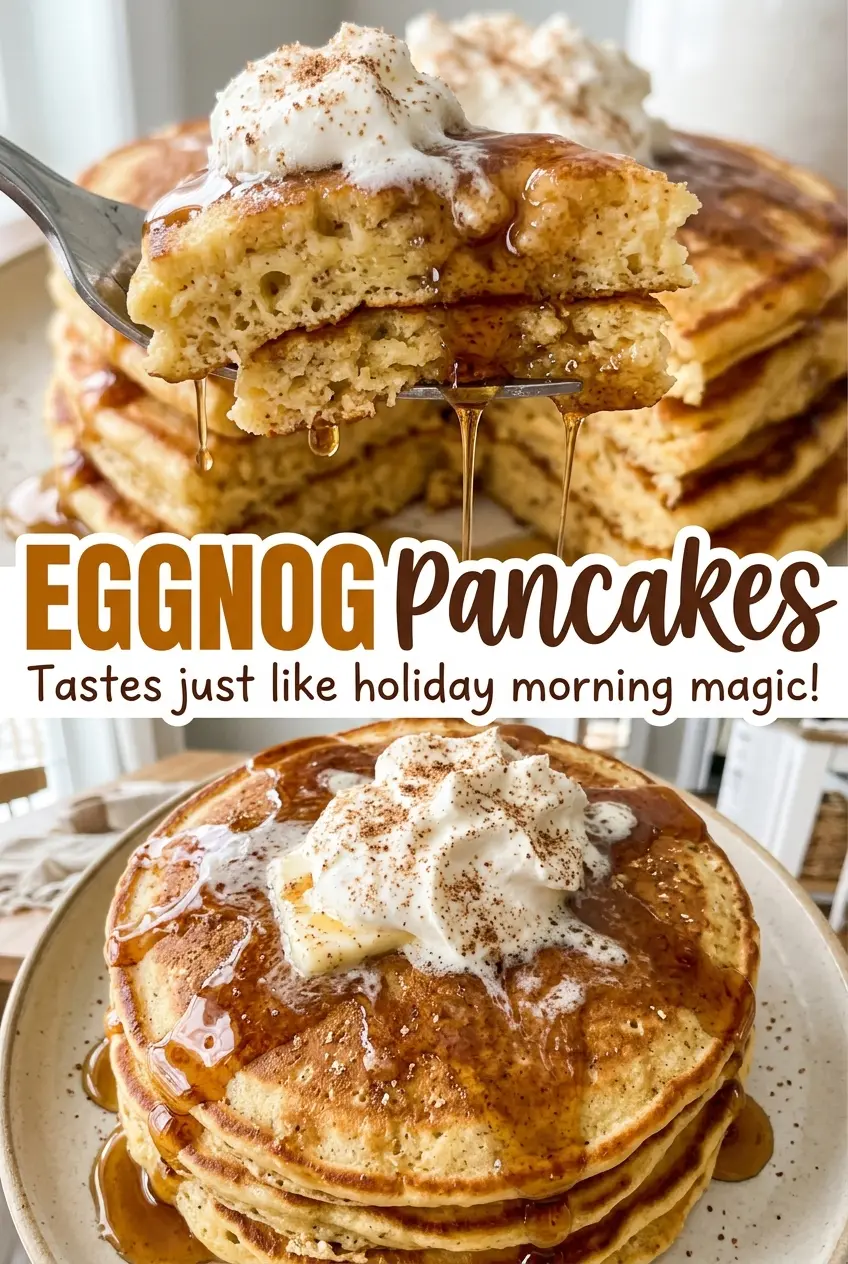
The batter smells like nutmeg before it even reaches the skillet, but the first bite is what makes these taste like more than ordinary pancakes with spice on top. Eggnog gives Eggnog Pancakes a mellow, custardy richness that runs through every bite. They’re a cozy breakfast when you want that familiar holiday-spice flavor without turning on the oven or making a complicated batter.
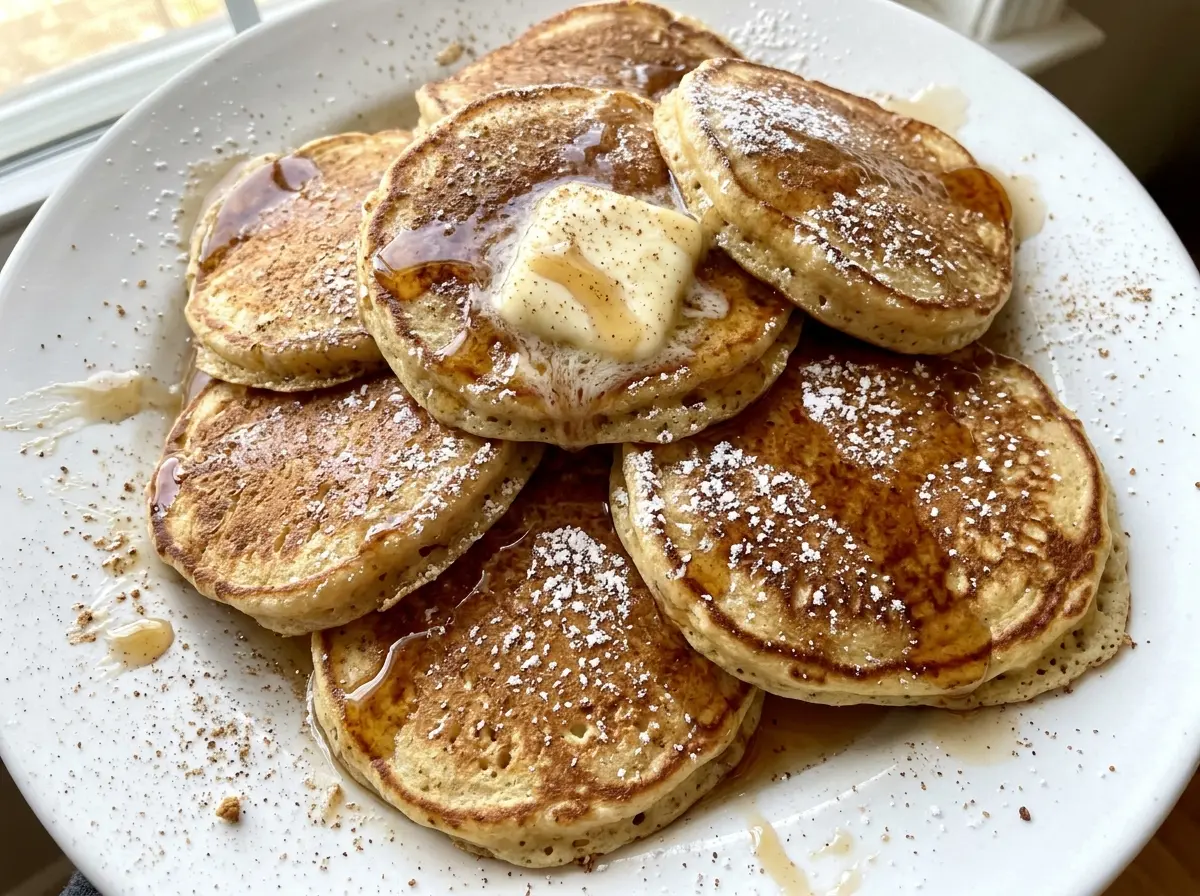
I keep the mixing gentle and let the eggnog do its part. The goal isn’t a perfectly smooth bowl; a few small lumps are fine, and working them out can make the pancakes tough. Once they’re cooked, the edges have a soft golden finish and the centers stay tender, with just enough nutmeg to make the eggnog unmistakable.
Kitchen Note
Eggnog batter can look thicker than the plain-milk batter you’re used to, but don’t thin it before it rests. After five minutes, it settles into a spoonable consistency without needing extra flour or liquid.
Save these Eggnog Pancakes for a breakfast with custardy richness and a gentle nutmeg warmth in every bite.
Why Eggnog Pancakes Need Less Sugar Than Their Flavor Suggests
Eggnog already tastes sweet and rich before it joins the bowl, so these pancakes don’t need a heavy hand with added sugar. The measured granulated sugar supports browning and gives the batter a little sweetness, while the eggnog contributes its own sweetness and dairy richness. That balance lets the warm spice come through instead of making the pancakes taste like dessert.
Eggnog brands aren’t identical. Some taste sweeter or carry more spice than others, so the finished pancakes will shift a little with the carton you use. I stick with the listed sugar rather than changing it based on a taste of the raw batter; once the pancakes brown in the skillet, the sweetness reads differently. If your eggnog is especially sweet, the pancakes will taste sweeter, but the flour and baking powder still need the proportions in the batter to make a tender, well-formed pancake.
This is also why I don’t treat eggnog as a last-minute splash of flavor. It’s the main liquid, not just a seasoning. Keeping the flour and eggnog in balance gives the pancakes enough structure to flip while preserving the soft center that makes this breakfast worth making.
What the Eggnog and Nutmeg Are Doing in This Batter
- All-purpose flour — It gives the pancakes enough structure to hold their shape when flipped while keeping the crumb tender. A budget bag works well here; an even, lump-free measure matters more than an expensive brand. For a gluten-free version, a cup-for-cup gluten-free baking blend is the most practical substitute; use it measure for measure, though the texture may be a little more delicate.
- Eggnog — This replaces the usual milk and brings both liquid and richness, so choose a carton you enjoy drinking. A traditional, unflavored eggnog keeps the nutmeg clear and lets the batter’s sweetness stay balanced. The thickness and sweetness vary by brand, which is why I don’t judge the batter by the carton alone.
- Ground nutmeg — Nutmeg gives the pancakes their unmistakable eggnog character. Since it’s a small but defining part of the flavor, use a jar that still smells warm and fragrant rather than flat or dusty. It goes into the dry ingredients so its flavor is spread through the batter.
- Baking powder — This is the leavener that helps the pancakes rise instead of cooking up flat and heavy. It needs to be evenly whisked through the flour mixture; a clump left in the bowl can leave an uneven pocket in a pancake.
- Unsalted butter — Melted butter adds richness to the batter, and the reserved portion greases the cooking surface. Unsalted butter keeps the salt level predictable, while its flavor suits the eggnog better than a strongly flavored cooking fat.
The Five-Minute Rest and the First Flip
Whisk the dry ingredients evenly
In a medium bowl, whisk the flour, granulated sugar, baking powder, salt, and ground nutmeg until the mixture looks uniform. This distributes the leavener and spice throughout the flour before any liquid makes the batter harder to mix. Break up visible clumps with the whisk rather than leaving them to disappear later. Set the bowl aside while you combine the wet ingredients.
Bring the eggnog mixture together
In a separate bowl, whisk the egg, eggnog, vanilla extract, and two tablespoons of the melted butter until combined. The melted butter should be incorporated rather than sitting in a slick on the surface. Pour this mixture into the dry ingredients. Keeping the wet and dry mixtures separate until this point makes it easier to stop mixing at the right moment.
Stop when the dry flour disappears
Stir the wet mixture into the flour just until no dry flour remains. A few small lumps are fine; don’t keep beating the batter in an attempt to make it perfectly smooth. Let it rest for five minutes before cooking. The short pause gives the flour time to absorb the liquid and makes the batter easier to portion.
Cook until the edges set, then flip
Heat a 10- to 12-inch skillet or griddle over medium heat, about 350°F, and lightly grease it with some of the remaining melted butter. Pour 1/4-cup portions of batter onto the surface, leaving room between them. Cook for 2 to 3 minutes, until bubbles form on top and the edges look set; if you flip while the edges still look wet, the pancake is more likely to fold or tear. Flip and cook for 1 to 2 minutes, until golden brown, greasing the skillet between batches as needed.
Three Ways to Change These Eggnog Pancakes
Make them dairy-free
Use dairy-free eggnog in place of the regular eggnog and an unsalted plant-based butter in place of the butter, using the same amounts. The pancakes will still contain egg, and the result may be a little less rich or sweeter depending on the dairy-free eggnog you choose.
Trade nutmeg for cinnamon
Replace the ground nutmeg with the same measure of ground cinnamon for a softer, familiar spice note. Cinnamon makes the pancakes taste less distinctly like eggnog, but it works with the eggnog’s sweetness and mixes into the dry ingredients just as easily.
Turn them into mini pancakes
Spoon smaller portions onto the skillet for a bite-size stack. They’ll cook faster than the standard portions, so watch for bubbles on top and set-looking edges rather than relying on the usual timing. The smaller format is easy to serve from a platter, but it does mean more pancakes to flip.
Storage and Reheating
- Refrigerator: Keep cooled pancakes in an airtight container for 3 to 4 days. They’ll lose some of their fresh-from-the-skillet tenderness as they chill.
- Freezer: Freeze them in a single layer, then stack with parchment between the pancakes in an airtight freezer container for up to 2 months.
- Reheating: Warm refrigerated pancakes in a toaster or in a skillet over medium heat until hot. Avoid leaving them in the microwave too long, which can make them rubbery.
Questions That Come Up at the Griddle
Eggnog Pancakes
Ingredients
Equipment
Method
- Whisk the flour, sugar, baking powder, salt, and nutmeg in a medium bowl.
- In a separate bowl, whisk the egg, eggnog, vanilla, and 2 tablespoons of the melted butter until combined.
- Pour the eggnog mixture into the flour mixture and stir just until no dry flour remains; a few lumps are fine.
- Let the batter rest for 5 minutes.
- Heat a 10- to 12-inch skillet or griddle over medium heat, about 350°F.
- Lightly grease the skillet with some of the remaining melted butter.
- Pour 1/4-cup portions of batter onto the skillet.
- Cook for 2 to 3 minutes, until bubbles form on top and the edges look set.
- Flip the pancakes.
- Cook for 1 to 2 minutes, until golden brown.
- Grease the skillet between batches as needed with the remaining melted butter.