
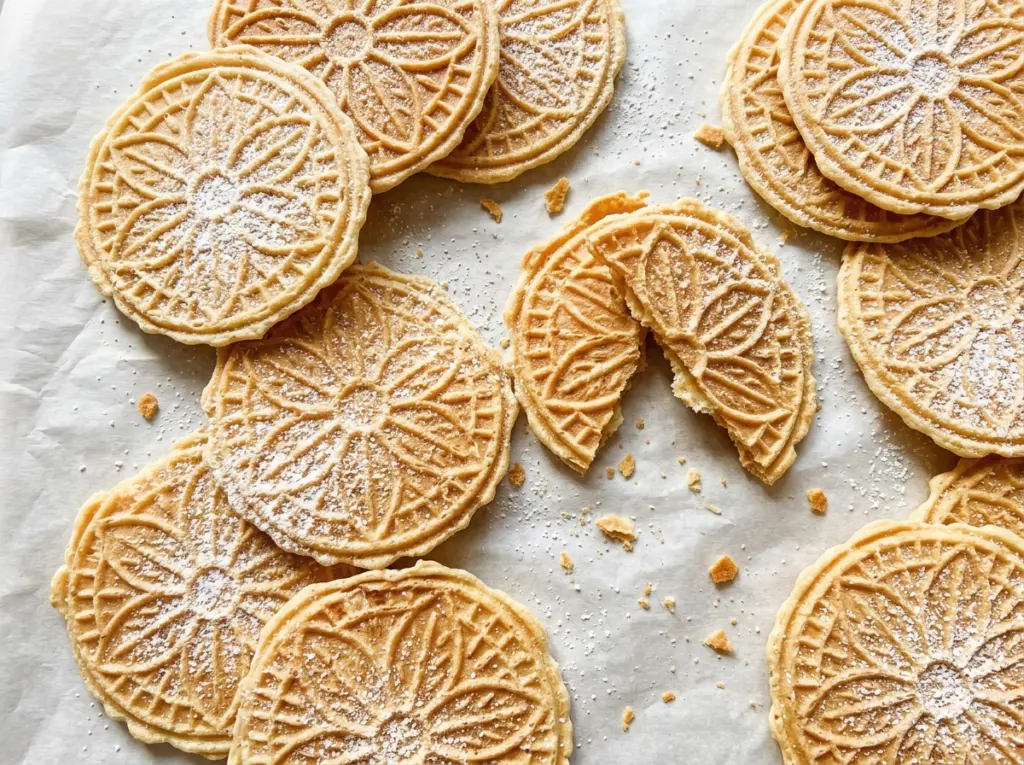
The iron opens with a little puff of steam, and the pizzelle inside are pale and flexible rather than crisp. That’s the moment I used to second-guess myself. With these Classic Italian Pizzelle Cookies, the thin wafers finish firming up on the rack, so color and steam tell you more than a snap straight from the iron.
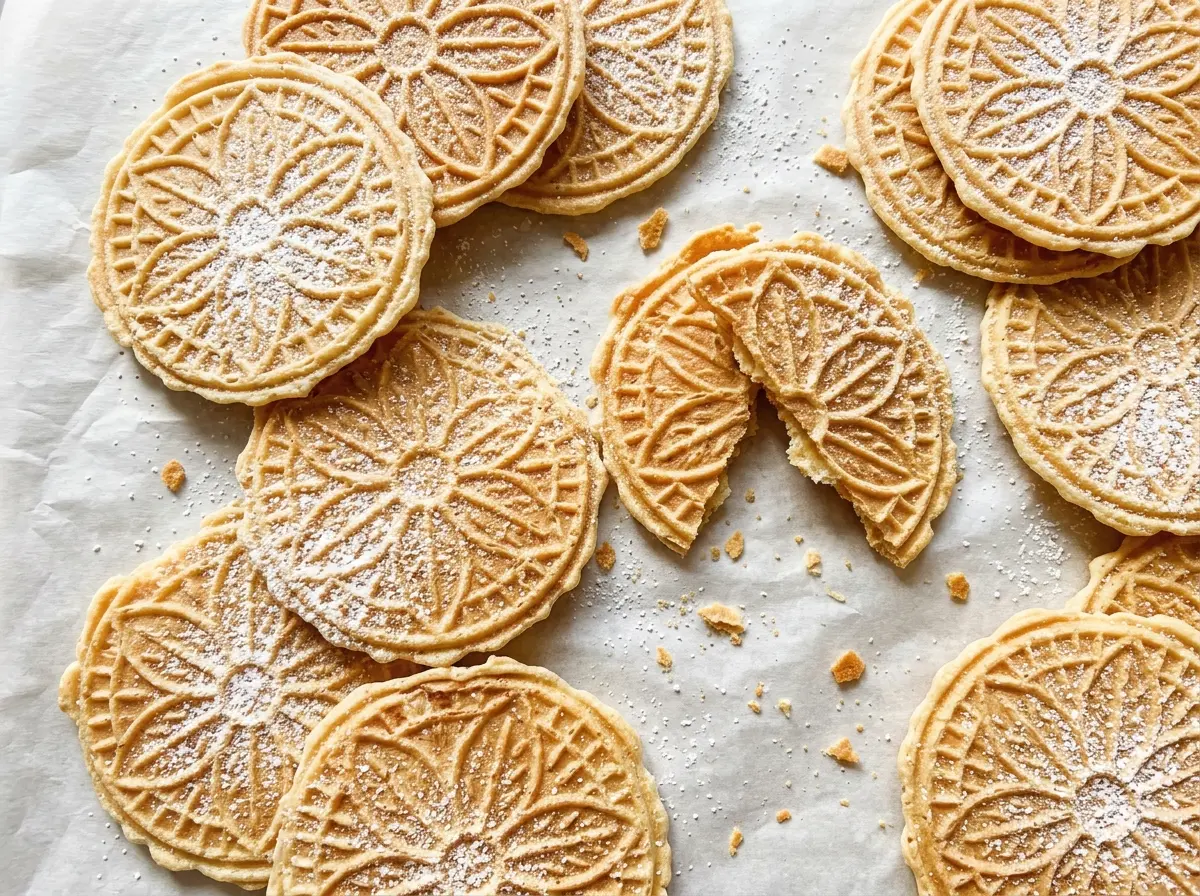
The batter starts with eggs and sugar beaten until pale and thick, which gives the cookies their delicate lift. Then melted, cooled butter and the two extracts bring in richness and that familiar anise aroma. I stir the flour in gently, cook small portions in a preheated pizzelle iron, and let the cookies cool all the way through. The result is a crisp, lightly golden cookie with a fine patterned surface and a clear, warm hint of anise.
Kitchen Note
Let the melted butter cool before it goes into the eggs. Warm butter blends in smoothly; butter that’s still hot can start cooking the eggs before the batter is ready.
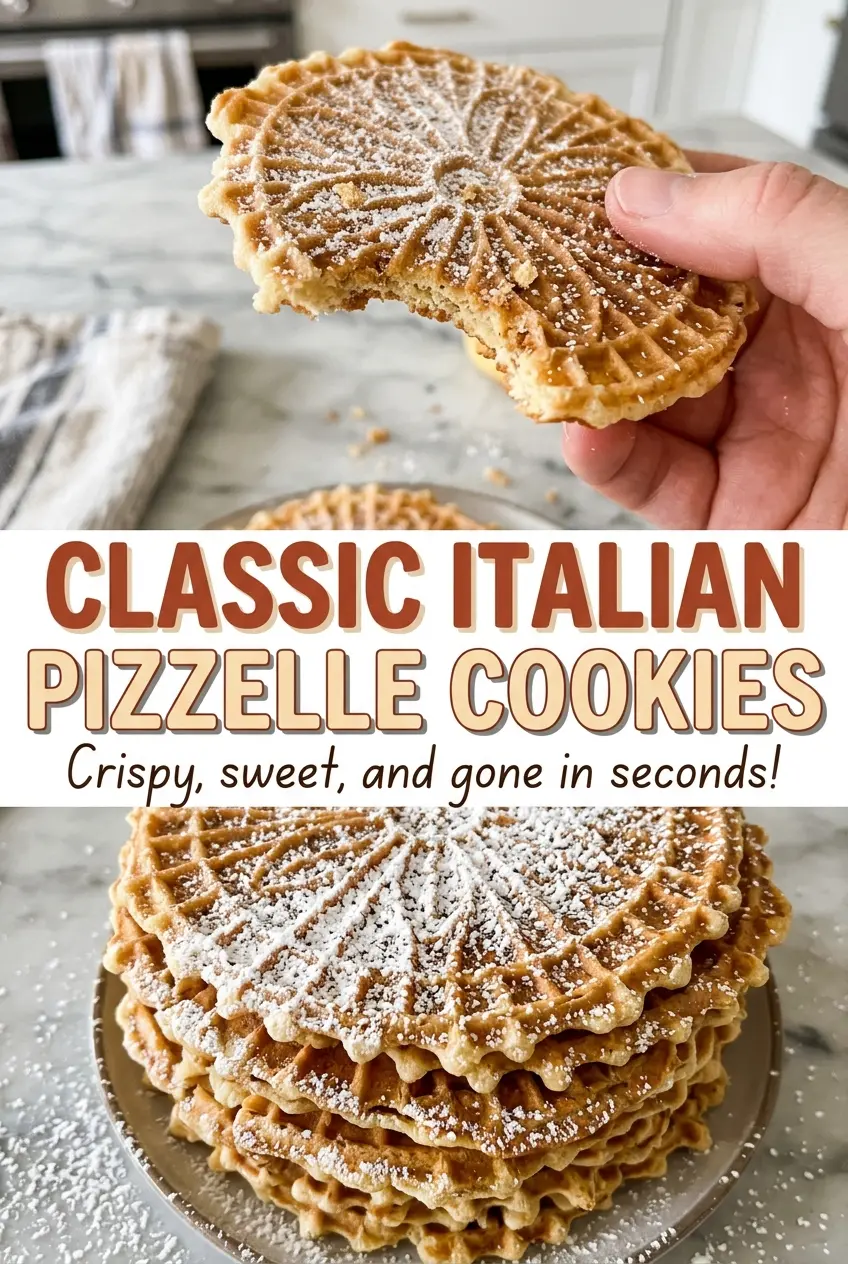
Save these Classic Italian Pizzelle Cookies for a crisp, lightly golden batch with that unmistakable anise aroma.
Why Pizzelle Leave the Iron Soft but Cool Crisp
A pizzelle doesn’t need to come out of the iron brittle. The cookie is thin, and it continues to lose steam as it rests on the wire rack; that cooling time is what takes it from flexible to crisp. If you wait for a hard snap while it’s still cooking, the delicate surface can turn too dark before the center has finished releasing moisture.
Use the two cues together: a lightly golden color and steam that has mostly stopped escaping. The 30-to-60-second range gives you a useful window, but the iron and its heat setting affect where each batch lands in that range. A just-cooked pizzella may bend slightly when you lift it. Give it space on the rack and let it cool completely before deciding whether it needs more time in the iron.
This is also why stacking the cookies straight from the iron works against crispness: trapped warmth and steam have nowhere to go. A single layer on a wire rack lets the patterned cookies cool evenly without pressing their thin edges together.
What Gives These Pizzelle Their Lift and Anise Aroma
- All-purpose flour and baking powder — Flour gives the thin cookies their structure, while baking powder provides lift. A standard store-brand all-purpose flour works well; avoid self-rising flour because it already contains leavening and would change the balance.
- Eggs and sugar — Beating them together until pale and thick builds air into the base before the dry ingredients go in. Large eggs matter for keeping the batter’s proportions consistent, and ordinary granulated sugar is the right choice for the fine texture here.
- Unsalted butter — Butter brings a rounded, tender richness that neutral oil won’t reproduce. A basic unsalted butter is plenty; the useful prep detail is to melt it and let it cool before mixing it with the eggs.
- Vanilla and anise extracts — The vanilla softens the sharper, licorice-like note of anise, which gives classic pizzelle their recognizable aroma. Use the anise extract if you want that traditional flavor; the vanilla-only variation below makes a gentler cookie.
- Neutral oil — A light coating helps the batter release from the iron without adding a noticeable flavor. Vegetable oil is a practical choice, and you only need to reapply it when the plates start to grab.
From Thick Egg Base to Crisp Pizzelle
Whisk the dry ingredients evenly
Whisk the flour, baking powder, and kosher salt together in a medium bowl. Break up any visible pockets of baking powder so the lift is spread through the batter rather than concentrated in a few spots. Set the bowl aside while you build the egg mixture.
Beat the eggs and sugar until thick
In a large bowl, beat the eggs and sugar with a hand mixer on medium speed for 2 to 3 minutes. The mixture should look pale and noticeably thicker than when you started. Beat in the cooled melted butter, vanilla extract, and anise extract until they’re combined.
Bring the batter together gently
Stir the flour mixture into the egg mixture in two additions. Stop as soon as no dry flour remains, rather than continuing to beat the batter smooth. You’re looking for a thick, cohesive batter that can be spooned into the molds.
Cook centered portions in the hot iron
Preheat the pizzelle iron according to the manufacturer’s directions, then brush the plates lightly with neutral oil. Spoon about a tablespoon of batter into the center of each mold and close the iron. Cook for 30 to 60 seconds, until the pizzelle are lightly golden and the steam has mostly stopped; repeat with the remaining batter, re-oiling only if the plates need it.
Cool each cookie on a rack
Transfer the pizzelle to a wire rack rather than piling them up. They’ll still feel a little flexible when hot, then become crisp as they cool completely. Let the iron finish cooking each portion before adding more batter, so the cookies have room to release from the plates cleanly.
Three Pizzelle Changes That Actually Work
Make them vanilla-forward
Replace the anise extract with the same amount of vanilla extract. The cookies keep their familiar buttery sweetness, but lose the licorice note and taste gentler.
Use a gluten-free flour blend
Replace the all-purpose flour with a cup-for-cup gluten-free baking blend intended for cookies. The patterned wafers may be a little more delicate, so lift them carefully from the iron and let them cool undisturbed on the rack.
Shape the warm cookies into curls
For a different presentation, roll a freshly cooked pizzella around a clean dowel while it’s still flexible, then hold the seam underneath as it cools. Work one at a time because the thin cookie firms quickly; the finished curls are more fragile than flat pizzelle.
Storage and Reheating
- Room temperature: Store completely cooled pizzelle in an airtight container for up to 1 week. They soften if exposed to humidity.
- Freezer: Freeze in an airtight container with parchment between layers for up to 2 months. Thaw while still covered so condensation doesn’t settle on the cookies.
- Reheating: These are best served at room temperature and don’t need reheating. Skip the microwave, which makes crisp cookies soft.
Questions That Come Up While Making Pizzelle
Classic Italian Pizzelle Cookies
Ingredients
Equipment
Method
- Whisk the flour, baking powder, and salt together in a medium bowl.
- In a large bowl, beat the eggs and sugar with a hand mixer on medium speed for 2 to 3 minutes, until pale and thick.
- Beat in the melted butter, vanilla extract, and anise extract until combined.
- Stir the flour mixture into the egg mixture in two additions, just until no dry flour remains.
- Preheat a pizzelle iron according to the manufacturer's directions.
- Brush the plates lightly with the oil.
- Spoon about 1 tablespoon of batter into the center of each mold.
- Close the iron and cook for 30 to 60 seconds, until the pizzelle are lightly golden and the steam has mostly stopped.
- Repeat with the remaining batter, re-oiling the plates only if needed.
- Transfer the pizzelle to a wire rack and cool completely until crisp.