
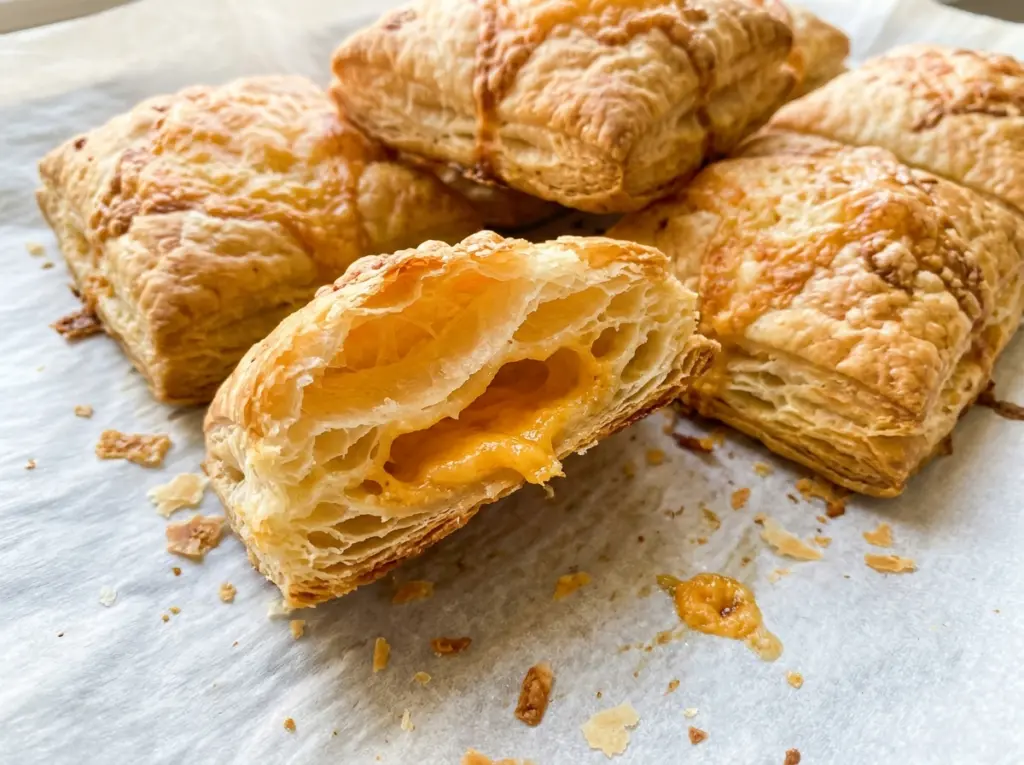
As the pastry bakes, the edges rise first, while the cheese melts into the center and starts to turn golden. That contrast is what makes these Cheese Puff Squares such a good little savory bite: flaky layers around a tender, cheesy middle. I cut one sheet of thawed puff pastry into 16 squares, so each piece is easy to pick up and share.
I score a border around each square without cutting all the way through, then prick the middle with a fork. Those two small details give the edges room to puff while keeping the cheese in a neat center instead of letting it slide toward the sides. A quick egg wash helps the pastry brown, and sharp cheddar brings enough flavor to stand up to all those buttery layers. Serve the squares after a short rest, when the pastry is crisp and the cheese is still soft.
Kitchen Note
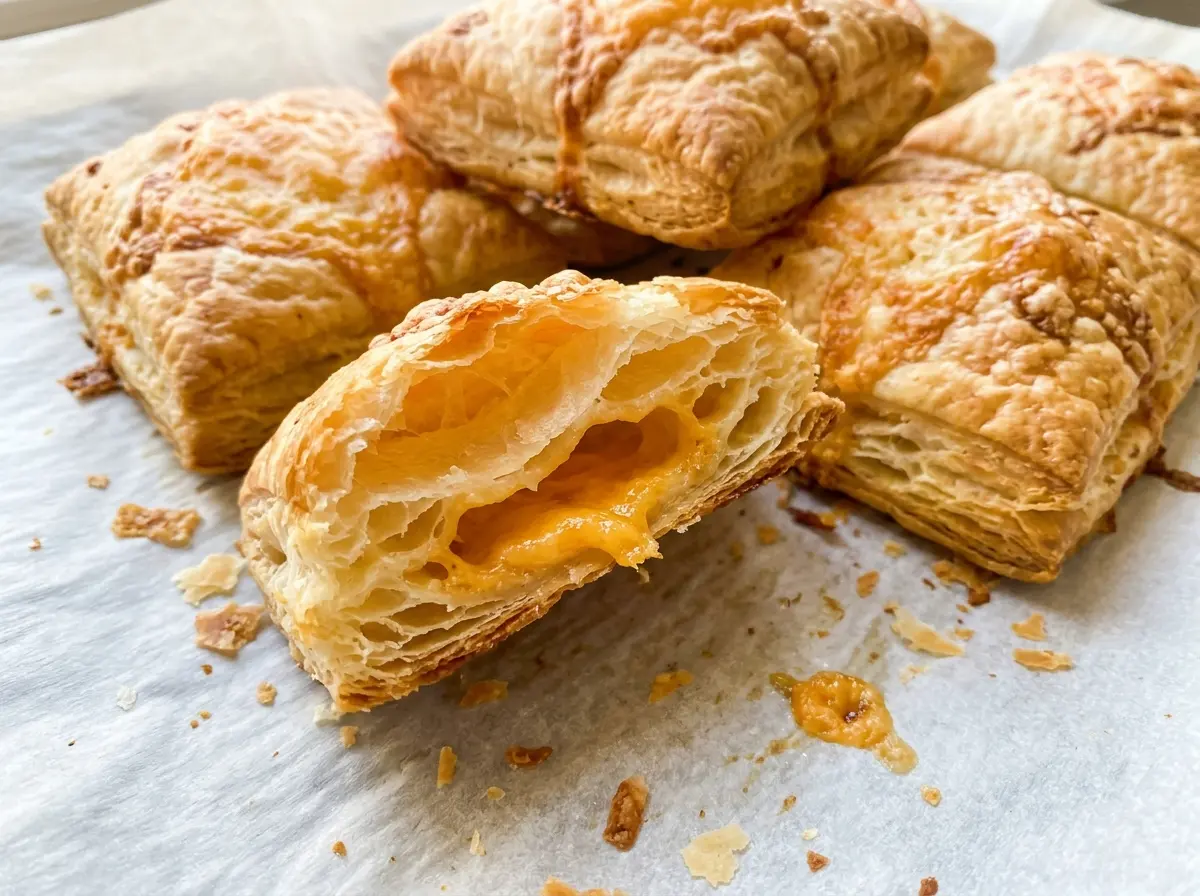
Let the squares rest on the baking sheet for 5 minutes before serving. The pastry firms up enough to lift cleanly, and the melted cheddar has a moment to settle instead of sliding off with the first bite.
Save these Cheese Puff Squares for a quick savory snack with flaky pastry and sharp cheddar in every bite.
Why the Border Puffs While the Cheesy Center Stays Flat
That little border is doing more than making each square look tidy. Scoring a shallow line gives the outer edge a place to lift, while the fork holes in the center let steam escape instead of pushing the cheese and pastry upward together. Cut all the way through the border and the square can separate into smaller pieces; skip the fork pricks and the middle may balloon beneath the topping.
The goal is a raised frame around a flatter center, not a deep trench. Keep the score light enough that the pastry remains connected, and prick the center several times without tearing through to the baking sheet. Once the squares are in the oven, the edges expand into crisp layers and hold the cheddar in place. It’s a small bit of shaping that makes the finished pieces easier to serve and gives every square a good balance of pastry and cheese.
Why Sharp Cheddar and Thawed Puff Pastry Matter More Than You’d Think
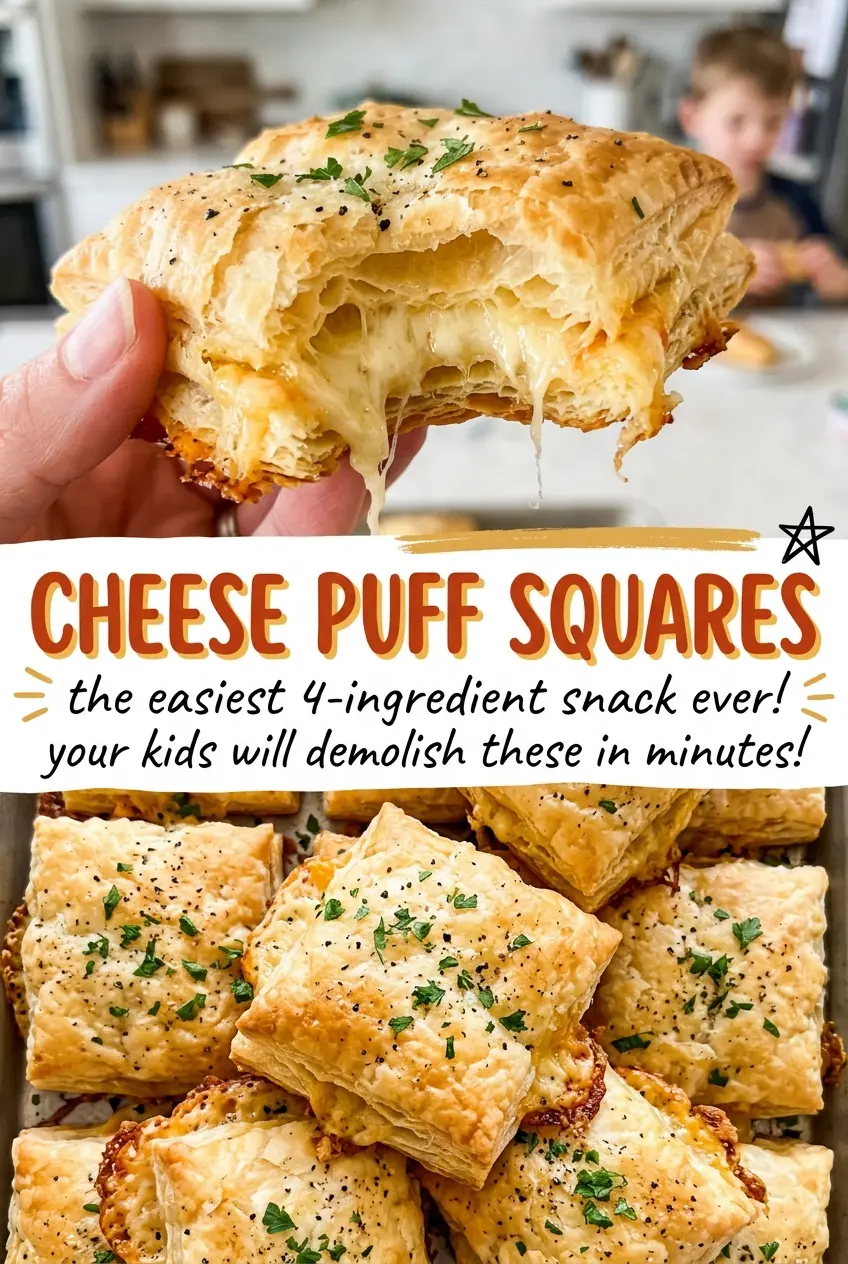
- Frozen puff pastry — Its layered structure is what creates the lift and crisp edges, so thaw it according to the package directions. Different brands have slightly different textures and butteriness; the useful test is that the sheet unfolds without cracking. If it’s still stiff, it can split as you cut it, while pastry that’s sticky is harder to shape neatly.
- Sharp cheddar — The stronger flavor stays noticeable beside the rich pastry, and the cheese melts into the center as the squares bake. A block you shred yourself tends to melt more evenly than pre-shredded cheese, but bagged shredded cheddar works when convenience matters. For a different taste, Gruyere is a good direct swap and melts smoothly.
- Egg and water — Beating them together makes a thin wash that brushes across the pastry without leaving thick patches. The egg helps the edges turn glossy and brown; the water loosens it so it spreads easily. Brush the pastry surface rather than letting puddles collect along the scored lines.
- Black pepper — A little pepper gives the cheddar a gentle savory bite without competing with it. Freshly ground pepper has a brighter aroma, though ordinary ground black pepper is perfectly fine here. Scatter it over the cheese so the seasoning stays with the topping.
The Small Details That Keep Each Square Neat
Cutting and Marking the Pastry
Heat the oven to 400°F and line a rimmed baking sheet with parchment paper. Set the thawed pastry on the sheet and cut it into 16 squares, leaving a little space between each one. Score a 1/4-inch border around every square without slicing through the pastry. Prick each center several times with a fork so the middle stays flatter than the edges.
Brushing and Topping Each Square
Beat the egg with the water in a small bowl until the mixture looks even. Brush it over the pastry, including the outer edges, with a light, even coat. Divide the shredded cheddar among the centers and keep the cheese within the scored borders. Finish with the black pepper; a low, even layer melts more neatly than a tall mound.
Baking Until the Layers Turn Golden
Bake the squares for 15 to 18 minutes. Look for puffed edges with a golden-brown surface, and check that the cheese has melted in the centers. If the pastry is still pale at the shorter end of the range, give it the remaining bake time and watch for that color rather than pulling it out early. The contrast between browned edges and melted cheddar is the cue that these are ready.
Three Easy Changes Without Losing the Flaky-Cheese Center
Use Gruyere for a nuttier center
Replace the cheddar with the same amount of shredded Gruyere. It melts smoothly and gives the squares a deeper, slightly nutty flavor, with less of cheddar’s sharp tang.
Make a dairy-free batch
Choose dairy-free puff pastry and use dairy-free cheddar-style shreds in place of the regular pastry and cheddar. Keep the egg wash; egg is not dairy. The topping won’t melt quite as smoothly as real cheddar, but the squares still bake up with a savory, cheesy center.
Add a little heat
Mix a pinch of cayenne into the cheddar before dividing it over the pastry. It brings a gentle warmth that builds behind the sharp cheese without changing the flaky texture.
Storage and Reheating
- Refrigerator: Store in an airtight container for up to 3 days. The pastry softens as it sits, so it won’t be quite as crisp as it is fresh.
- Freezer: Freezing isn’t recommended for the baked squares; thawing tends to dull the crisp, flaky texture.
- Reheating: Warm on a baking sheet in a 350°F oven for 5 to 8 minutes, until the pastry crisps again and the cheese is hot. Skip the microwave, which softens the layers instead of reviving them.
The Questions That Come Up Before the First Bite
Cheese Puff Squares
Ingredients
Equipment
Method
- Heat the oven to 400°F.
- Line a rimmed baking sheet with parchment paper.
- Place the puff pastry on the baking sheet and cut it into 16 squares, leaving a little space between them.
- Score a 1/4-inch border around each square without cutting all the way through.
- Prick the centers several times with a fork.
- Beat the egg with the water in a small bowl.
- Brush the egg mixture over the pastry squares.
- Divide the cheddar among the centers.
- Sprinkle with the black pepper.
- Bake for 15 to 18 minutes, until the pastry is puffed and golden brown and the cheese is melted.
- Rest the squares on the baking sheet for 5 minutes before serving.