
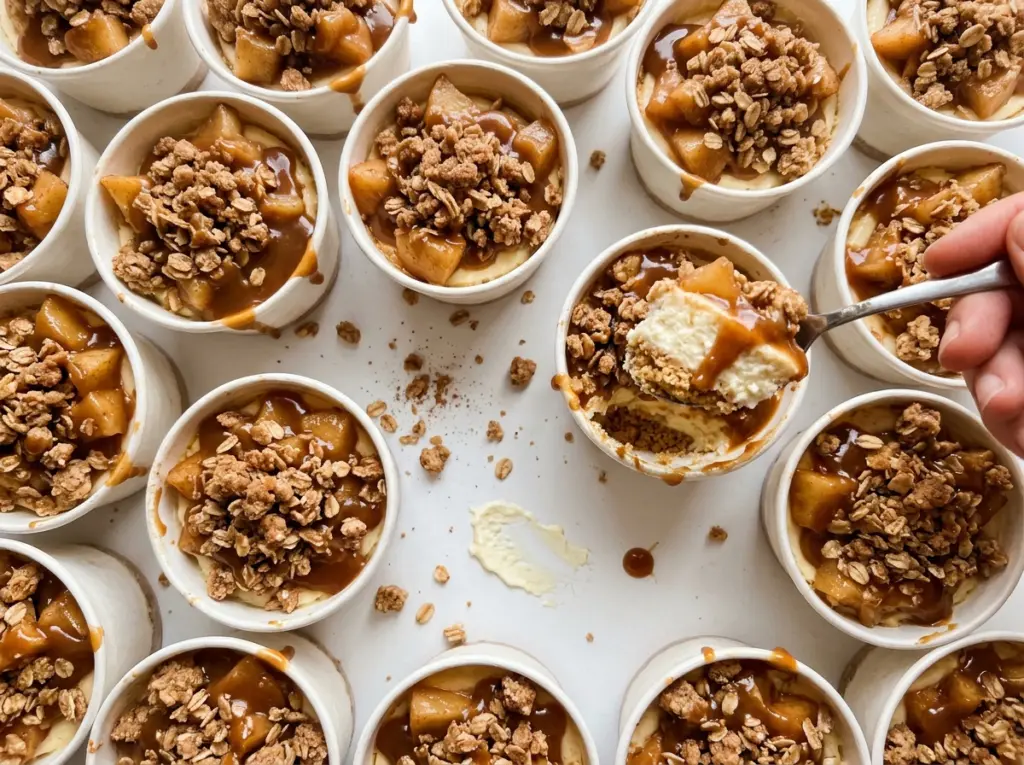
The graham crust needs to hold together when you lift a cup from the pan, but it shouldn’t turn into a hard little disk. Pressing the crumbs firmly into the liners and giving them a short bake does the job. These Apple Crisp Cheesecake Cups pair that sturdy base with a smooth, chilled filling and a separate layer of cinnamon apples under golden oat crumble.
I bake the apple topping in its own dish, then let it cool while the cheesecakes chill. That keeps the cheesecake cold and lets the crisp stay distinct instead of sinking into the filling. The best bite has a firm crumb base, a cool center, and tender apples with a crumbly top.
Kitchen Note
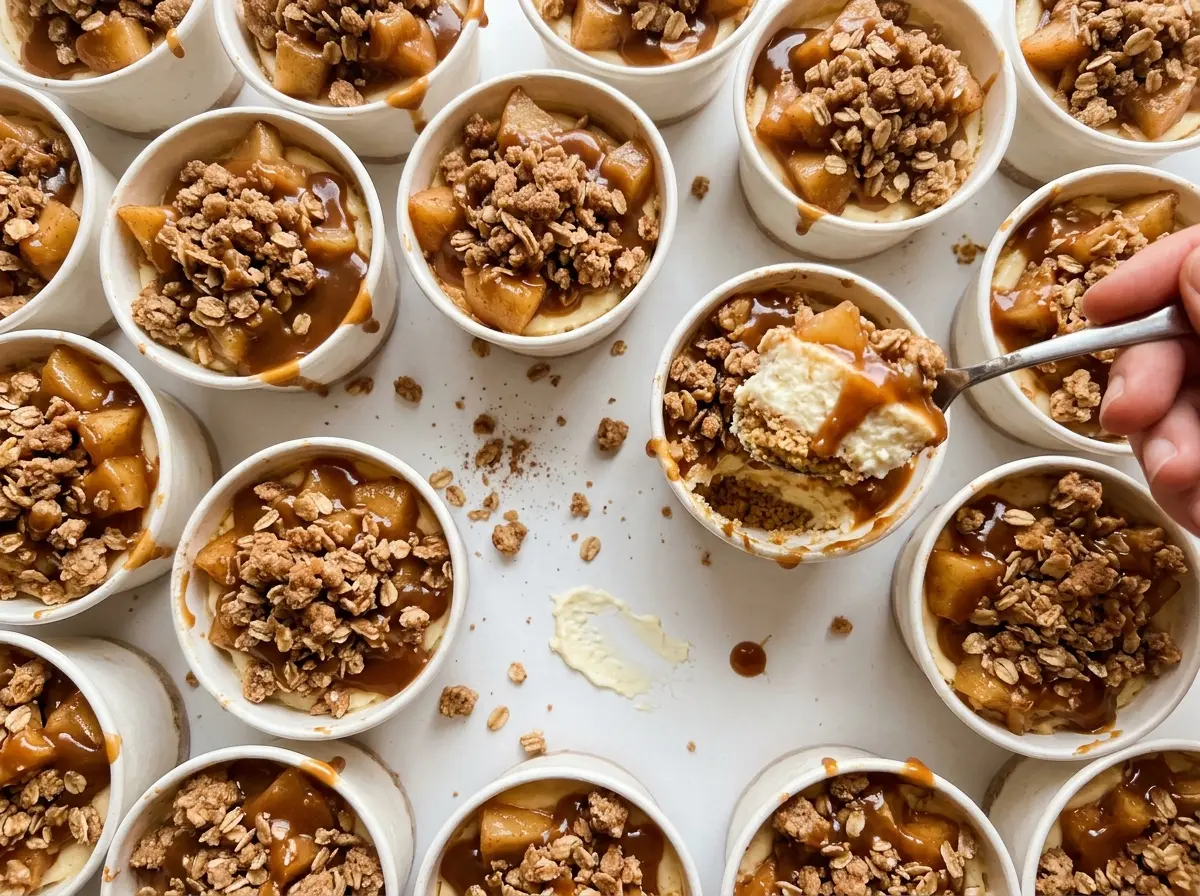
Let the apple crisp cool for the full 30 to 45 minutes before spooning it onto the cups. Warm topping softens the chilled cheesecake, while cooled topping keeps its crumbly texture when you serve it.
Save these Apple Crisp Cheesecake Cups for a make-ahead dessert with cool cheesecake, tender cinnamon apples, and a buttery oat topping.
Why the Apple Crisp Bakes Apart From the Cheesecake
The apples and the cheesecake need different conditions to turn out well. Apples release juice as they cook, and the cornstarch thickens that juice into a glossy coating. The oat topping needs enough heat and open space to turn golden. If you layer raw apples over the filling before baking, their moisture ends up in the same small cup as the cheesecake, and the crisp can’t brown properly there.
Baking the apple mixture in an 8-inch square dish gives the fruit room to bubble and the topping a broad surface to crisp. The cheesecake gets its own bake in the muffin pan, followed by a long chill that sets the centers. Then the components meet at serving time, so each layer keeps its own texture. It’s a little more deliberate than baking everything together, but the contrast is what makes these cups feel like cheesecake and apple crisp in the same forkful.
What the Crust, Filling, and Crisp Need From Their Ingredients
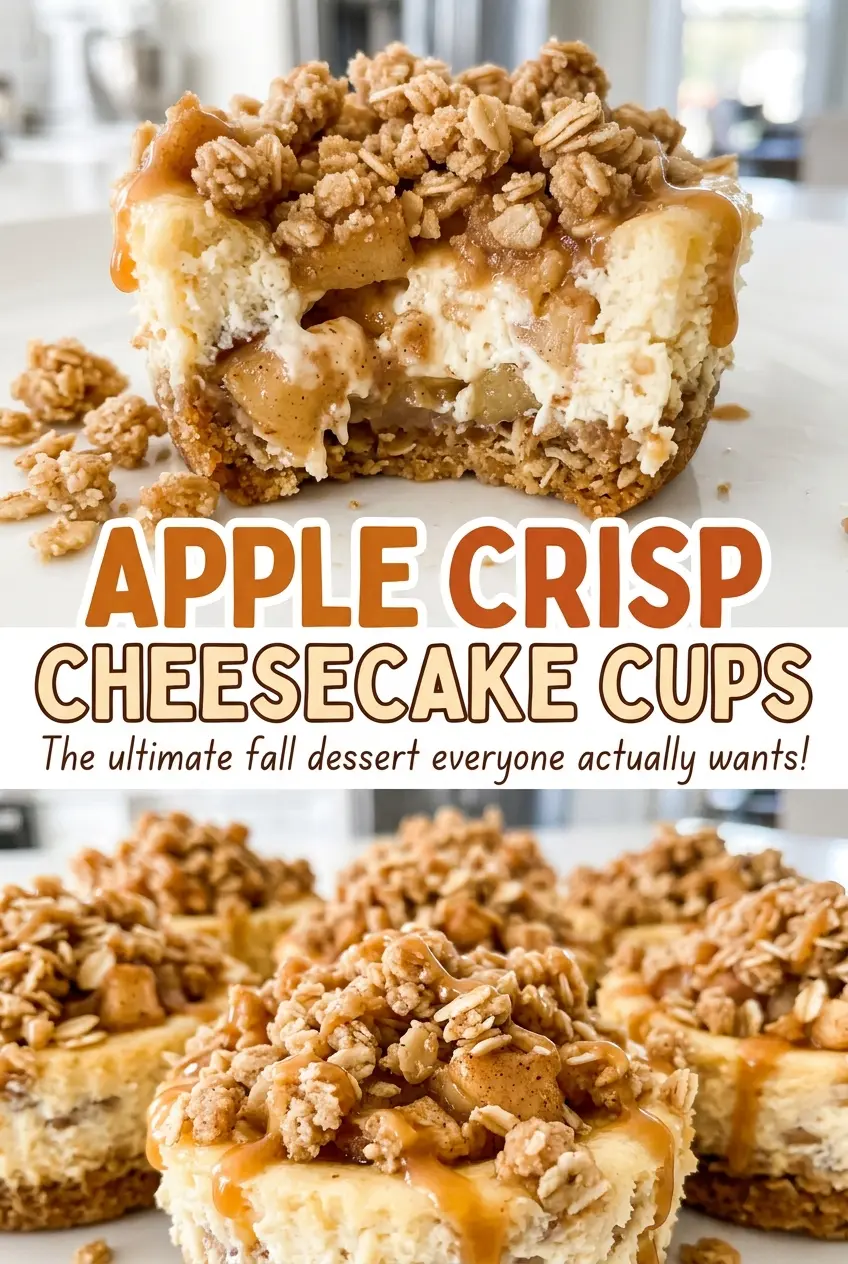
- Graham cracker crumbs — Fine crumbs press into a compact base that holds together under the cheesecake. Store-bought crumbs are convenient; if you crush crackers yourself, aim for an even, fine texture rather than large pieces. For a gluten-free version, use gluten-free graham cracker crumbs in the same amount.
- Cream cheese — It gives the filling its structure and familiar tang. Let it soften before mixing so it can become smooth without leaving lumps. There isn’t a dependable equal-volume swap that gives the same cheesecake texture, so keep the cream cheese for this version.
- Eggs and sour cream — Room-temperature eggs blend into the filling more easily, and sour cream keeps the baked center tender instead of dense. Plain, full-fat Greek yogurt can stand in for the sour cream in the same amount; expect a slightly tangier, a little firmer filling.
- Firm apples — Choose apples that hold their shape during baking; Granny Smith is a good option if you like a tarter layer. Peel, core, and cut them into even half-inch pieces so they soften at a similar rate. A bruised or mealy apple won’t give you the same clean, tender pieces.
- Old-fashioned oats and cold butter — Rolled oats give the crisp topping distinct flakes, while cold butter helps it bake into crumbly clusters. Keep the topping butter cold and cubed when you cut it in. For gluten-free cups, use certified gluten-free rolled oats and a one-to-one gluten-free baking flour in place of the all-purpose flour.
The Separate Bakes That Keep These Cups Neat
Pressing a Firm Graham Base
Heat the oven to 350°F and line a 12-cup standard muffin pan with paper liners. Stir the crumbs with the melted butter until evenly moistened, then divide them among the liners and press firmly across each bottom. Bake for 5 minutes. Set the pan aside to cool slightly while you mix the filling.
Mixing a Smooth Cheesecake Filling
Beat the softened cream cheese with an electric mixer on medium speed until smooth, then beat in the granulated sugar. Add the eggs one at a time on low speed; high speed can incorporate extra air into the batter. Mix in the sour cream and vanilla just until combined. Stop once the mixture looks even, rather than continuing to beat it.
Baking and Chilling the Cheesecake
Divide the filling among the liners, filling each about three-quarters full. Bake at 350°F for 18–22 minutes, until the edges are set and the centers barely jiggle; the centers should reach 160°F. Cool the cups in the pan for 30 minutes, then refrigerate for at least 3 hours, until cold and fully set. Don’t rush the chill, because the centers need that time to firm up.
Building the Apple Crisp
Toss the diced apples with lemon juice, some of the brown sugar, cornstarch, and some of the cinnamon, then spread them in an 8-inch square baking dish. Stir together the oats, flour, remaining brown sugar, remaining cinnamon, and salt, then cut in the cold cubed butter until the mixture is crumbly. Scatter it over the apples and bake at 350°F for 25–30 minutes. Look for bubbling fruit and a golden-brown topping before taking the dish out to cool.
Finishing Each Cup
Keep the cheesecake cups chilled until the apple crisp has cooled at room temperature for 30–45 minutes. Spoon the cooled topping over the cups just before serving. Add a mix of fruit and crumble to each one rather than piling all the topping in the center. The cups are ready when every bite gets a little of the crisp and the cheesecake beneath it.
Ways to Shift These Apple Crisp Cheesecake Cups
Choose a tarter apple
Use firm Granny Smith apples for the diced fruit. Their sharper taste balances the sweet cheesecake and brown sugar crumble; the pieces still hold their shape as they bake.
Make the crust and crisp gluten-free
Replace the graham crumbs with gluten-free graham cracker crumbs, use certified gluten-free rolled oats, and swap the all-purpose flour for an equal amount of one-to-one gluten-free baking flour. The topping may be a little more delicate, but the buttery oat crumble still gives the cups their crisp layer.
Storage and Reheating
- Refrigerator: Keep covered in the refrigerator for up to 3 days. Once topped, the oat crumble softens as it sits, so store any remaining crisp separately from unserved cups.
- Freezer: Freeze the cheesecake cups without topping in an airtight container for up to 2 months. Thaw them in the refrigerator; the apple crisp topping is best made fresh because freezing softens its crumbly texture.
- Reheating: These are meant to be served cold, so skip the microwave. Heating the assembled cups softens the cheesecake and crust.
Questions That Come Up With Apple Crisp Cheesecake Cups
Apple Crisp Cheesecake Cups
Ingredients
Equipment
Method
- Preheat the oven to 350°F.
- Line a 12-cup standard muffin pan with paper liners.
- Stir 1 cup graham cracker crumbs with 3 tablespoons melted butter.
- Divide the crumb mixture among the liners and press it firmly into the bottoms.
- Bake for 5 minutes, then set the pan aside to cool slightly.
- Beat 2 packages softened cream cheese with an electric mixer on medium speed until smooth.
- Beat in 1/2 cup granulated sugar.
- Beat in 2 large eggs one at a time on low speed.
- Mix in 1/4 cup sour cream and 1 teaspoon vanilla extract just until combined.
- Divide the filling among the liners, filling each about three-quarters full.
- Bake at 350°F for 18–22 minutes, until the edges are set, the centers barely jiggle, and the centers reach 160°F.
- Cool the cheesecakes in the pan for 30 minutes.
- Refrigerate for at least 3 hours, until cold and fully set.
- Toss 2 medium apples with 1 teaspoon lemon juice, 2 tablespoons packed light brown sugar, 1 teaspoon cornstarch, and 1/2 teaspoon ground cinnamon.
- Spread the apples in an 8-inch square baking dish.
- Stir together 1/2 cup old-fashioned rolled oats, 1/4 cup all-purpose flour, the remaining 1/4 cup packed light brown sugar, the remaining 1/4 teaspoon ground cinnamon, and 1/8 teaspoon salt.
- Cut in the remaining 3 tablespoons cold, cubed butter until crumbly.
- Scatter the oat mixture over the apples.
- Bake at 350°F for 25–30 minutes, until the apples are bubbling and the topping is golden brown.
- Cool at room temperature for 30–45 minutes.
- Spoon the cooled apple crisp topping over the chilled cheesecake cups just before serving.