
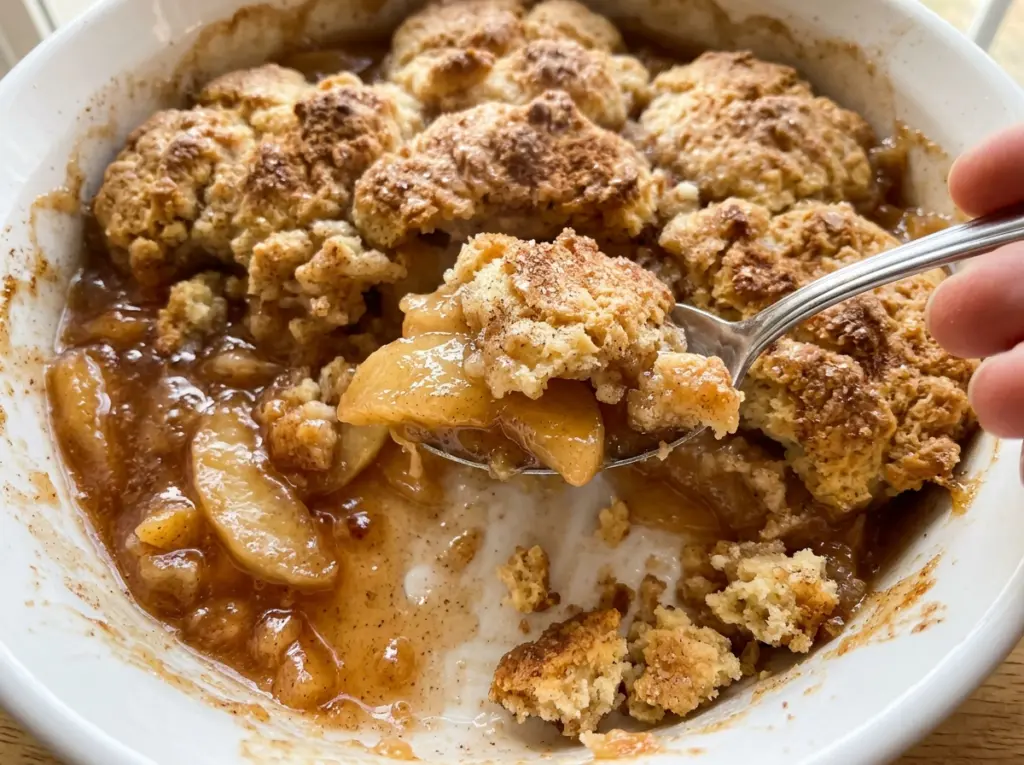
When the apple filling starts bubbling around the edges, the biscuit topping is turning golden above it, with little windows of fruit still showing through. That’s the moment I watch for with apple cobbler: the apples soften underneath while the topping bakes into tender, craggy pieces rather than one heavy blanket of dough. The cinnamon and nutmeg settle into the brown-sugar juices, and the kitchen starts smelling like warm apples before the timer goes off.
I use thin, even apple slices so they have time to turn tender while the topping browns. The dough is meant to look shaggy, not smooth, and I leave small gaps between the spoonfuls so steam can escape as the filling bubbles. After a short rest, the juices thicken enough to spoon neatly beneath the soft biscuit topping. It’s a straightforward apple cobbler with a cozy, tender center and golden edges.
Kitchen Note
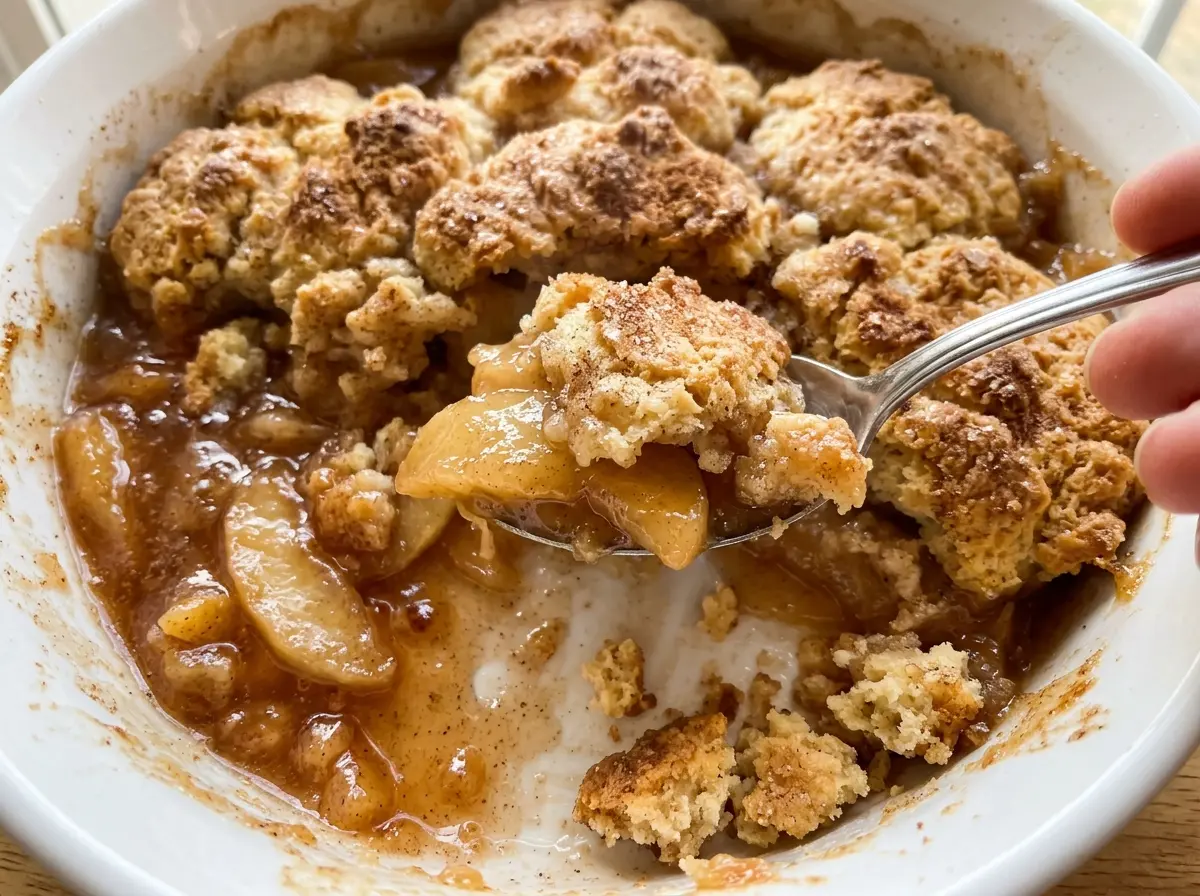
Keep the butter cold and stop mixing as soon as the dough looks shaggy. Pea-size bits of butter make the topping tender; working the dough until it’s smooth can leave it tough.
Save this apple cobbler for a day when you want tender cinnamon apples under a golden, spoonable biscuit topping.
Why This Cobbler Needs Thin, Even Apple Slices
A cobbler can look done on top while the fruit underneath is still firm. Apples take longer to soften than the biscuit topping takes to brown, so thick or uneven pieces make the timing harder to manage. Slicing the apples to a consistent thickness gives them a better chance of becoming tender together, instead of leaving you with a few soft pieces and a few stubborn, crunchy ones.
The filling has to do two jobs: soften the fruit and turn its released juices into a spoonable sauce. Cornstarch thickens those juices as the filling heats, while lemon juice adds a little brightness and helps balance the brown sugar. Don’t judge the filling by how it looks before baking; the apples release their liquid in the oven, and the cornstarch needs that heat to thicken it. Look for bubbles around the edges by the end of baking. A short rest after the cobbler leaves the oven gives the juices a chance to settle before you serve it.
The Apples, Starch, and Butter That Shape This Cobbler
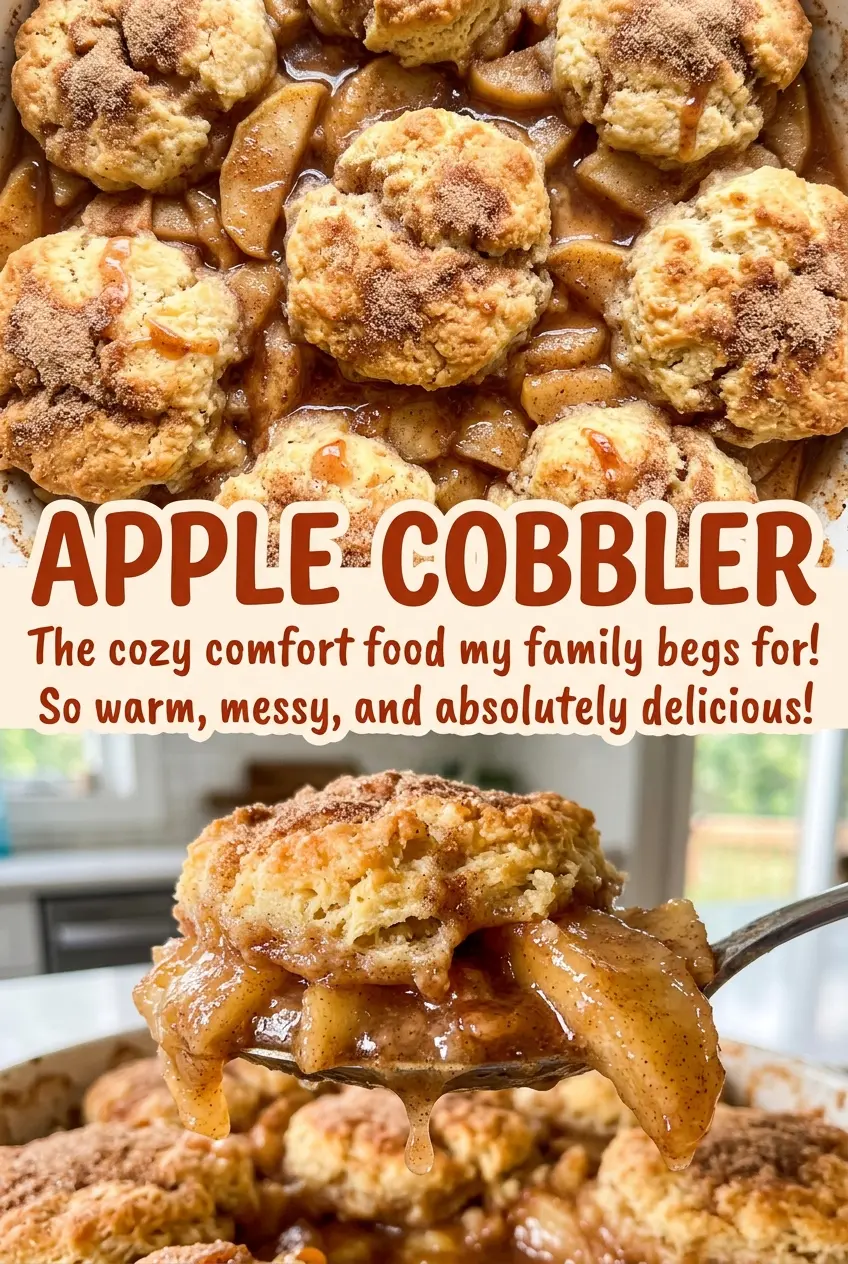
- Apples — Choose firm apples that hold their shape during baking. Granny Smith gives the filling a tart edge; a firm, sweeter baking apple makes it rounder and less tangy. Mixing the two is a useful way to balance the fruit without changing the method. Peel and core them before slicing so the filling stays soft rather than chewy.
- Cornstarch — This is what thickens the juices released by the apples. Arrowroot powder can stand in at the same amount, though it tends to give the filling a glossier look. Whichever starch you use, toss it through the fruit evenly so it doesn’t collect in dry pockets.
- Brown sugar, lemon, and spices — Packed light brown sugar brings a mild molasses note that suits the apples; dark brown sugar works in its place for a deeper, more pronounced one. Bottled lemon juice is fine here if that’s what you have. Freshly ground nutmeg has a brighter aroma, but pre-ground nutmeg is perfectly serviceable in a baked filling.
- Flour and baking powder — All-purpose flour gives the topping its structure, while baking powder helps the spoonfuls rise. Check that your baking powder is fresh if it has been open in the pantry for a long time; old leavener can leave the biscuits dense.
- Cold butter and whole milk — Butter cut into the flour gives the topping richness and small, tender pockets. Whole milk makes a soft dough; keep it cold until you’re ready to stir it in. The dairy-free card below gives a workable swap for both.
How to Get Tender Apples and a Golden Biscuit Top
Coating the Apple Slices
Heat the oven to 375°F and coat a 9×13-inch baking dish with nonstick cooking spray. Toss the peeled, cored apples with the brown sugar, lemon juice, cornstarch, cinnamon, and nutmeg in a large bowl. Keep tossing until the fruit is evenly coated and there are no visible dry patches of starch. Spread the mixture across the prepared dish so the slices bake in an even layer.
Mixing a Shaggy Biscuit Dough
Whisk the flour, granulated sugar, baking powder, and salt together in a medium bowl. Cut in the cold butter with a pastry cutter or your fingertips until the pieces are about pea-size. Pour in the milk and stir only until a shaggy dough forms; it won’t look like a smooth cake batter. If you keep stirring to make it uniform, the topping can turn dense.
Leaving Small Gaps Over the Fruit
Drop spoonfuls of dough over the apples, leaving small gaps between them. The dough will spread as it bakes, but it doesn’t need to cover every bit of fruit before it goes into the oven. Those open spots let steam escape and give the bubbling filling room to show around the topping. Avoid pressing the dough down into the apples.
Baking Until the Filling Bubbles
Bake for 45 to 55 minutes, until the topping is golden, the filling bubbles around the edges, and a knife pierces the apples easily. Those cues matter together: a golden top alone doesn’t tell you whether the fruit is tender. If the apples still feel firm when pierced, keep baking until they soften. Let the cobbler rest for 15 minutes before serving so the hot filling settles.
Three Useful Ways to Adapt This Apple Cobbler
Use a tart-and-sweet apple mix
Use a mix of firm tart apples, such as Granny Smith, and firm sweeter baking apples. The tart fruit keeps the filling from tasting overly sweet, while the sweeter apples bring a mellow, rounded flavor. Slice both kinds evenly so they soften at a similar pace.
Make the biscuit topping gluten-free
Replace the all-purpose flour with the same amount of a cup-for-cup gluten-free baking flour blend that includes a binder. The topping may be a little more delicate and crumbly, but the fruit filling stays the same. Stir just until the dough comes together.
Make a dairy-free topping
Use cold dairy-free baking sticks in place of the unsalted butter and unsweetened oat milk in place of the whole milk, keeping both swaps at the same amounts. Choose firm sticks rather than soft tub spread so the dough has enough structure. The topping will be a little less rich, but it still bakes into spoonable biscuits.
Storage and Reheating
- Refrigerator: Cover and refrigerate leftovers for 3 to 4 days. The biscuit topping softens as it sits against the fruit.
- Freezer: Freeze cooled portions in an airtight container for up to 3 months. Thaw in the refrigerator before reheating; the topping may be softer than when freshly baked.
- Reheating: Warm in a 350°F oven, loosely covered with foil, until heated through. Uncover near the end if you’d like the topping to dry out a little; microwaving is quicker but makes it softer.
Questions That Come Up When Baking Apple Cobbler
Apple Cobbler
Ingredients
Equipment
Method
- Heat the oven to 375°F.
- Coat a 9x13-inch baking dish with nonstick cooking spray.
- In a large bowl, toss the apples with the brown sugar, lemon juice, cornstarch, cinnamon, and nutmeg until evenly coated.
- Spread the apple mixture in the prepared baking dish.
- In a medium bowl, whisk together the flour, granulated sugar, baking powder, and salt.
- Cut the cold butter into the flour mixture with a pastry cutter or your fingertips until the pieces are about pea-size.
- Pour in the milk and stir just until a shaggy dough forms.
- Drop spoonfuls of dough over the apples, leaving small gaps.
- Bake for 45 to 55 minutes, until the topping is golden, the filling bubbles around the edges, and the apples are tender when pierced with a knife.
- Let the cobbler rest for 15 minutes before serving.