
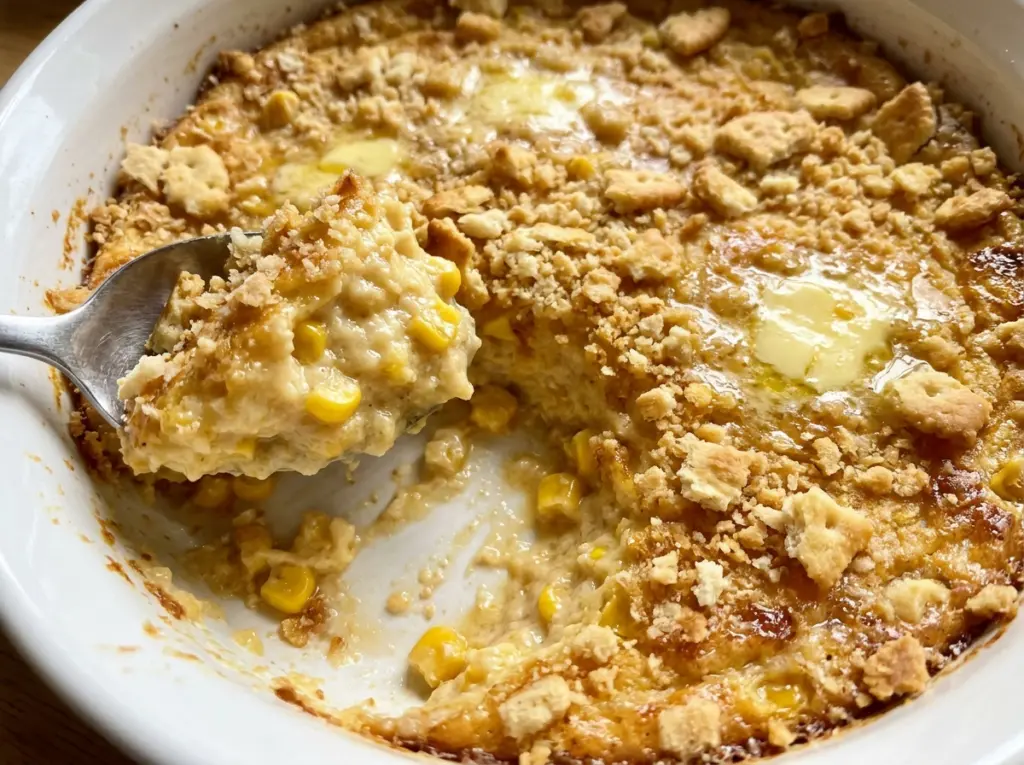
The edges start to turn golden before the center looks fully set, which can make this casserole seem ready a little too soon. I wait for the middle to firm up, because the eggs need time to set all the way through. That balance is what makes Amish Baked Corn creamy and spoonable instead of loose in the middle.
This bake uses whole-kernel corn for bites of sweetness and cream-style corn for a thicker base. Finely crushed saltines help the mixture hold together, while a little sugar rounds out the corn without making the dish taste like dessert. It’s the kind of simple side that fits beside a weeknight dinner, and the top comes out golden while the inside stays tender.
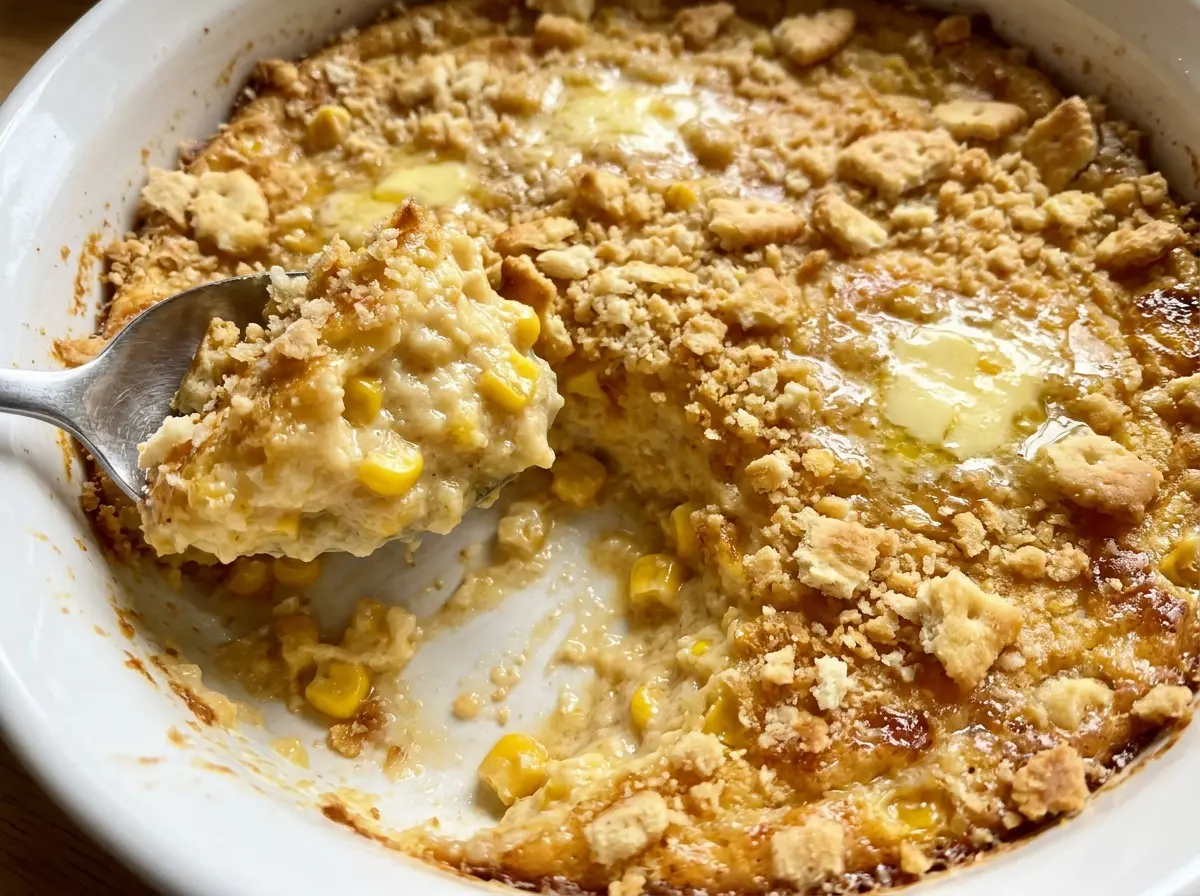
Kitchen Note
Crush the saltines finely before they go into the bowl. Big pieces can stay noticeably dry in the finished bake, while fine crumbs disappear into the corn mixture and help give each scoop a cohesive texture.
Save Amish Baked Corn for a cozy meal — golden at the edges, creamy in the center, and made with pantry-friendly ingredients.
Why This Bake Uses Two Kinds of Canned Corn
Whole-kernel corn and cream-style corn do different jobs here. Draining the whole kernels keeps their crisp, distinct bites without bringing extra canning liquid into the dish. The cream-style corn stays thick and gives the mixture its creamy base; swapping it for another can of regular corn would leave the bake without that same body.
The eggs set the mixture as it bakes, and the cracker crumbs help it hold together without turning it into a firm, floury casserole. That’s why the texture lands between a soft corn pudding and a sliceable bake. The top can look ready while the center is still loose, so use the middle—not just the browned edges—to judge when it’s done.
What the Corn, Eggs, and Crackers Contribute

- Whole-kernel corn — A store-brand can works well; what matters most is draining it before it goes into the bowl. That keeps the corn’s texture intact without adding excess liquid.
- Cream-style corn — Use the whole can, including its thick contents. It’s the part that makes the base creamy, so plain whole-kernel corn isn’t an equal replacement.
- Eggs — They bind the milk and corn as the casserole bakes. Beat them lightly first so they mix evenly through the bowl without leaving streaks of egg white.
- Saltine crackers — Plain saltines bring a mild salty note and a soft crumb that blends into the bake. Their brand matters less than crushing them finely; flavored crackers can bring extra seasoning that changes the balance.
- Whole milk and butter — Whole milk gives the mixture a richer feel, and melted unsalted butter adds tenderness. If you only have 2% milk, it will work, though the finished bake will be a little less rich.
- Sugar and black pepper — The sugar supports the corn’s natural sweetness, while pepper keeps the taste from leaning too sweet. Both are easy to overlook, but together they round out the simple, familiar flavor.
From the First Stir to a Golden, Set Center
Get the baking dish ready
Heat the oven to 350°F and coat a 9×13-inch baking dish with cooking spray. Greasing the dish helps the edges release cleanly when you serve the corn. Set the dish aside while you mix the filling, so it’s ready as soon as the bowl is combined.
Stir the corn mixture evenly
Add the drained whole-kernel corn, cream-style corn, lightly beaten eggs, milk, crushed saltines, melted butter, sugar, salt, and pepper to a large bowl. Stir until the ingredients are distributed through the mixture and no pocket of dry cracker crumbs remains. Don’t worry about making it perfectly smooth; the whole kernels should still be visible.
Bake until the middle is set
Pour the mixture into the prepared dish and spread it into an even layer. Bake for 45 to 55 minutes, watching for golden edges and a center that no longer looks liquid. Check the middle with an instant-read thermometer; it should reach 160°F. If the edges are golden but the center hasn’t reached that temperature, continue baking until it does.
Let the casserole rest
Take the dish out of the oven and let the baked corn rest for 10 minutes before serving. The center will settle as it stands, making each scoop easier to lift. Serve it from the baking dish while it’s warm.
Two Easy Ways to Adapt Amish Baked Corn
Make it gluten-free with gluten-free crackers
Replace the saltines with the same volume of finely crushed plain gluten-free crackers. Choose a mild, unflavored variety so the corn stays at the center of the dish; the crumb may be a little different, but it still helps bind the casserole.
Leave out the sugar for a more savory bake
Omit the granulated sugar and keep the rest of the mixture the same. The corn’s natural sweetness will still come through, but the finished casserole will taste more straightforwardly savory.
Storage and Reheating
- Refrigerator: Store leftovers covered for 3 to 4 days. The texture will firm up as it chills.
- Freezer: Freeze portions in airtight containers for up to 2 to 3 months. Thaw in the refrigerator; the texture may be a little softer after freezing.
- Reheating: Reheat a portion in a covered microwave-safe dish in short intervals until hot throughout. Avoid heating it uncovered for a long stretch, which can dry out the edges.
Questions That Come Up Before the Corn Goes in the Oven
Amish Baked Corn
Ingredients
Equipment
Method
- Heat the oven to 350°F.
- Coat a 9x13-inch baking dish with cooking spray.
- In a large bowl, stir together the whole-kernel corn, cream-style corn, eggs, milk, crushed crackers, melted butter, sugar, salt, and pepper.
- Pour the mixture into the prepared dish.
- Bake for 45 to 55 minutes, until the edges are golden and the center is set and reaches 160°F.
- Let the baked corn rest for 10 minutes before serving.