
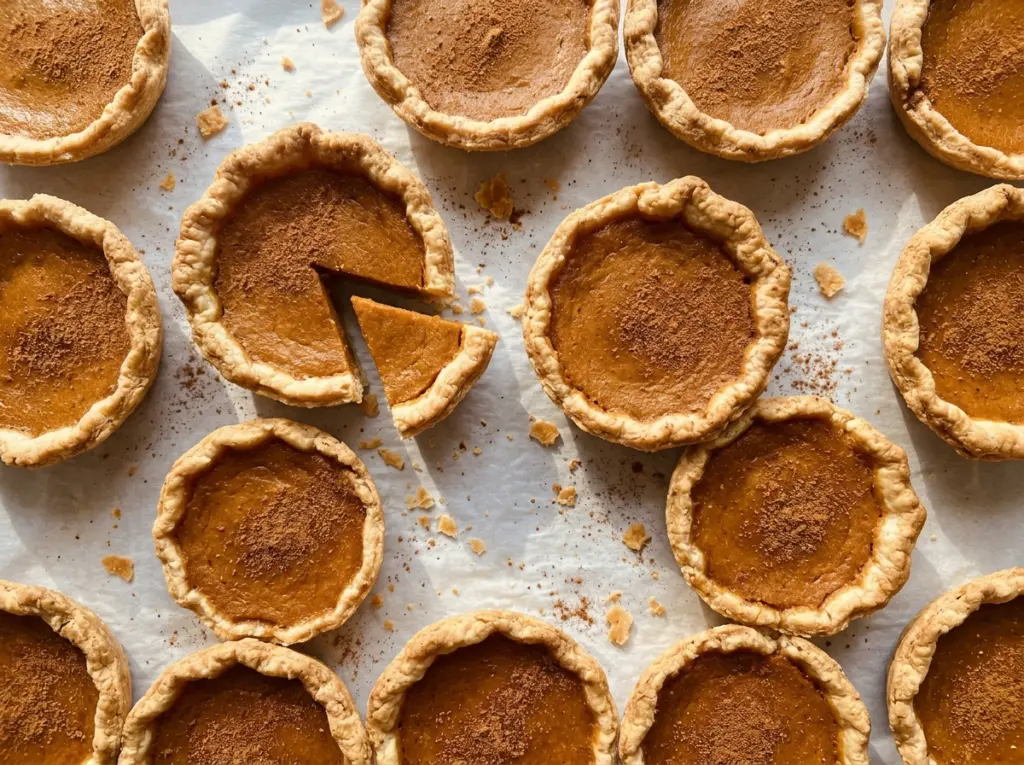
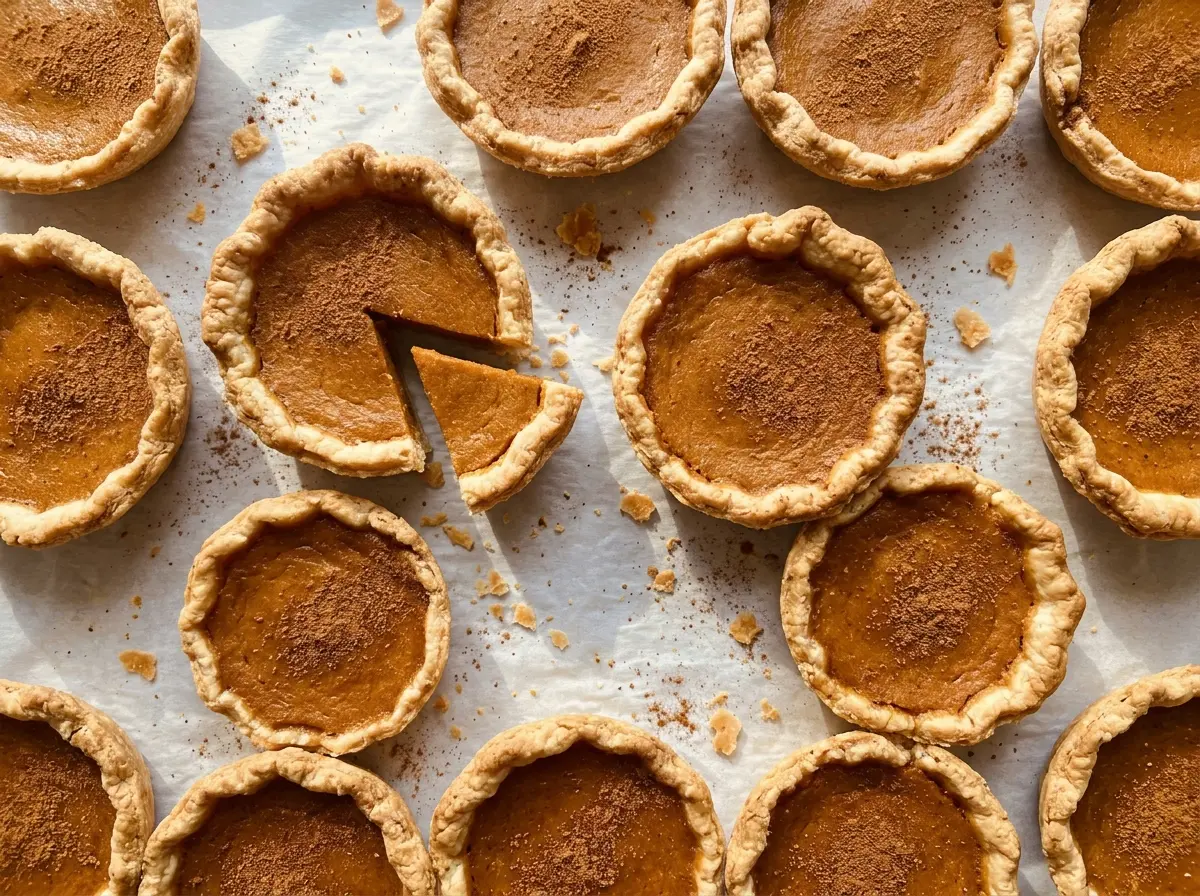
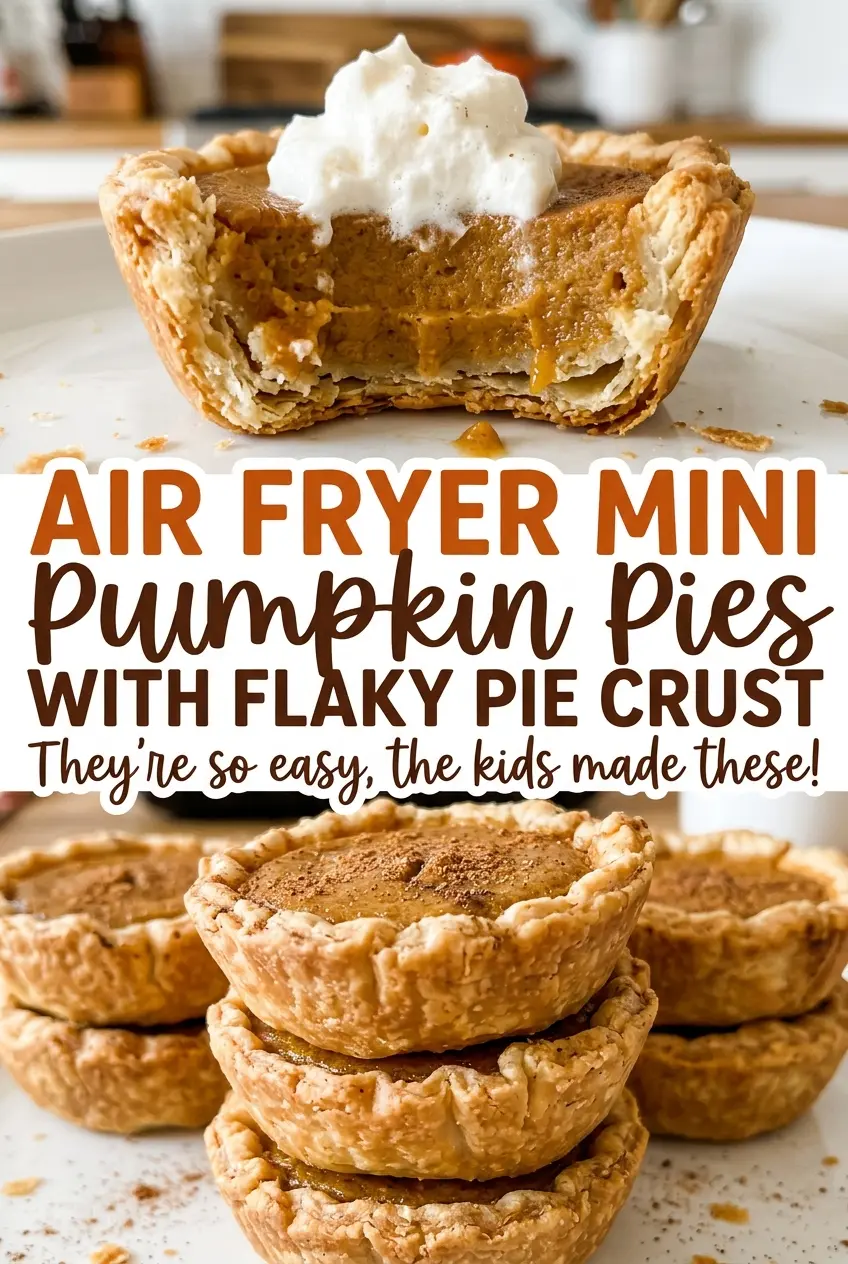
The crust rims start turning golden while the pumpkin centers still have a little jiggle, which is exactly what you want with these little pies. I bake them two at a time in a 6-quart air fryer, so each one gets its own flaky shell and a smooth layer of spiced filling. They’re Air Fryer Mini Pumpkin Pies with Flaky Pie Crust, and the small size makes the baking cues easier to see than they are in one large pie.
The crust starts with cold butter cut into pea-size pieces, then just enough ice water to bring the dough together. I don’t knead it smooth; pressing it together as soon as it clumps keeps the dough from getting worked more than it needs. After shaping, the shells get another short chill before they’re filled, and that little pause helps the crust hold its shape in the air fryer. Once baked, the pies need time to cool and chill before serving, when the pumpkin filling turns sliceable and creamy.
Kitchen Note
When the dough starts clumping, stop adding water and press it together rather than kneading. It won’t look perfectly smooth, and that’s fine; keeping the butter cold and the handling light is what gives the crust its flaky layers.
Save these air fryer mini pumpkin pies for a bake with flaky, hand-crimped crusts and creamy spiced centers in every little tin.
Why These Mini Pies Need Headroom in the Tins
Mini pies look small enough to fill right to the rim, but leave a little space above the pumpkin mixture. I stop about 1/4 inch below the crust edge. That headroom keeps the filling from crowding the crimped edge as the pies cook, and it gives you a clean border to hold when you serve them.
The other detail that changes the rhythm is the air fryer’s capacity. In a 6-quart model, I work with two chilled crusts at a time, then keep the remaining filling refrigerated while the first batch cooks. That’s more reliable than trying to hurry all eight through at once: each pair gets the same cooking window, and the uncooked filling stays cold between batches. Set out the tins you’ll use, but fill only the pair going into the air fryer. The remaining shells can wait in the refrigerator until their turn.
What Makes the Crust Flaky and the Filling Silky
- Cold unsalted butter — Butter gives the crust its rich flavor and flaky texture. Keep it cold and cut into small cubes before blending it into the flour; standard grocery-store butter works well here, so there’s no need for a specialty brand.
- Ice water — Cold water brings the flour and butter together without warming the dough. Add it gradually rather than pouring it in all at once; the dough should just begin to clump. If you need a gluten-free version, use a cup-for-cup gluten-free baking blend that includes xanthan gum in place of the all-purpose flour. The dough will be more delicate to handle.
- Pumpkin puree — Choose plain pumpkin puree, not a can of prepared pumpkin pie filling. The puree lets you control the sugar and spices in the bowl, while pie filling already contains sweeteners and seasoning that would throw off this mixture.
- Evaporated milk and eggs — Together they give the pumpkin its smooth, custardy set. Use evaporated milk rather than sweetened condensed milk; condensed milk is much sweeter and thicker, so it won’t behave the same way in this filling. Large eggs are the size used here.
- Ground cinnamon, ginger, and cloves — These give the filling its familiar warm spice without covering up the pumpkin. Fresh, fragrant spices make the most difference; if the jars have been sitting open for years, the filling will taste flat.
From Pea-Size Butter to Set Pumpkin Centers
Cut the Butter In Without Warming It
Whisk the flour with half of the salt in a large bowl, then cut in the cold butter with a pastry blender. Stop when the pieces are about the size of peas; a few uneven bits are fine. Sprinkle in ice water a tablespoon at a time, tossing with a fork between additions. Once the dough begins to clump, press it together, divide it into two disks, wrap them, and refrigerate for an hour.
Shape and Chill the Little Shells
Roll the chilled dough to 1/8 inch thick and cut eight 5-inch circles, rerolling scraps as needed. Press each circle into a 4-inch air-fryer-safe mini pie tin, then trim and crimp the edge. If the dough feels soft or starts sticking as you work, pause and chill it rather than forcing it into the tins. Refrigerate the shaped shells for 15 minutes before filling.
Whisk a Smooth, Even Filling
In a large bowl, whisk the pumpkin puree with the sugar, cinnamon, ginger, cloves, and the remaining salt. Whisk in the eggs first, then add the evaporated milk and continue until the mixture looks smooth and evenly colored. Scrape the sides and bottom of the bowl so no streaks of pumpkin or spice are left behind. Keep the filling you aren’t using in the refrigerator between batches.
Air-Fry Until the Edges Set
Preheat a 6-quart air fryer to 300°F. Divide the filling between the chilled shells going into the first batch, stopping 1/4 inch below each crust rim. Air-fry for 20–25 minutes, until the crust edges are golden, the filling is set around the edges with a slight jiggle in the center, and the center reaches 160°F. Transfer the tins to a rack, repeat with the remaining pies, then cool each batch in its tins for 1 hour and refrigerate the pies for at least 2 hours before serving.
Three Practical Ways to Adapt These Mini Pumpkin Pies
Make a Four-Pie Batch
Halve every ingredient to make four pies. Use one egg for the filling, half a stick of butter for the crust, and half of each can; measure the salt as two separate 1/4-teaspoon portions so the crust and filling stay balanced. You’ll still have enough for two air-fryer batches, with less leftover pie.
Use a Cup-for-Cup Gluten-Free Flour Blend
Replace the all-purpose flour with the same volume of a gluten-free baking blend labeled for cup-for-cup use and containing xanthan gum. The dough is more fragile, so press it together gently and patch small cracks in the tins instead of stretching the dough. The pumpkin filling remains unchanged.
Go Cinnamon-Forward
Leave out the ginger and cloves and keep the cinnamon as written. The pumpkin tastes gentler and more simply spiced, which is a good fit if you prefer cinnamon to dominate. No other part of the filling needs to change.
Storage and Reheating
- Refrigerator: Keep the cooled pies covered in the refrigerator for 3–4 days. The crust softens a little as it sits, while the filling stays creamy.
- Freezer: Once fully chilled, wrap each pie well and freeze for up to 2 months. Thaw overnight in the refrigerator before serving.
- Reheating: These custard pies are best served chilled, so I don’t reheat them. Warming can loosen the filling and soften the crust.
Questions That Come Up When Making Mini Pumpkin Pies
Air Fryer Mini Pumpkin Pies with Flaky Pie Crust
Ingredients
Equipment
Method
- Whisk the flour and 1/2 teaspoon of the salt in a large bowl.
- Cut in the butter with a pastry blender until the pieces are pea-size.
- Sprinkle the ice water over the flour mixture, 1 tablespoon at a time, tossing with a fork.
- Press the dough together when it begins to clump.
- Divide the dough into 2 disks, wrap, and refrigerate for 1 hour.
- Roll the dough 1/8 inch thick and cut eight 5-inch circles, rerolling scraps as needed.
- Press the circles into eight 4-inch air-fryer-safe mini pie tins, trim and crimp the edges, then refrigerate for 15 minutes.
- Whisk the pumpkin, sugar, cinnamon, ginger, cloves, and remaining 1/2 teaspoon salt in a large bowl.
- Whisk in the eggs.
- Whisk in the evaporated milk until smooth.
- Preheat a 6-quart air fryer to 300°F.
- Working with 2 chilled crusts at a time, divide the filling between them, about 1/2 cup per pie, stopping 1/4 inch below the crust rims.
- Refrigerate the remaining filling between batches.
- Air-fry the pies for 20–25 minutes, until the crust edges are golden, the filling is set around the edges with a slight jiggle in the center, and the center reaches 160°F.
- Transfer the pies to a rack and repeat with the remaining pies.
- Cool each batch in the tins on a rack for 1 hour.
- Refrigerate the pies for at least 2 hours before serving.