
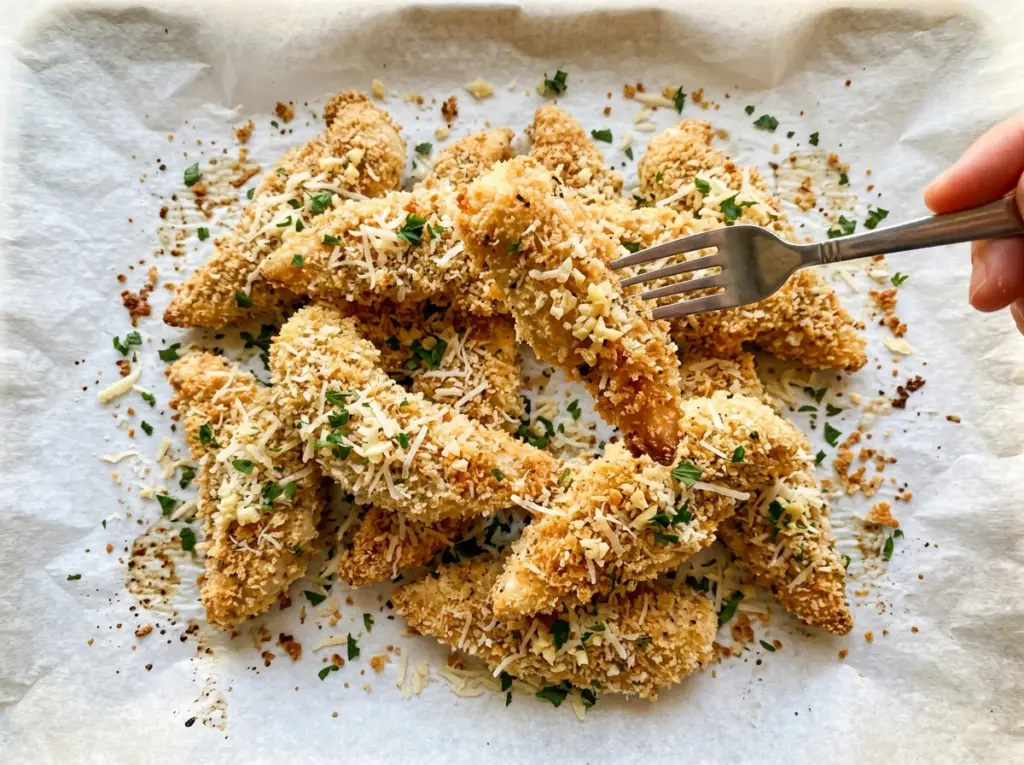
When the air fryer basket is packed too tightly, the coating steams instead of turning crisp. I learned to leave space around each piece and cook in batches, even when I’m eager to get dinner on the table. These Air Fryer Garlic Parmesan Chicken Tenders come out golden, with a crunchy panko shell and tender chicken underneath.
The coating has three distinct layers, and each one has a job: seasoned flour gives the egg something to cling to, egg holds the panko in place, and finely grated Parmesan adds savory flavor right in the crust. After cooking, garlic butter and another sprinkle of Parmesan go on top. That finishing touch gives the tenders a buttery garlic aroma without coating the panko before it has a chance to crisp.
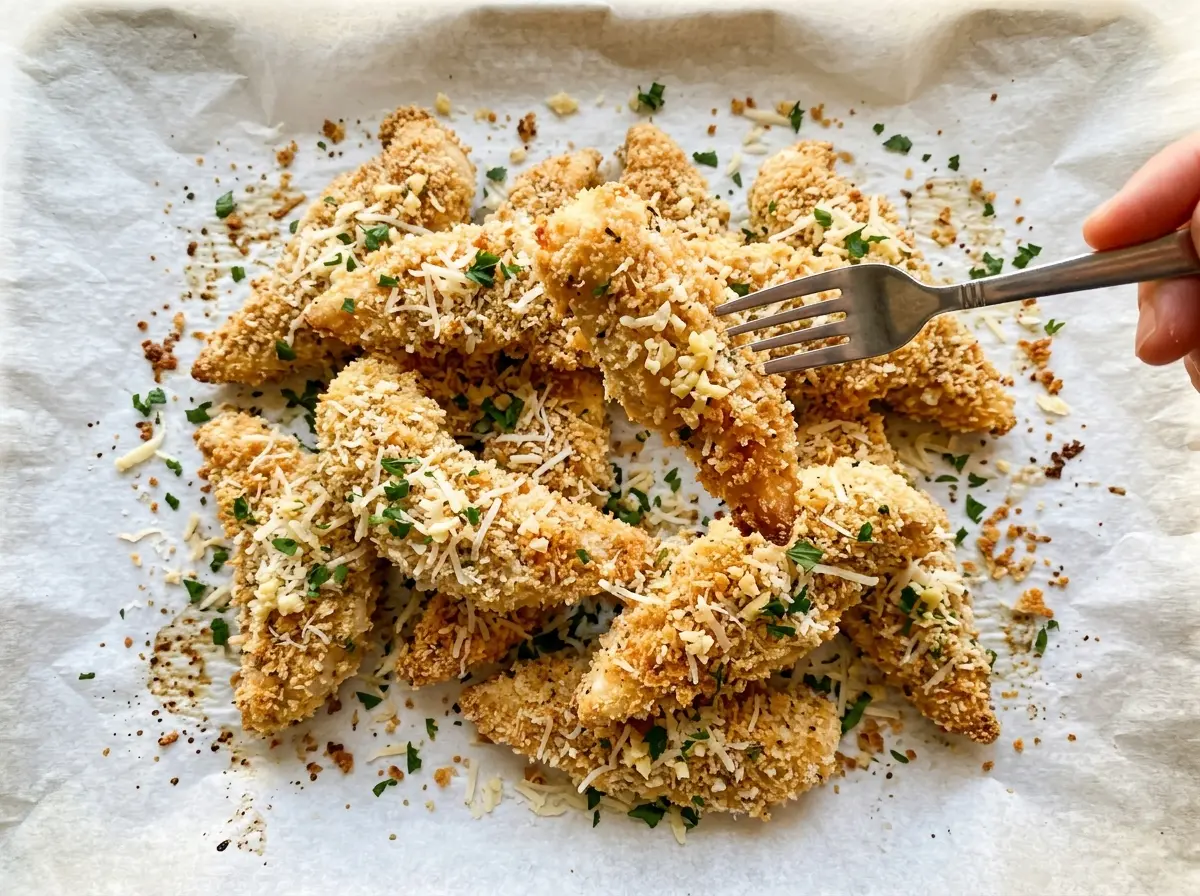
Kitchen Note
The garlic butter goes on after the tenders come out of the air fryer. That timing gives the panko a chance to crisp before the buttery finish lands on top.
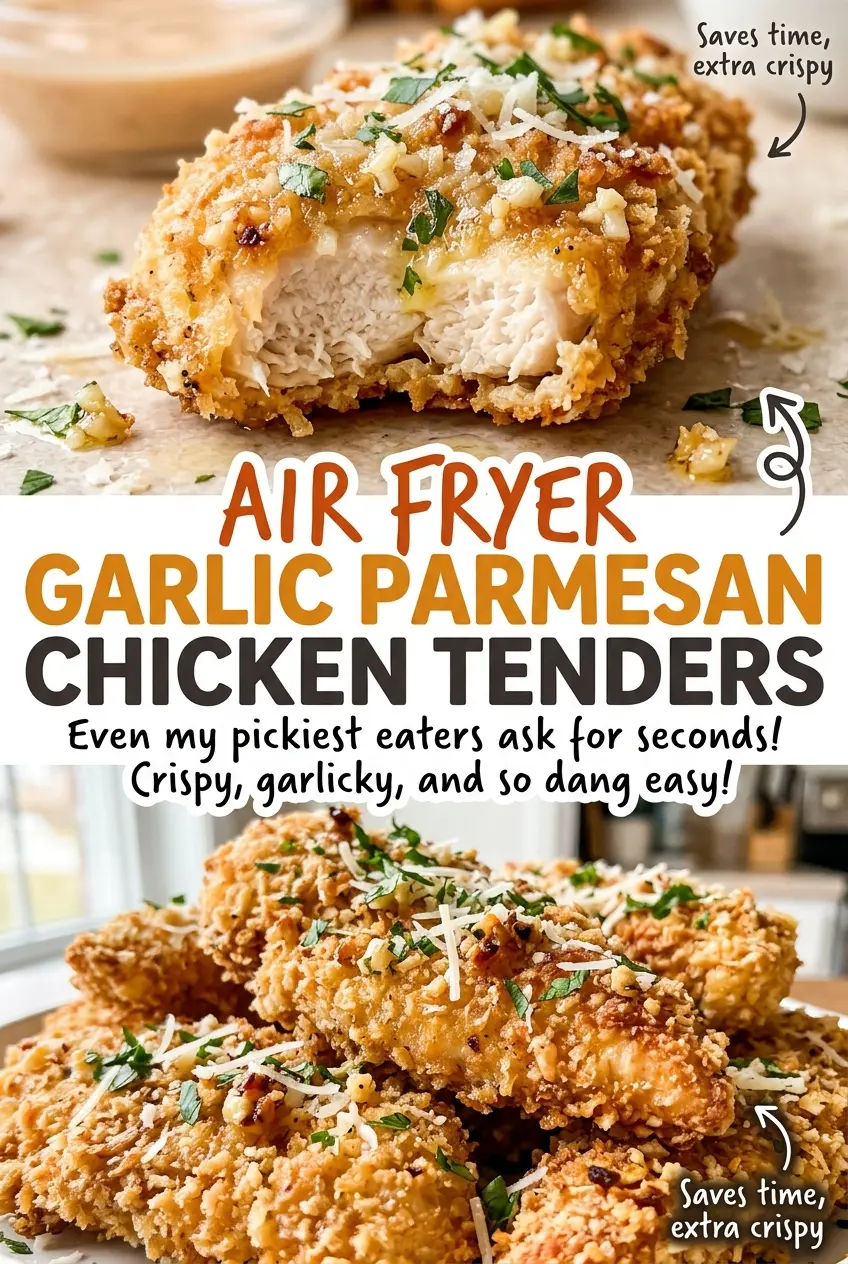
Save these Air Fryer Garlic Parmesan Chicken Tenders for their crisp panko coating and warm garlic-butter finish.
Why the Flour Layer Keeps the Parmesan Panko Crust in Place
A loose coating usually starts before the chicken reaches the air fryer. Egg slides off a damp, bare surface, and panko has nothing sturdy to grip. A thin flour layer gives the beaten egg a more even surface to cling to, so the breadcrumbs stay attached as the tenders cook and you flip them.
Set up the flour, egg, and panko mixtures in that order, then move each tender through them one at a time. Let excess egg drip back into its dish before pressing the chicken into the panko. Press gently but thoroughly, including along the sides; a bare patch there can leave the finished tender less crunchy. The Parmesan belongs in the panko mixture for flavor throughout the crust, while the reserved portion goes on at the end for a separate, more noticeable finish. That division gives you Parmesan in both the crunchy coating and the garlic-butter topping without asking one layer to do both jobs.
What the Panko, Parmesan, and Garlic Each Bring to These Tenders
- Chicken tenders — Their size makes them easy to coat and gives you pieces that cook in the stated 10–12-minute window when arranged without crowding. Chicken breast cut into strips of similar thickness is the most practical substitute, though the shape and thickness can change how quickly the thickest part cooks.
- All-purpose flour — This is the first coating layer, not just extra breading. A basic store-brand flour works well; for a gluten-free version, use an equal amount of a gluten-free all-purpose flour blend.
- Eggs and water — Beating the eggs with water makes a dipping mixture that coats the flour evenly. The eggs are the binder for this breading, so replacing them with oil won’t hold the panko in the same way.
- Panko breadcrumbs — Their larger, airy flakes give the crust a rougher crunch than fine breadcrumbs. Regular breadcrumbs work in the same amount if that’s what you have, but the coating will be finer and denser rather than as craggy.
- Finely grated Parmesan — Fine pieces mix into the panko and cling to the tenders more evenly than large shreds. A budget-friendly finely grated Parmesan is fine here; divide it between the coating and the finish so you have some for each layer. For a dairy-free adaptation, use a Parmesan-style dairy-free alternative in the same amount.
- Garlic powder and paprika — These season the dry coating without adding moisture. Pantry versions work well; if you leave out the paprika, the crust will lose its mild warm color and flavor but will still bread and cook the same way.
- Butter and fresh garlic — Butter carries the garlic across the cooked tenders, while fresh minced garlic gives the finish its unmistakable aroma. Unsalted butter lets the Parmesan and seasoned coating stay in balance; for a dairy-free version, use plant-based butter and expect a slightly different richness.
- Fresh parsley — It adds a fresh herbal note and color against the Parmesan. It’s an easy ingredient to omit if you don’t have it; the garlic-butter finish will still work.
From Three Dipping Dishes to a Crisp Air-Fried Crust
Set Up the Coating Line
Preheat the air fryer to 400°F and lightly coat the basket with olive oil cooking spray. Set out three shallow dishes beside the chicken tenders, putting the flour, kosher salt, and black pepper in the first. Beat the eggs with the water in the second, then combine the panko, half of the Parmesan, garlic powder, and paprika in the third. Keeping the dishes in coating order helps keep the process tidy and makes it easier to give every tender an even layer.
Coat Each Tender Evenly
Move each tender through the flour first, then dip it into the egg mixture, and finish by pressing it into the panko mixture until covered. Look for a complete coating rather than a few loose crumbs stuck to the top. If a section of chicken looks bare, press more panko onto that spot before moving to the basket. Work over the dishes so loose coating falls back into its own mixture.
Air-Fry in Uncrowded Batches
Arrange the tenders in a single layer, leaving space around them instead of piling pieces together. Spray the tops lightly with cooking spray, then air-fry at 400°F for 10–12 minutes, flipping halfway and spraying the other side. The coating should look golden, and the thickest part of each tender should reach 165°F. Cook in batches rather than crowding the basket; overlapping pieces won’t have the same exposure to the circulating air.
Make the Garlic-Parmesan Finish
While the tenders cook, melt the unsalted butter in a small saucepan over low heat. Add the minced garlic and stir for about 30 seconds, just until fragrant; keep the heat low so the garlic doesn’t scorch. Drizzle the garlic butter over the cooked tenders, then sprinkle them with the remaining Parmesan and chopped parsley. The finish should coat the tops lightly rather than leave the tenders sitting in a pool of butter.
Gluten-Free and Dairy-Free Ways to Adapt the Coating
Make the Breading Gluten-Free
Replace the all-purpose flour with the same amount of gluten-free all-purpose flour, and use gluten-free panko in place of regular panko. The coating keeps its layered structure, though the exact crunch depends on the gluten-free panko you choose.
Use a Dairy-Free Garlic-Parmesan Finish
Use plant-based butter and a dairy-free Parmesan-style alternative in place of the butter and Parmesan, keeping the same amounts and dividing the Parmesan-style alternative between coating and finish. The result keeps the garlic-butter idea, but the topping’s saltiness and melt will depend on the brand.
Storage and Reheating
- Refrigerator: Store cooked tenders in a covered container for 3–4 days. The coating softens as it sits.
- Freezer: Freeze cooled tenders in a sealed freezer-safe container for up to 3 months. The crust may lose some crispness after thawing.
- Reheating: Reheat in the air fryer at 400°F until hot throughout. Avoid the microwave if you want to keep the coating from turning soft.
Questions That Come Up While Making These Chicken Tenders
Air Fryer Garlic Parmesan Chicken Tenders
Ingredients
Equipment
Method
- Preheat the air fryer to 400°F and lightly coat the basket with olive oil cooking spray.
- Set out three shallow dishes and put the chicken tenders beside them.
- Put the flour, salt, and pepper in the first dish.
- Beat the eggs with the water in the second dish.
- Mix the panko, 1/2 cup Parmesan, garlic powder, and paprika in the third dish.
- Coat each tender in flour, dip it in egg, then press it into the panko mixture until covered.
- Arrange the tenders in a single layer in the basket and spray them lightly with cooking spray.
- Air-fry at 400°F for 10–12 minutes, flipping halfway and spraying the other side, until golden and 165°F in the thickest part; cook in batches without crowding.
- Melt the butter in a small saucepan over low heat.
- Add the garlic and cook for about 30 seconds, stirring, until fragrant.
- Drizzle the garlic butter over the cooked tenders.
- Sprinkle with the remaining 1/4 cup Parmesan and the parsley.