
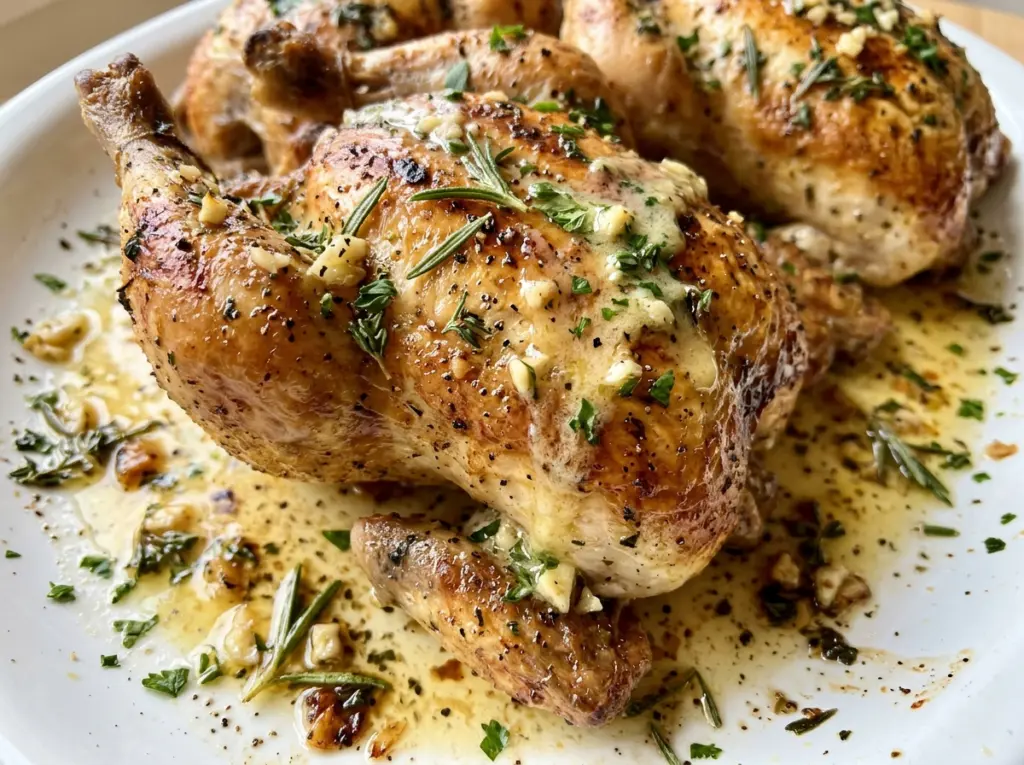
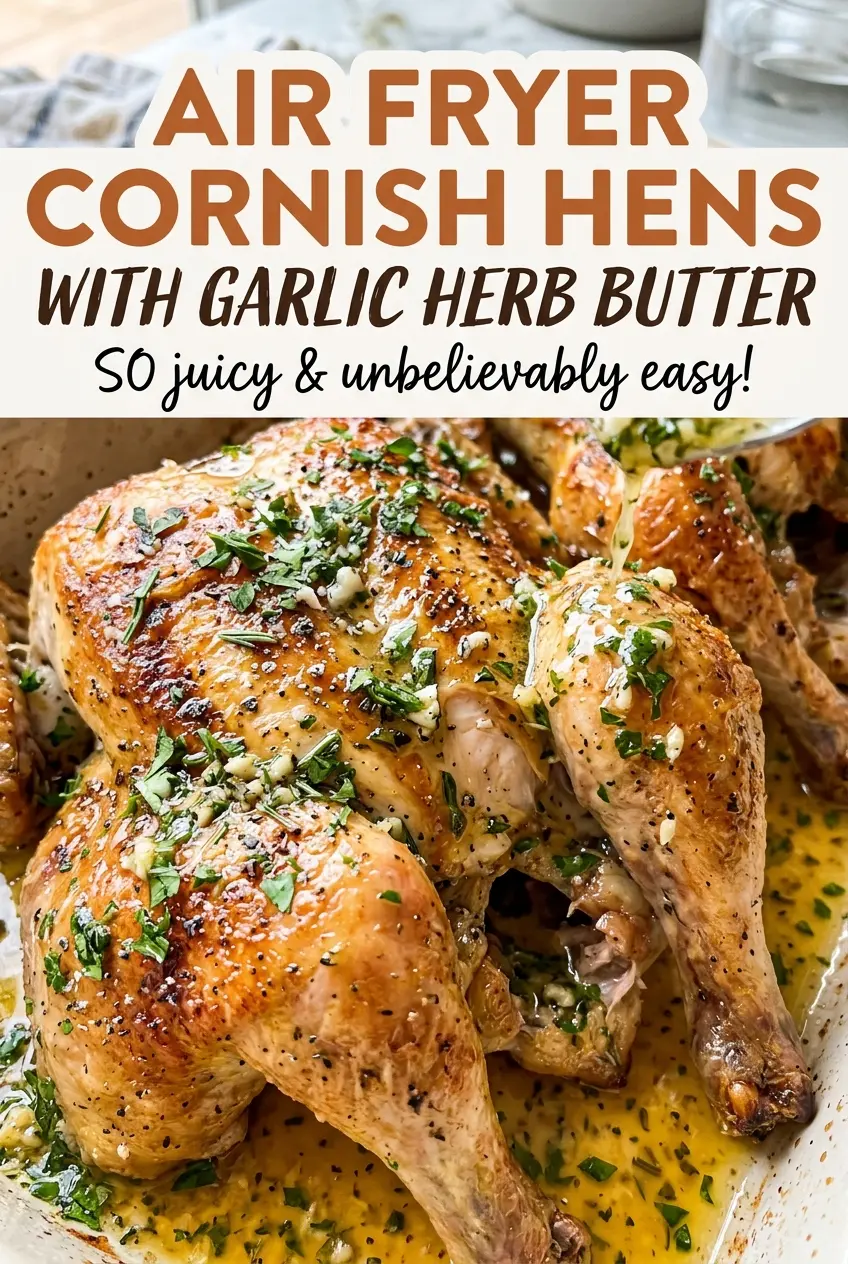
The first time a whole Cornish hen went into my air fryer, I kept checking the breast while the thighs still needed more time. Flattening the birds changed the way they fit in the basket and made the cook more even. These air fryer Cornish hens with garlic herb butter are a good fit when you want a roast-style dinner without waiting on a full-size bird.
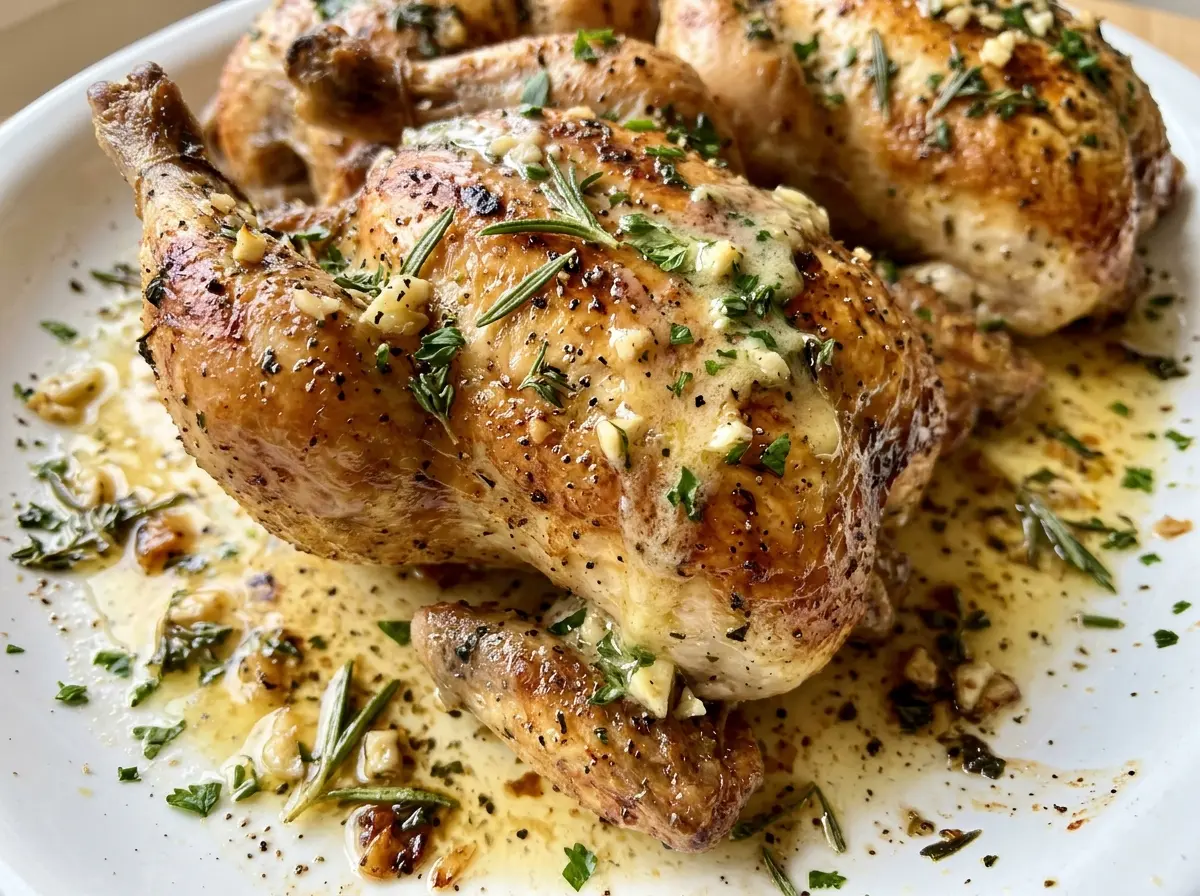
I tuck softened butter mixed with garlic, parsley, and thyme under the skin, then rub olive oil over the outside. That gives the herbs a place to flavor the meat while the skin gets seasoned on its own. Cooking the hens one at a time leaves room for the hot air to move around each bird, and the first one waits in a warm oven while the second cooks. The result is tender meat under browned skin, with the garlic and herbs tucked into every bite.
Kitchen Note
Work your fingers under the skin slowly, especially over the thighs, so it loosens without tearing. If the skin does tear, keep the butter tucked under the intact areas rather than pushing it through the opening.
Save these air fryer Cornish hens with garlic herb butter for a dinner with crisp skin, fragrant herbs, and a simple plan for keeping the first hen warm while the second cooks.
Why the Breast and Thigh Need Different Finish Lines
A Cornish hen has the same challenge as a larger bird: the breast and the dark meat don’t finish at exactly the same pace. The breast is lean, so it can dry out if you keep cooking long after it’s ready. Thigh meat has more connective tissue and benefits from cooking a little longer. That difference is why I check both areas instead of relying on the skin color or one reading.
Flattening the hen helps, but it doesn’t make the breast and thigh identical. Think of the temperature check as two separate checkpoints, not a single yes-or-no test for the whole bird. The thickest part of the breast should reach 165°F, and the thigh should reach 175°F. If the breast is there but the thigh isn’t, keep cooking and check again rather than pulling the hen early. The bird’s size and the way it sits in your air fryer can affect how quickly it gets there, which is why the thermometer matters more than the clock.
The source of a lot of disappointing poultry is treating browning as proof of doneness. Air-fryer skin can look ready before the meat has reached its target. Use the color as a cue to check, not as the final answer.
What the Garlic Herb Butter Needs From Each Ingredient
- Unsalted butter — Softened butter blends smoothly with the minced garlic and herbs, then spreads beneath the skin without needing to be melted. Unsalted butter also lets the kosher salt season the outside without adding an unknown amount of salt from the butter itself.
- Garlic, parsley, and thyme — Freshly minced garlic distributes through the butter instead of leaving a large, sharp piece in one spot. Fresh parsley brings a clean, green note, while thyme adds a more woodsy aroma. Chop the parsley and remove the thyme leaves from their stems so the mixture spreads evenly.
- Cornish hens — Choose hens in the listed 1 1/4- to 1 1/2-pound range and thaw them fully before cooking. Removing the giblets and backbone gives you a flat bird that fits the air fryer more readily than an intact hen.
- Olive oil, kosher salt, and black pepper — The oil coats the outside of the skin, while the salt and pepper season the surface directly. Kosher salt is the specified salt here; table salt is finer and can taste saltier when swapped by the same volume.
The Spatchcock-to-Air-Fryer Sequence for Even Cooking
Blend the butter while it is soft
Stir the softened butter, minced garlic, chopped parsley, and thyme leaves in a small bowl until the herbs are spread throughout. Softened butter should be pliable enough to stir, not runny or separated. If it’s melted, it won’t stay in a cohesive mixture as easily when you work it under the skin. Set the bowl aside while you prepare the hens.
Flatten each hen before seasoning
Pat the thawed hens dry, then use kitchen shears to cut along both sides of each backbone and remove it. Press firmly on the breastbone to flatten each bird; you should feel it give so the hen sits more evenly. Carefully loosen the skin over the breasts and thighs, then spread half the herb butter beneath the skin of each hen. Rub the outside with olive oil and season with kosher salt and black pepper.
Cook one hen, then check both areas
Preheat a 6-quart air fryer to 375°F, and heat a conventional oven to 170°F to hold the first hen. Set one hen skin-side down in the air fryer and cook for 10 minutes, then flip it skin-side up. Cook for 15 to 25 minutes more, checking the thickest part of the breast and the thigh with a thermometer rather than judging by the browned surface.
Hold the first hen while the second cooks
Once the breast reaches 165°F and the thigh reaches 175°F, transfer the first hen to a wire rack set over a rimmed baking sheet in the warm oven. Cook the second hen the same way, starting skin-side down and flipping it skin-side up after 10 minutes. Rest the second hen for 10 minutes before serving, and keep the first in the warm oven until you’re ready to bring both to the table.
Two Swaps That Keep the Hens’ Character Intact
Make the herb butter dairy-free
Use 4 tablespoons of unsalted plant-based butter made for baking in place of the dairy butter. Choose a firm stick-style product rather than a soft tub spread so it holds together when you work it under the skin. The garlic and herbs stay the same, though the butter’s flavor and browning may differ slightly by brand.
Trade thyme for fresh rosemary
Replace the fresh thyme leaves with 1 teaspoon of finely chopped fresh rosemary. Rosemary gives the butter a more piney, assertive aroma, so chop it especially small to keep it evenly distributed. Keep the parsley and garlic in the mixture for a balanced, savory herb butter.
Storage and Reheating
- Refrigerator: Refrigerate leftover hen within 2 hours and keep it for 3 to 4 days. The skin softens in the refrigerator, even though the meat stays tender.
- Freezer: Freeze cooked meat in an airtight container or freezer bag for up to 2 to 3 months for best quality. Freezing softens the skin, so the meat is better suited to reheating than serving with crackly skin.
- Reheating: Carve the leftovers and warm them covered in a 325°F oven until the meat reaches 165°F. Uncover briefly at the end if you’d like the skin to dry out a little; don’t use high heat for the whole reheating time or the breast can become tough.
Questions That Come Up While Air-Frying Cornish Hens
Air Fryer Cornish Hens with Garlic Herb Butter
Ingredients
Equipment
Method
- Stir the butter, garlic, parsley, and thyme together in a small bowl until evenly combined.
- Preheat a 6-quart air fryer to 375°F and heat a conventional oven to 170°F to hold the first hen while the second cooks.
- Pat the hens dry.
- Use kitchen shears to cut along both sides of each backbone and remove it.
- Press each hen firmly to flatten the breastbone.
- Carefully loosen the skin over the breasts and thighs.
- Spread half the herb butter under the skin of each hen.
- Rub the outside of each hen with olive oil and season with the salt and pepper.
- Air-fry one hen skin-side down for 10 minutes.
- Flip it skin-side up and cook for 15 to 25 minutes more, until the thickest part of the breast reaches 165°F and the thigh reaches 175°F.
- Transfer the first hen to a wire rack set over a rimmed baking sheet in the warm oven while you cook the second hen the same way.
- Rest the second hen for 10 minutes before serving, keeping the first hen in the warm oven until ready to serve.