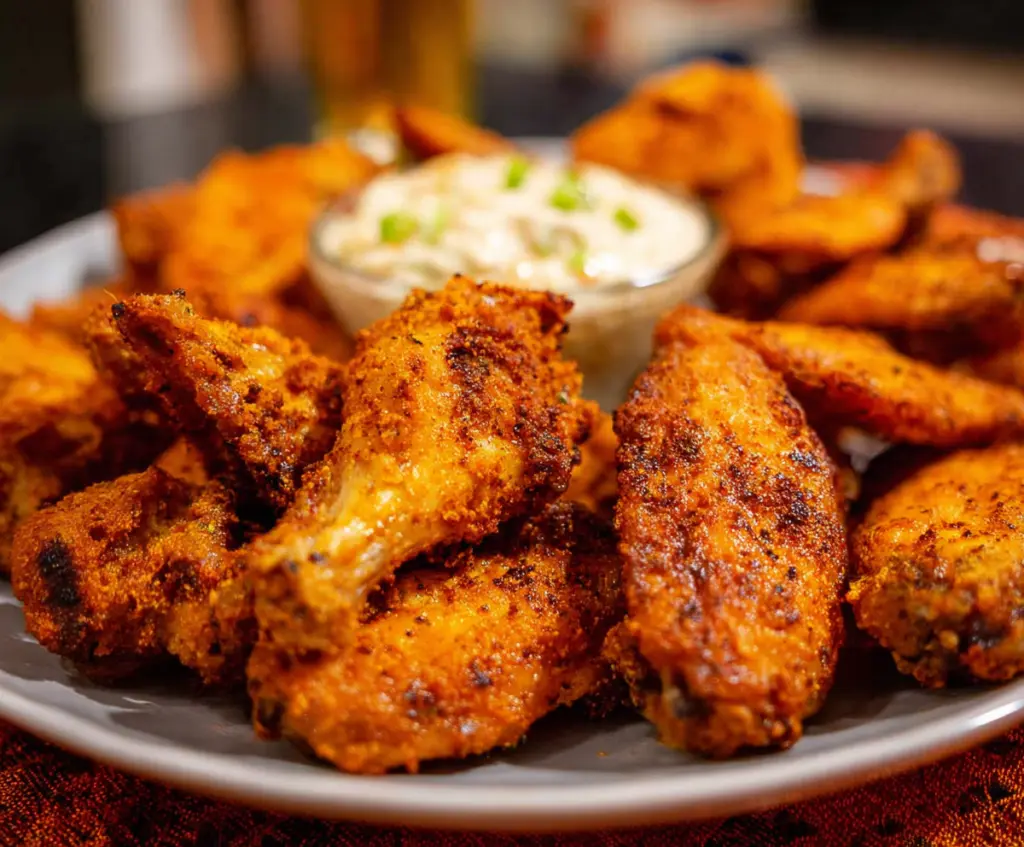
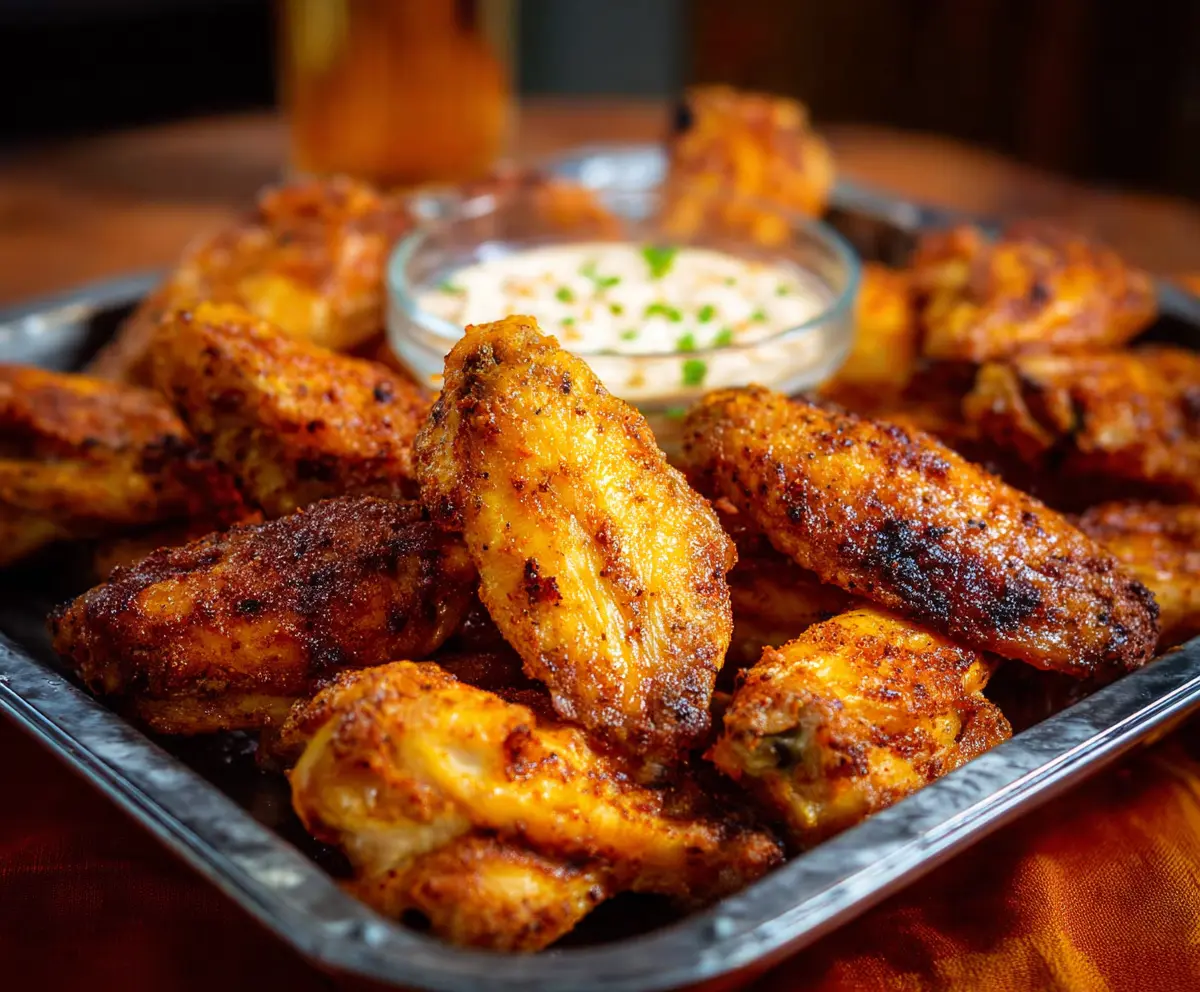
Crispy baked chicken wings are a simple and tasty snack that’s perfect for any occasion. The wings get perfectly crunchy on the outside while staying juicy and tender inside. A little seasoning and a hot oven do all the work to make these wings a crowd favorite without the mess of frying.
I love making these wings because they’re easy to prepare and bake right in the oven, which means less cleanup and no greasy smell in the kitchen. I usually toss them with a mix of salt, pepper, and a bit of paprika before baking, but you can add your favorite spices or a splash of sauce once they come out of the oven.
My favorite way to serve crispy baked chicken wings is with a side of cool ranch or blue cheese dip and some crunchy celery sticks. They’re perfect for game day, casual dinners, or just a cozy night in. Once you try these, I bet you’ll find yourself reaching for that next wing right away!
Key Ingredients & Substitutions
- Chicken Wings
- Using fresh wings split into drumettes and flats works best for even cooking. If you can't find fresh wings, frozen ones also work but make sure to thaw and dry them well first.
- Baking Powder
- This is the secret to crispy skin! It helps draw out moisture and creates a nice crunchy texture in the oven. Make sure to use aluminum-free baking powder to avoid a metallic taste. You can’t really skip this if you want crispy wings.
- Spices
- Paprika, garlic powder, salt, and pepper create a simple but flavorful crust. Feel free to swap paprika for smoked paprika if you want a smoky note, or add chili powder for extra heat. Cayenne is optional for spice lovers.
How Do You Get Chicken Wings Crispy Without Frying?
Making wings crispy in the oven takes a couple of key steps:
- Dry the wings very well before seasoning. Wet wings steam instead of crisp when baked.
- Use baking powder mixed with the spices. It changes the pH level and helps the skin crisp up nicely.
- Bake on a wire rack instead of directly on a pan. This allows air to circulate around the wings, so all sides get crispy.
- Flip halfway through baking to brown both sides evenly.
- Don’t overcrowd the wings on the rack. Give them room to breathe!
Following these tips will give you that great crispy skin and juicy meat without the need for deep frying. It’s healthier and easy to manage.
Equipment You’ll Need
- Baking sheet – a sturdy one holds your wings and fits well in the oven for even cooking.
- Wire rack – lifts wings off the pan so air circulates and they crisp all over.
- Paper towels – perfect for drying wings, which is key for crispy skin.
- Mixing bowl – for tossing wings with seasoning and baking powder evenly.
- Tongs – helps you flip wings safely and keeps your hands clean.
Flavor Variations & Add-Ins
- Buffalo style – toss wings in hot sauce and melted butter after baking for classic wing flavor.
- Garlic Parmesan – sprinkle grated Parmesan and minced garlic over wings while hot for a savory twist.
- Asian-inspired – brush wings with a mix of soy sauce, honey, and ginger before baking for sweet and savory notes.
- Herbs and lemon – add fresh thyme or rosemary and a squeeze of lemon juice after baking for fresh brightness.
How to Make Crispy Baked Chicken Wings?
Ingredients You’ll Need:
For the Wings:
- 2 pounds (about 10-12) chicken wings, split into drumettes and flats, tips discarded
- 2 tablespoons baking powder (aluminum-free)
- 1 teaspoon salt
- 1 teaspoon paprika
- 1 teaspoon garlic powder
- ½ teaspoon black pepper
- ½ teaspoon cayenne pepper (optional, for a spicy kick)
- Cooking spray or oil for greasing
How Much Time Will You Need?
This recipe takes about 10 minutes for prep and around 45-50 minutes for baking. You’ll start by seasoning and setting up the wings, then bake them in the oven until they’re golden crispy. Total time: roughly 1 hour from start to finish.
Step-by-Step Instructions:
1. Preparing the Oven and Rack:
Preheat your oven to 425°F (220°C). Line a baking sheet with foil to catch drips and place a wire rack on top. Lightly grease the rack with cooking spray or a little oil—this helps prevent sticking and promotes even crisping.
2. Drying and Seasoning the Wings:
Pat the chicken wings completely dry with paper towels. This step is important to get the skin nice and crispy. In a big bowl, mix the baking powder, salt, paprika, garlic powder, black pepper, and cayenne pepper if using. Toss the wings in this mixture until they are evenly coated all over.
3. Baking:
Arrange the coated wings in a single layer on the wire rack, making sure they aren’t touching each other. Bake for 25 minutes, then carefully flip the wings over. Bake for an additional 20-25 minutes or until the wings are evenly golden brown and crispy on all sides.
4. Serving:
Take the wings out of the oven and let them rest for a few minutes. Serve warm with your favorite dipping sauces like ranch or blue cheese, and maybe some celery sticks to crunch alongside. Enjoy your delicious, crispy baked chicken wings!
Can I Use Frozen Chicken Wings for This Recipe?
Yes, you can! Just make sure to thaw the wings completely in the fridge overnight and pat them very dry before seasoning. This helps achieve that crispy skin.
What’s the Role of Baking Powder in This Recipe?
Baking powder helps draw moisture away from the skin and creates a bubbly texture that crisps up nicely in the oven. Be sure to use aluminum-free baking powder to avoid any off flavors.
Can I Make These Wings Ahead of Time?
Absolutely! You can bake the wings ahead and store them in an airtight container in the fridge for up to 3 days. Reheat them in a hot oven or air fryer to crisp the skin back up before serving.
How Do I Store Leftover Wings?
Keep leftovers in a sealed container in the fridge. To enjoy later, reheat in the oven at 375°F (190°C) for about 10 minutes or until warmed through and crispy again.