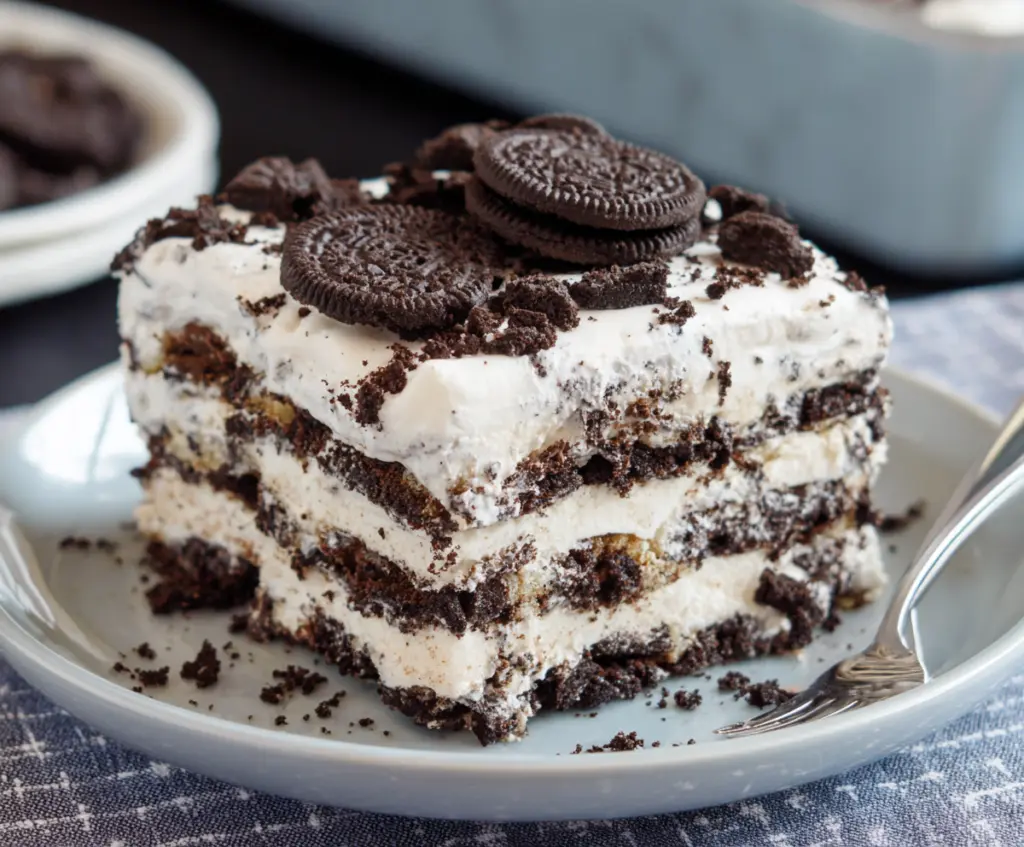
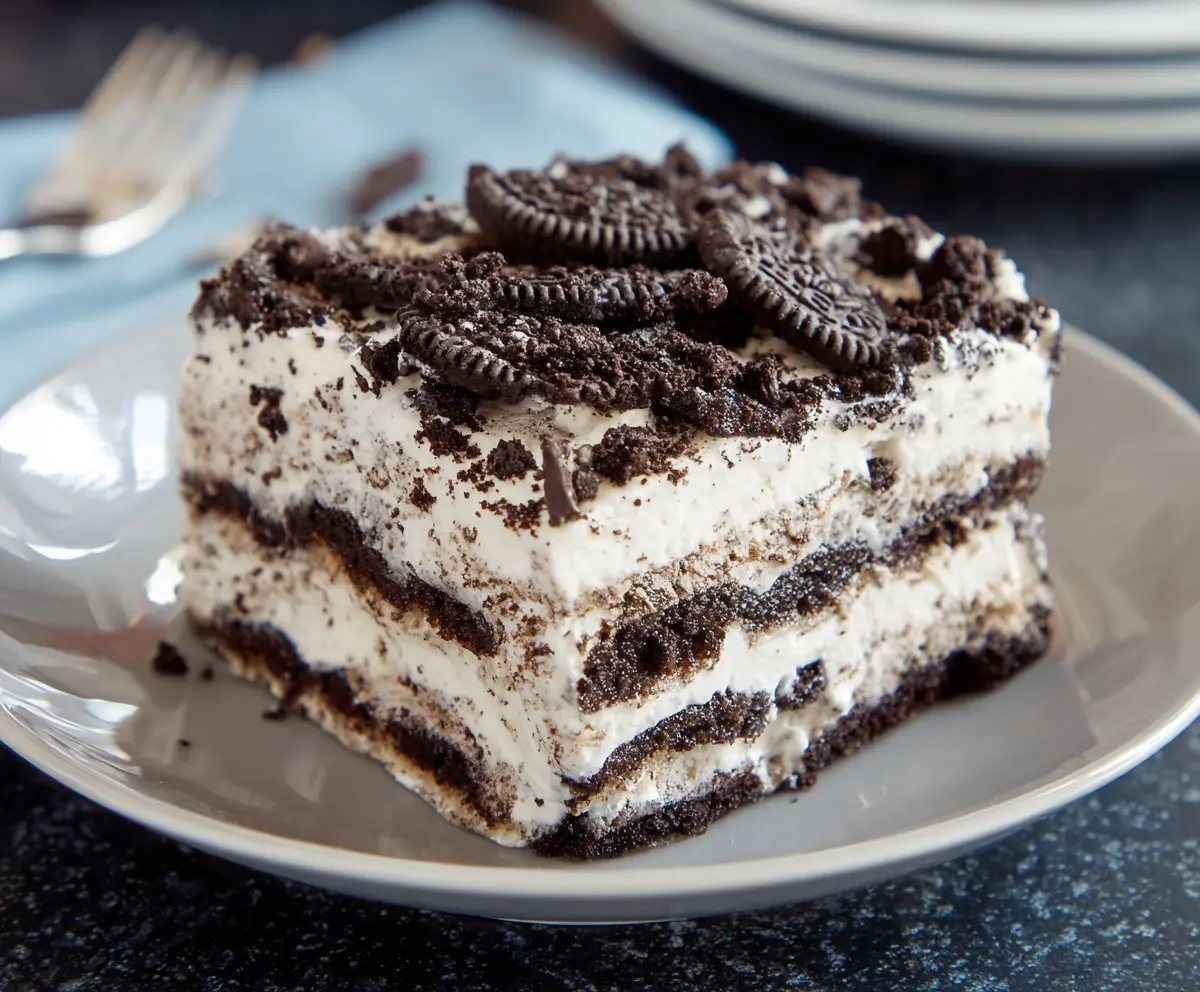
No Bake Oreo Icebox Cake is a delightfully simple dessert that layers creamy whipped filling with crunchy Oreo cookies, creating a cool and tasty treat without ever needing to turn on the oven. This cake is all about that perfect combo of sweet creaminess and chocolatey cookie crunch, making it a favorite for any occasion.
I love making this cake when I want something quick and impressive! It’s so easy to put together, and the best part is letting it chill in the fridge overnight. That resting time is what softens the Oreos just enough to melt into the creamy layers, giving each bite a wonderful texture that feels like a little surprise. Plus, no baking means less time in the kitchen and more time enjoying the treat.
Whenever I serve this icebox cake, it always disappears fast. I like cutting it into neat squares for a casual get-together or even just a cozy night at home. If you’re looking for a dessert that’s fuss-free, delicious, and loved by kids and adults alike, this Oreo icebox cake is definitely one to try. I promise it’ll bring smiles all around!
Key Ingredients & Substitutions
- Heavy Whipping Cream
- This is the star for the creamy layers. Use cold cream for better whipping volume. You can swap with store-bought whipped topping if needed, but homemade tastes best.
- Powdered Sugar
- It sweetens the cream smoothly without grittiness. If you want less sugar, reduce to ¾ cup or use a sugar substitute like powdered erythritol.
- Vanilla Extract
- Adds a lovely flavor depth. Pure vanilla is best, but imitation vanilla works fine if that's what you have on hand.
- Oreos
- Classic chocolate Oreos are perfect for their crunch and cream filling. You can try chocolate-free sandwich cookies or gluten-free Oreos for dietary needs.
How Do You Get Perfectly Layered, Softened Oreos Without Soggy Cake?
The key trick is letting the cake chill for several hours, preferably overnight. This softens the Oreos just right while keeping each layer intact.
- Use firm, cold whipped cream to hold the cookies together instead of a runny filling.
- Layer evenly, spreading whipped cream gently to avoid breaking the Oreos.
- Cover tightly with plastic wrap to prevent fridge odors and drying out.
- Allow enough chilling time—at least 6 hours—to let the cookies absorb moisture and soften but not disintegrate.
Patience here rewards you with a creamy, luscious cake where the cookies melt into the mousse. I find cutting with a sharp knife helps keep the layers neat when serving.
Equipment You’ll Need
- Large mixing bowl – perfect for whipping the cream smoothly without spills.
- Electric mixer – helps you whip the heavy cream to stiff peaks quickly and easily.
- 8×8-inch glass or plastic baking dish – ideal size for layering and chilling the cake evenly.
- Rubber spatula – lets you spread the whipped cream gently without breaking the cookies.
- Plastic wrap – covers the cake tightly to keep it fresh and absorb fridge smells.
Flavor Variations & Add-Ins
- Add crushed peanut butter cups between layers for a nutty twist that pairs well with chocolate.
- Swap some Oreos with mint-flavored cookies to give the cake a refreshing kick.
- Mix in a few tablespoons of instant coffee powder into the whipped cream for a subtle mocha flavor.
- Top with fresh berries before serving for a pop of color and a slight tart contrast.
No Bake Oreo Icebox Cake
Ingredients You’ll Need:
- 4 cups heavy whipping cream, cold
- 1 cup powdered sugar
- 2 teaspoons vanilla extract
- 36 Oreo cookies (about 3 packs)
- Optional garnish: extra Oreo cookies for topping
How Much Time Will You Need?
This recipe takes about 10 minutes to prepare and then requires at least 6 hours of chilling time, preferably overnight. The chilling helps the Oreo cookies soften and the flavors blend perfectly, turning this simple no-bake dessert into a creamy delight.
Step-by-Step Instructions:
1. Make the Whipped Cream:
In a large mixing bowl, combine the cold heavy whipping cream, powdered sugar, and vanilla extract. Use an electric mixer on medium-high speed to whip until stiff peaks form, which takes about 4-5 minutes.
2. Layer the Cake:
In an 8×8-inch glass or plastic baking dish, start by placing a single layer of Oreo cookies on the bottom. Spread about one-third of the whipped cream mixture evenly over the cookies. Repeat this layering process two more times, ending with a final layer of whipped cream on top.
3. Chill and Serve:
Garnish the top with crumbled or whole Oreo cookies if desired. Cover the dish tightly with plastic wrap and refrigerate for at least 6 hours, preferably overnight. Before serving, cut into squares and enjoy your creamy, no-bake Oreo icebox cake!
Can I Use Frozen Whipping Cream for This Recipe?
It’s best to use fresh, cold whipping cream straight from the fridge. Frozen cream usually doesn’t whip well and can affect the texture of your cake.
Can I Make This Oreo Icebox Cake Ahead of Time?
Absolutely! In fact, making it the night before allows the cookies to soften perfectly and the flavors to meld for the best taste and texture.
How Should I Store Leftovers?
Keep leftovers covered in the refrigerator in an airtight container or wrapped tightly with plastic wrap. It stays fresh for up to 3 days.
Can I Substitute Oreos with Another Cookie?
Yes! You can use any sandwich cookie or gluten-free alternative if desired. Just keep in mind that the flavor and texture might vary slightly.