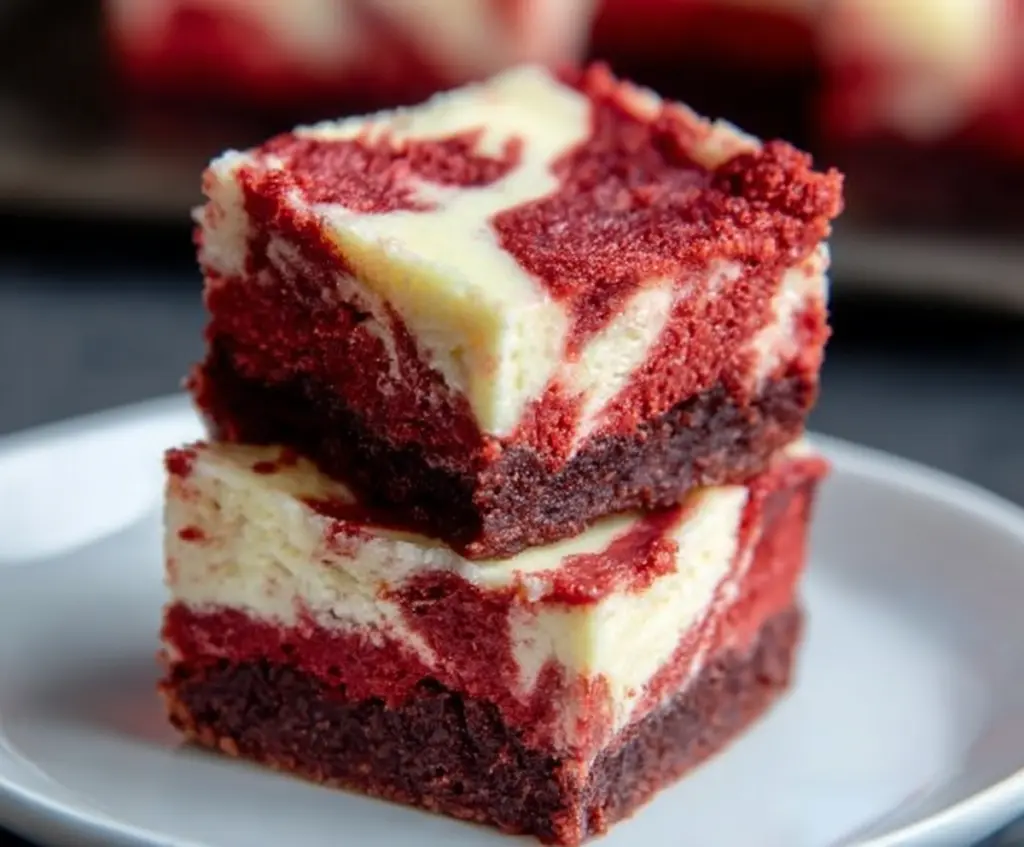
Red Velvet Cheesecake Bars are a dreamy treat that combine the rich, velvety flavor of red velvet cake with smooth, creamy cheesecake. These bars have the perfect balance of sweetness and a hint of cocoa, all wrapped up in a delightful, handheld square. The layers of red velvet and cheesecake meld together beautifully, making each bite soft and irresistibly tasty.
I love making these bars when I want a dessert that feels special but is easy to share with friends and family. They bake up nicely in one pan, which means less fuss and more time to enjoy the dessert itself. One of my favorite tricks is to chill them really well before cutting to get those clean, sharp edges that make them look as good as they taste.
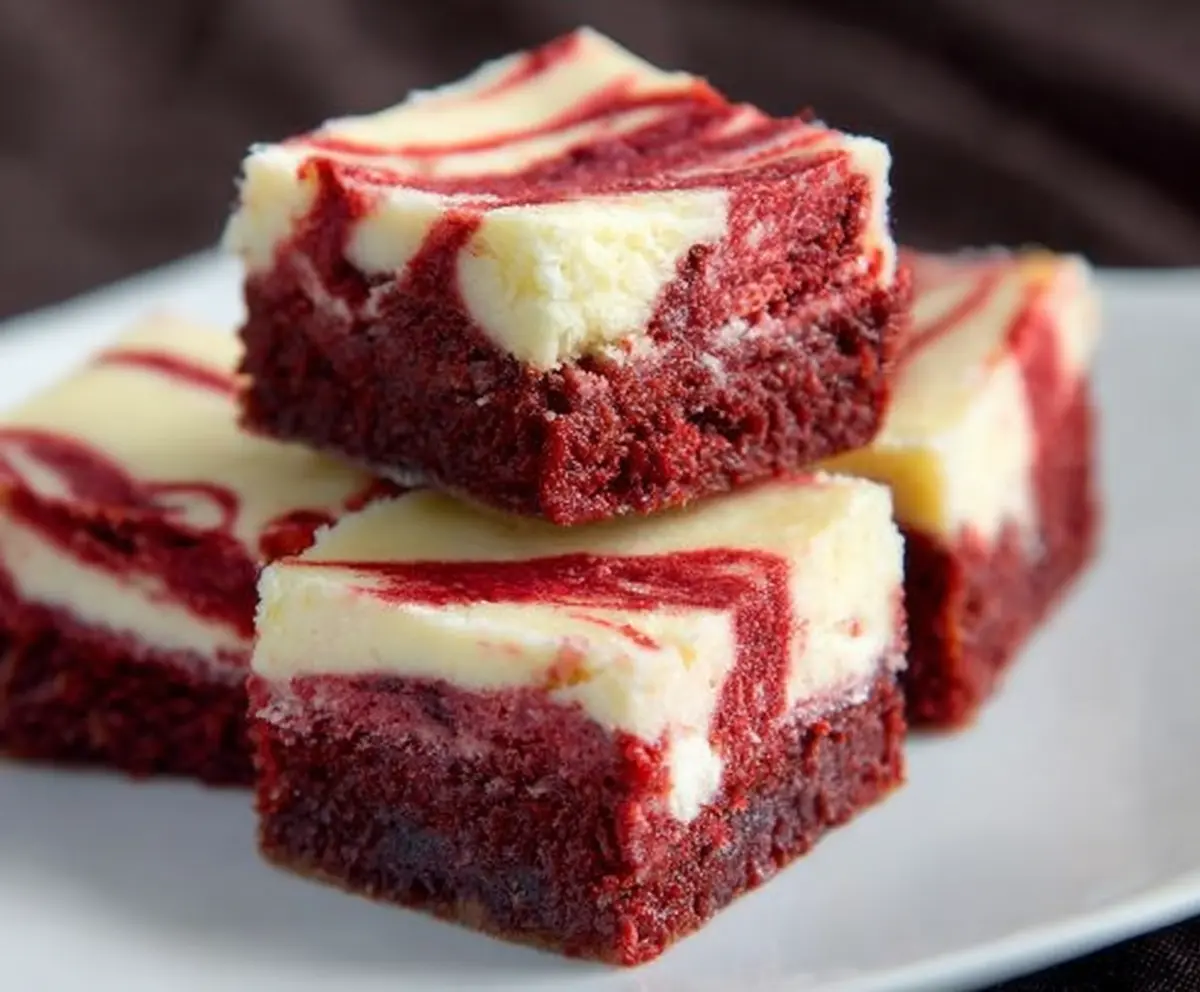
Whenever I serve these bars, they disappear quickly, and I always hear people say how the cheesecake layer makes the red velvet even better. They’re great for celebrations, potlucks, or just a cozy night in with a cup of coffee. If you love both red velvet and cheesecake, these bars might just become your new go-to sweet treat!
Key Ingredients & Substitutions
- Red Velvet Cake Mix
- This is the base of the bars and gives the classic red color and subtle cocoa flavor. If you prefer homemade, you can mix your own with flour, cocoa powder, cocoa butter, and red food coloring or beet powder for a natural option.
- Cream Cheese
- The star of the cheesecake layer. Softened cream cheese blends smoothly for that creamy texture. For a lighter option, try using Neufchâtel cheese, which has less fat but similar flavor.
- Eggs
- Eggs help bind both layers and add richness. If you need an egg substitute, unsweetened applesauce or flaxseed meal mixed with water can work, but texture may be slightly different.
- Vanilla Extract
- Vanilla enhances the flavor of the cheesecake. Pure vanilla extract is best, but you can use vanilla bean paste or even a touch of almond extract for a twist.
- Sugar
- Granulated sugar sweetens the cheesecake. You can replace it with coconut sugar or a sugar substitute suitable for baking if you want to reduce refined sugars.
How Do You Get a Beautiful Swirl Without Overmixing?
Creating that pretty marbled effect is all about gentle swirling and timing:
- After layering the batters, use a butter knife or skewer to swirl through the top red velvet batter and cheesecake layer.
- Make slow, gentle figure-eight or circular motions without stirring fully — you want to mix the layers just enough to create a pattern.
- A little patience here keeps the layers distinct so your bars look stunning after baking.
- If you overmix, the colors will blend and the swirl effect can be lost.
Equipment You’ll Need
- 9×9-inch baking pan – just the right size for even baking and easy slicing.
- Parchment paper – makes lifting the bars out simple and cleanup easier.
- Mixing bowls – one for cake batter, one for cheesecake mix; keeps things tidy.
- Electric mixer or hand mixer – helps get the cream cheese super smooth without lumps.
- Knife or skewer – perfect for swirling the batters to create that pretty marble look.
Flavor Variations & Add-Ins
- Try adding mini chocolate chips to the cheesecake layer for extra bursts of chocolate flavor.
- Swap red velvet for chocolate batter to make classic cheesecake brownie bars instead.
- Stir in a teaspoon of instant espresso powder to the cheesecake for a mocha twist.
- Top with crushed pecans or walnuts for a nice crunch and nutty contrast.
How to Make Red Velvet Cheesecake Bars
Ingredients You’ll Need:
For the Red Velvet Cake Batter:
- 1 box red velvet cake mix (plus ingredients called for on the box, usually eggs, water, and oil)
For the Cheesecake Layer:
- 16 oz (450 g) cream cheese, softened
- 2/3 cup granulated sugar
- 2 large eggs
- 1 teaspoon vanilla extract
How Much Time Will You Need?
This recipe takes about 15 minutes to prepare, 35-40 minutes to bake, and then you’ll want to chill it in the fridge for at least 2 hours to set properly before slicing. Overall, plan for around 3 hours including chilling time.
Step-by-Step Instructions:
1. Preheat and Prep:
Heat your oven to 350°F (175°C). Line a 9×9-inch baking pan with parchment paper, leaving extra on the sides to lift the bars out easily after baking.
2. Make the Red Velvet Batter:
Prepare the red velvet cake batter following the instructions on the box. Set aside.
3. Prepare the Cream Cheese Mixture:
In a bowl, beat the softened cream cheese until smooth using an electric mixer. Add the granulated sugar and continue to beat until creamy. Then add the eggs and vanilla extract. Mix gently until everything is combined and smooth—don’t overmix.
4. Layer and Swirl:
Pour half the red velvet batter into the prepared pan and spread evenly. Carefully spoon the cream cheese mixture over the red velvet layer. Finally, add dollops of the remaining red velvet batter over the cheesecake. Use a knife or skewer to swirl the top layers gently and create a pretty marbled effect.
5. Bake and Chill:
Bake in the preheated oven for 35-40 minutes, until the cheesecake is set and a toothpick inserted in the red velvet part comes out with moist crumbs but no wet batter. Let the pan cool completely on a wire rack. Then refrigerate for at least 2 hours or overnight to let the bars firm up.
6. Serve:
Lift the bars out using the parchment paper edges and cut into squares. Serve chilled and enjoy the creamy, rich blend of red velvet and cheesecake!
Can I Use a Different Size Pan?
Yes, you can use an 8×8-inch pan, but the bars will be thicker and may need a few extra minutes to bake. Keep an eye on them and use the toothpick test to check doneness.
How Should I Store Leftover Bars?
Store leftover bars in an airtight container in the refrigerator for up to 4 days. They taste great chilled and can also be frozen for up to 2 months—just thaw in the fridge before serving.
Can I Make These Bars Ahead of Time?
Absolutely! These bars actually taste better after chilling overnight, so feel free to bake them a day in advance. Just keep them covered in the fridge until ready to serve.
What Can I Use Instead of Boxed Red Velvet Mix?
You can use a homemade red velvet cake batter if you prefer. Just make sure to use a recipe that yields about the same volume and includes the classic cocoa and buttermilk flavors for that traditional taste.