Homemade eggnog is a creamy, rich treat that feels like a warm hug in a glass. It’s made with eggs, milk, cream, sugar, and a touch of nutmeg, creating that classic holiday flavor everyone looks forward to. There’s something special about cracking fresh eggs and whisking everything together to make this traditional drink from scratch.
I love making eggnog at home because I can adjust the sweetness and spices just how my family likes it. Plus, adding a splash of rum or bourbon makes it even more festive and cozy for holiday gatherings. It’s fun to mix and match the flavors until you find your perfect cup of eggnog magic!
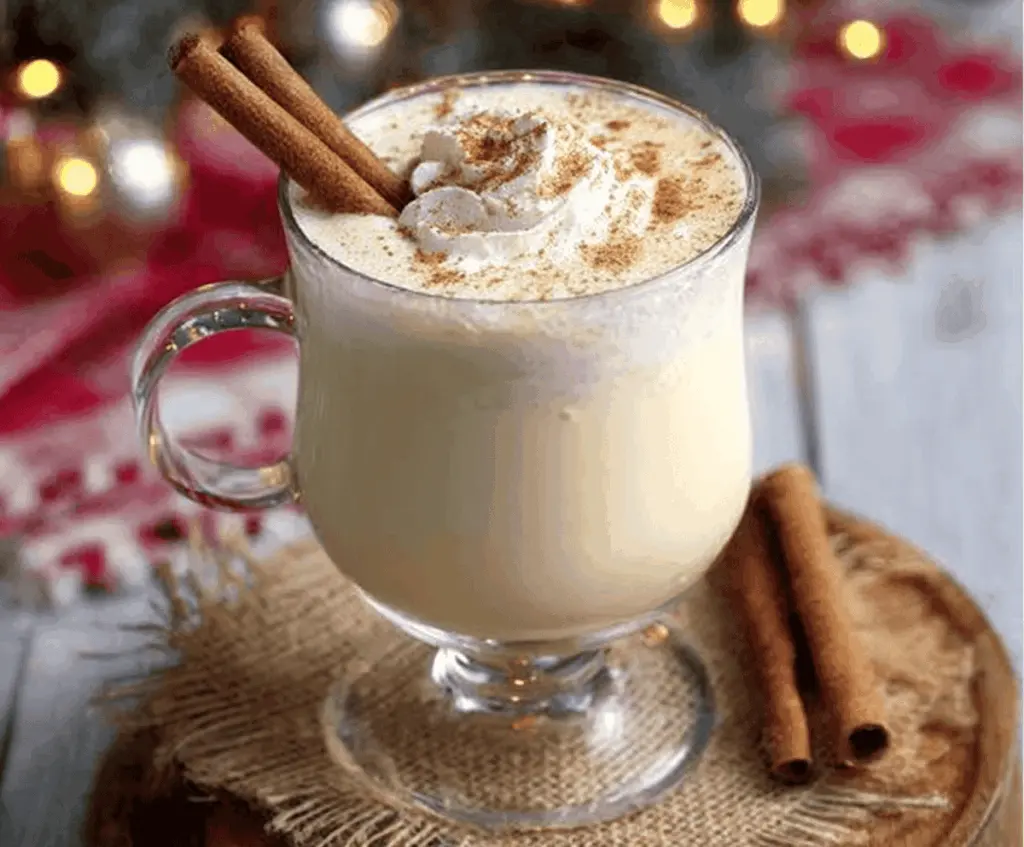
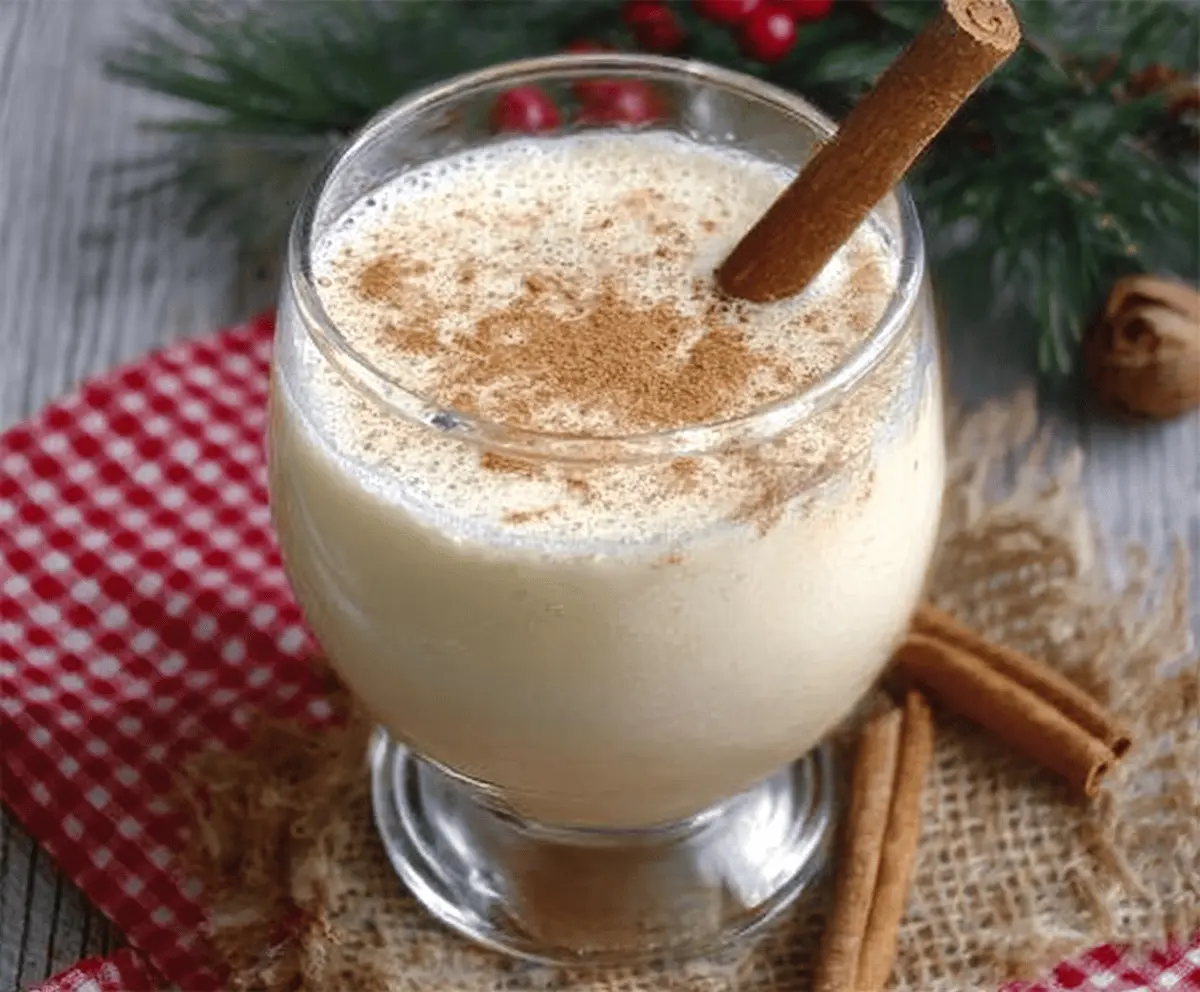
This recipe is perfect for sharing with friends or enjoying by the fireplace after a chilly day. I often serve it in mugs, topped with a sprinkle of cinnamon or freshly grated nutmeg. It’s a simple way to bring some nostalgic cheer and comfort to the season, and once you try homemade, you might never want to go back to store-bought.
Key Ingredients & Substitutions
- Eggs
- Fresh eggs are key for that creamy texture. If you're worried about raw eggs, use pasteurized eggs or cook the custard base gently to keep it safe.
- Milk & Cream
- Whole milk and heavy cream add richness. You can swap milk for almond or oat milk, but keep cream for thickness or use coconut cream for a dairy-free option.
- Alcohol
- Bourbon or rum brings warmth and depth. Feel free to skip it for a kid-friendly or non-alcoholic version.
- Spices
- Nutmeg and cinnamon create that classic eggnog flavor. Freshly grated nutmeg tastes best, but ground works well too.
How Do You Get the Perfect Creamy and Frothy Texture in Eggnog?
The texture is what makes eggnog special—it should be creamy but light. Here’s how to get it right:
- Whisk egg yolks with sugar until pale and creamy—this helps dissolve the sugar and adds smoothness.
- Beat egg whites separately until soft peaks form. This adds air and fluff.
- Gently fold egg whites into the yolk mixture—don’t overmix or you’ll lose the fluffiness.
- Chill for a couple of hours; this helps flavors blend and thickens the drink slightly.
These simple steps ensure your eggnog is smooth, rich, and delightfully frothy. Enjoy every sip!
Equipment You’ll Need
- Mixing bowls – for whisking eggs and combining ingredients easily.
- Whisk – helps blend the eggs and sugar until smooth and creamy.
- Electric mixer or hand mixer – great for whipping egg whites to soft peaks quickly.
- Measuring cups and spoons – to get your spices and liquids just right.
- Large spoon or spatula – for gently folding the egg whites into the mixture without deflating.
- Glass mugs or heatproof glasses – perfect for serving and showing off the creamy eggnog.
- Small grater – handy for fresh nutmeg on top as a garnish.
Flavor Variations & Add-Ins
- Try adding a pinch of ground cloves or allspice for a spicier kick that warms you up.
- Use dark rum instead of bourbon for a deeper, richer flavor.
- Add a splash of coffee or espresso for a mocha-style eggnog twist.
- Mix in some peppermint extract for a festive, minty touch during the holidays.
How to Make Homemade Eggnog
Ingredients You’ll Need:
Main Ingredients:
- 4 large eggs
- 1 cup granulated sugar
- 2 cups whole milk
- 1 cup heavy cream
- 1/2 cup bourbon or rum (optional)
- 1 tablespoon vanilla extract
- 1 teaspoon ground nutmeg, plus extra for garnish
- 1/2 teaspoon ground cinnamon
- Whipped cream, for topping
- Cinnamon sticks, for garnish
How Much Time Will You Need?
Making this eggnog takes about 15 minutes of active preparation. After mixing, you’ll chill it in the refrigerator for at least 2 hours to allow the flavors to mix well and the texture to thicken. So, in total, plan for about 2 hours and 15 minutes for a perfectly fresh and tasty eggnog.
Step-by-Step Instructions:
1. Prepare the Egg Yolks and Sugar:
Start by separating the egg yolks from the whites. Put the yolks in a big bowl. Add the sugar to the yolks and whisk them together until the mixture becomes lighter in color and creamy. This helps make the eggnog smooth and sweet.
2. Mix in Milk, Cream, and Flavorings:
Pour in the whole milk and heavy cream. If you want a boozy eggnog, add bourbon or rum now. Stir in the vanilla extract, ground nutmeg, and cinnamon. Mix everything well so all the flavors come together.
3. Whip the Egg Whites:
In a separate clean bowl, beat the egg whites with a mixer or whisk until you see soft peaks. This means the whites hold their shape but still gently fold when moved.
4. Combine and Chill:
Gently fold the whipped egg whites into your eggnog mixture. Be careful not to overmix — you want to keep it light and frothy. Then cover your eggnog and put it in the refrigerator. Let it chill for at least 2 hours so the flavors get nice and blended.
5. Serve and Enjoy:
When you’re ready to drink it, pour the eggnog into glasses. Top each with a swirl of whipped cream, a dusting of freshly grated nutmeg, and a cinnamon stick for decoration. Sit back, sip, and enjoy your homemade holiday treat!
Can I Use Pasteurized Eggs for This Eggnog?
Yes! Using pasteurized eggs is a great way to reduce any risk from raw eggs while keeping the creamy texture. You can find them in most grocery stores or order them online.
Can I Make This Eggnog Ahead of Time?
Absolutely! Eggnog actually tastes better after resting. Prepare it up to 2 days in advance and keep it covered in the fridge. Just give it a gentle stir before serving.
How Should I Store Leftover Eggnog?
Store leftover eggnog in an airtight container in the refrigerator for up to 3 days. Shake or stir well before serving again, as some separation may occur.
Can I Skip the Alcohol in This Recipe?
Yes, you can easily make a non-alcoholic version by leaving out the bourbon or rum. The eggnog will still be rich and flavorful—perfect for all ages!