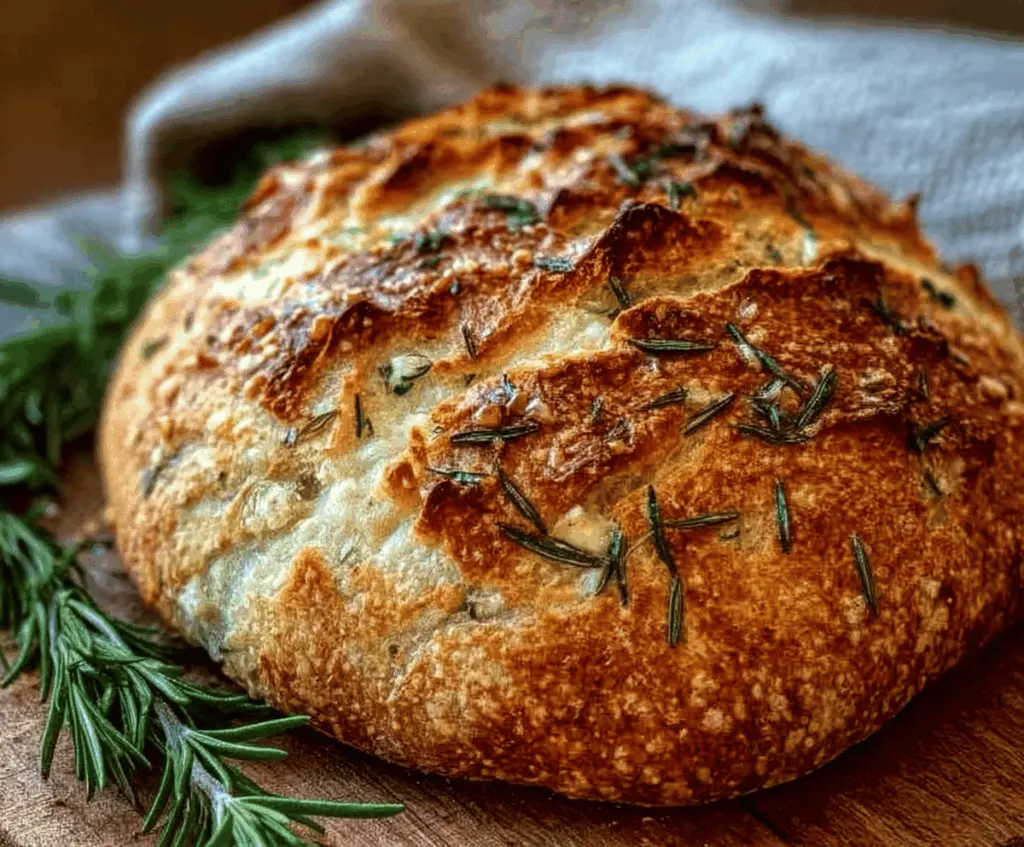
Rustic No-Knead Rosemary Garlic Bread is a simple, flavorful loaf that feels like a warm hug straight from the oven. With its crusty outside, soft and chewy inside, and the fresh flavors of rosemary and garlic woven throughout, this bread is easy to love. The best part? You don’t have to spend forever kneading the dough—it’s all about letting time do the work for you.
I really enjoy making this bread on a lazy weekend because it fills the kitchen with the amazing smell of garlic and fresh herbs. I like to press extra rosemary on top before baking to make it look even more inviting. The no-knead method means it’s perfect for busy days or when you want homemade bread without a lot of fuss.
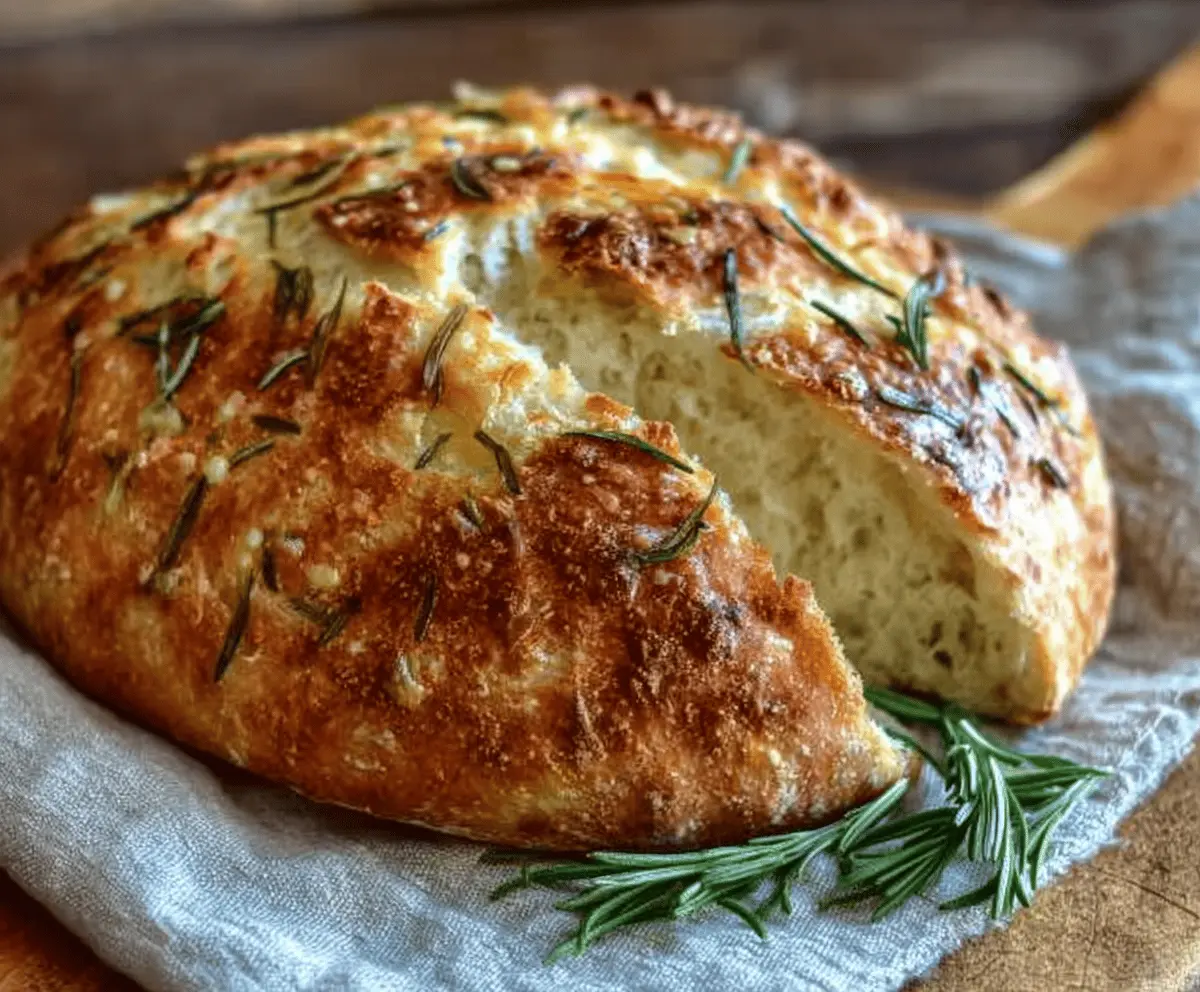
My favorite way to enjoy this bread is warm, sliced thick, and spread with a bit of butter or olive oil. It’s also a great side for soup, salad, or just for snacking with cheese. Whenever I make this, everyone asks for more—it’s the kind of bread that brings people together around the table with smiles and happy chatter.
Key Ingredients & Substitutions
- Flour
- All-purpose flour works well here, giving a nice texture and crust. If you want a chewier loaf, try bread flour. Whole wheat flour can be mixed in, but keep the ratio to half for best results.
- Yeast
- A small amount of active dry yeast is enough. It’s what helps the dough rise slowly, developing flavor. Instant yeast can substitute, but reduce it slightly.
- Rosemary
- Fresh rosemary gives a bright, herb-filled aroma. If fresh isn’t available, dried rosemary works but use less—about a teaspoon instead of tablespoons.
- Garlic
- Fresh minced garlic adds a punch of flavor. Roasted garlic is a milder, sweeter alternative if you want something gentle.
- Olive Oil
- It keeps the dough moist and flavors the crust. If you don’t have olive oil, a neutral oil like vegetable or canola works, though olive oil adds the best taste.
How Can I Make This No-Knead Bread Turn Out Perfectly Every Time?
The no-knead process relies on time instead of elbow grease, so patience is key.
- Make sure your water is warm, not hot (about 110°F / 43°C) to wake up the yeast without killing it.
- After mixing, cover the dough well to retain moisture during the long rise.
- Use a floured surface to shape gently—avoid kneading to keep the dough airy.
- Preheat your Dutch oven thoroughly; it mimics a professional bread oven and helps form a crusty exterior.
- Covering the bread while baking traps steam, which is crucial for that crisp, golden crust.
- Removing the lid at the end lets the crust brown nicely without drying out the inside.
- Cool the bread fully before slicing to let the crumb set, which prevents gumminess.
Following these steps unlocks a lovely crust, soft inside, and fresh herb flavors every time.
Equipment You’ll Need
- Large mixing bowl – big enough to hold the sticky dough while it rises without spilling over.
- Wooden spoon – perfect for stirring the wet, shaggy dough without scratching your bowl.
- Parchment paper – helps you transfer the dough easily and prevents sticking in the hot pot.
- Dutch oven or heavy lidded pot – traps steam for a crispy crust and even baking.
- Cooling rack – lets air circulate under the bread so the crust stays crisp as it cools.
Flavor Variations & Add-Ins
- Swap rosemary for fresh thyme or sage to give the bread a different herbal twist that pairs well with roasted meats.
- Add 1/2 cup grated Parmesan or Asiago cheese for a cheesy crust that browns beautifully and adds richness.
- Mix in 1/4 cup chopped sun-dried tomatoes for a punch of tangy flavor and chewy texture.
- Stir in a handful of toasted pine nuts or walnuts for extra crunch and nutty flavor that complements the garlic.
How to Make Rustic No-Knead Rosemary Garlic Bread?
Ingredients You’ll Need:
For The Dough:
- 3 cups all-purpose flour
- ¼ tsp active dry yeast
- 1 ¼ tsp salt
- 1 ½ cups warm water (about 110°F / 43°C)
- 3 tbsp fresh rosemary, chopped, plus extra for garnish
- 3 garlic cloves, minced, plus extra for garnish
- 2 tbsp olive oil, plus extra for brushing
- Coarse sea salt, for sprinkling
How Much Time Will You Need?
This recipe requires about 15 minutes of hands-on prep, but the dough needs 12 to 18 hours to rise slowly and develop flavor. After shaping, you’ll let it rest for another 1 to 2 hours. Baking takes about 40 to 45 minutes. Overall, plan for roughly 14 to 20 hours, mostly hands-off time, so it’s perfect for making ahead!
Step-by-Step Instructions:
1. Mix the Dough:
In a large bowl, whisk together the flour, yeast, and salt. Add warm water, chopped rosemary, minced garlic, and olive oil. Stir with a wooden spoon until the dough is sticky and all the flour is moistened. It will be quite loose and shaggy.
2. First Rise:
Cover the bowl with plastic wrap or a clean kitchen towel, and let the dough rest at room temperature for 12 to 18 hours. Look for bubbles on top and the dough doubling in size—that means it’s ready.
3. Shape the Dough:
Flour your work surface well and scrape the dough onto it. Sprinkle a bit more flour on top and fold the dough gently a couple of times to form a rough ball. Avoid kneading. Place the dough seam side down on parchment paper, cover loosely with a kitchen towel, and let it rest for 1 to 2 hours to puff up.
4. Preheat and Prepare for Baking:
Thirty minutes before baking, preheat your oven to 450°F (230°C) and place a heavy lidded pot or Dutch oven inside to heat up.
5. Add Toppings and Bake:
Brush the dough top lightly with olive oil, sprinkle with extra rosemary, minced garlic, and a pinch of coarse salt. Carefully remove the hot pot, lift the dough with the parchment, and place it inside. Cover and bake for 30 minutes.
6. Crisp the Crust:
Remove the lid and bake for an additional 10 to 15 minutes until the bread is golden brown and crusty.
7. Cool and Serve:
Take the bread out of the pot carefully and set it on a wire rack to cool before slicing. Enjoy this flavorful, aromatic bread warm with butter, olive oil, or as a delightful side to any meal!
Can I Use Dried Rosemary Instead of Fresh?
Yes, you can use dried rosemary if fresh isn’t available. Use about one teaspoon instead of three tablespoons, as dried herbs are more concentrated. Add it with the dry ingredients to ensure even flavor.
Can I Make the Dough Ahead of Time?
Absolutely! The dough benefits from the long, slow rise, so you can prepare it the night before or even let it rise up to 24 hours in the fridge for more developed flavor. Just bring it to room temperature before shaping and baking.
What’s the Best Way to Store Leftover Bread?
Store leftover bread in a paper bag or wrapped lightly in a kitchen towel to keep the crust crisp. Avoid plastic wrap as it traps moisture and softens the crust. For longer storage, slice and freeze the bread in an airtight bag.
Can I Use a Regular Baking Sheet Instead of a Dutch Oven?
You can, but the loaf won’t be quite as crusty. To mimic the steam environment, place a metal baking pan on the oven bottom and pour hot water into it when you put the bread in. Be careful to avoid burns from the steam!